Cub Cadet XT1 Cranks But Won't Start — Fuel & Spark Diagnosis
⚡ Quick Answer
First, confirm if the problem is fuel or spark by spraying a one-second burst of carburetor cleaner into the air intake while cranking; if the engine fires briefly, you have a fuel delivery issue. For the Cub Cadet XT1 (typically equipped with a Kohler 7000 series engine), the most common culprit is a failed fuel shut-off solenoid at the bottom of the carburetor bowl which must 'click' when the key is turned to the ON position. If there is no fire with starting fluid, use an inline spark tester to check for a strong blue spark, as these Kohler engines are known for ignition coil failures.
What do you want to do?
Most Likely Cause
Stale Fuel and Carburetor Varnish
Ethanol-blended fuel left in the XT1 tank for over 30 days degrades and leaves sticky varnish deposits. This varnish gums up the main jet and needle valve, preventing fuel from entering the combustion chamber.
Start here — this is the most common reason for this symptom.
Why This Problem Happens
When your Cub Cadet XT1 turns over but refuses to fire, you are experiencing a fundamental failure of the combustion triangle: fuel, spark, or compression. On these Kohler or Cub Cadet branded single-cylinder engines, the vacuum-pulse fuel pump is often the culprit. If the diaphragm tears or the pulse line is restricted, the carburetor float bowl remains dry. Conversely, if the fuel system is pressurized, the problem likely lies in the ignition module (magneto) which triggers the spark at the precise moment of maximum compression. Because these XT1 models utilize a safety interlock system—involving the seat switch, brake pedal switch, and PTO clutch—a faulty ignition ground or a sticking relay can effectively 'kill' the spark before it reaches the spark plug gap, even while the starter solenoid engages the flywheel.
Common Symptoms
- Engine rotates at normal cranking speed
- Dry spark plug tip after repeated cranking attempts
- No visible blue spark across the electrode
- Excessive black smoke after prolonged cranking
- Backfiring through the muffler or air cleaner
Before You Buy Parts
Quick, free inspections — check these first. Most repairs don't actually need replacement parts.
Complete Resource Guide
Complete Riding Mowers Troubleshooting Guide
Brand Resource Hub
Cub Cadet Troubleshooting & Repair Guide
Repair Overview
1–2 hours
$10–$50
First Checks — Start Here
- 1Check fuel level and verify gas is less than 30 days old.
- 2Listen for the fuel solenoid 'click' when cycling the key from OFF to ON.
- 3Perform a 'static' test by spraying carb cleaner into the intake to see if it fires.
- 4Inspect the 20A main fuse under the dash to ensure power to the ignition/fuel circuit.
- 5Remove and inspect the spark plug for wetness (flooded) or heavy carbon fouling.
- 6Check that the air filter is not saturated with oil, which indicates a breather or tilt issue.
Safety Warnings
- !Keep your hands clear of the cooling fan and flywheel area while cranking.
- !Ensure you have a shop rag ready to catch spilled gasoline to prevent a fire hazard.
- !Ensure the mower is in neutral and the parking brake is set before performing electrical tests.
- !Ensure the spark plug wire is disconnected from the plug to prevent accidental starting during the adjustment.
- !Carburetor cleaner is highly flammable; do not spray near hot engine components.
- !Never disconnect the ignition kill wire to start the engine; the engine would not shut off via the key and could run uncontrolled.
- !Replacing the spark plug without testing if current actually reaches the plug wire.
- !Overlooking the simple inline fuel filter, which is often completely opaque.
- !Assuming the battery is good just because the starter motor cranks the engine slowly.
Always disconnect the spark plug, work in a well-ventilated area, and consult a professional if unsure.
Most Likely Causes
Ranked by likelihood — tap each to see diagnosis details.
Ethanol-blended fuel left in the XT1 tank for over 30 days degrades and leaves sticky varnish deposits. This varnish gums up the main jet and needle valve, preventing fuel from entering the combustion chamber.
If the magneto has moved, the air gap between the coil leg and the flywheel magnet may be too wide to generate a strong spark. Verify the gap using a non-magnetic feeler gauge set to approximately .010 to .012 inches.
🔧 Step-by-Step Fix Guide
Spark Test with Inline Tester
Attach an inline spark tester between the ignition wire and the spark plug. If the light does not flash while cranking, verify the ground wire to the coil is disconnected to rule out the safety interlock system.
Keep your hands clear of the cooling fan and flywheel area while cranking.
Verifying Fuel Flow to Carburetor
Disconnect the fuel line at the carburetor inlet and turn the engine over briefly. If fuel does not pulse out rhythmically, the blockage exists in the filter, fuel line, or the mechanical pulse pump.
Ensure you have a shop rag ready to catch spilled gasoline to prevent a fire hazard.
Checking the Anti-Backfire Solenoid
Disconnect the spade terminal at the carburetor solenoid and use a multimeter to check for 12V DC power with the key in the 'Run' position. If power is present but the solenoid doesn't click, the solenoid is internally seized.
Ensure the mower is in neutral and the parking brake is set before performing electrical tests.
Resetting the Magneto Air Gap
Loosen the two mounting bolts on the ignition coil. Insert a .010-inch feeler gauge between the coil and the flywheel magnet, pull the coil firmly toward the magnet, and retighten the bolts.
Ensure the spark plug wire is disconnected from the plug to prevent accidental starting during the adjustment.
Clearing the Main Jet
If the bowl is full but the plug remains dry, remove the bowl nut on the bottom of the carburetor. Use a thin piece of copper wire to carefully clean the tiny holes in the main jet nozzle.
Carburetor cleaner is highly flammable; do not spray near hot engine components.
Test the Safety Interlock Circuit for Continuity
If spark is absent, use a multimeter to test the kill-wire circuit for continuity. With the key off and the seat occupied, brake depressed, and PTO disengaged, check for continuity through the seat switch, brake switch, and PTO switch in their actuated states. An open circuit (infinite resistance) in any switch while actuated indicates a failed switch or a broken wire in the interlock harness. Do not disconnect or jumper the kill wire to start the engine.
Never disconnect the ignition kill wire to start the engine; the engine would not shut off via the key and could run uncontrolled.
What To Test Next
If fuel delivery checks out, the next thing to inspect is spark — remove the spark plug, ground its threads to the engine block, and crank the engine to look for a visible blue spark.
Component Reference

Carburetor & Fuel Intake
The carburetor mixes air and fuel for combustion. A clogged jet or stuck float is the #1 cause of small engine starting and surging problems.

Spark Plug & Ignition System
The spark plug ignites the air-fuel mixture. A fouled plug, wrong gap, or failing ignition coil will prevent the engine from firing.

Oil & Lubrication System
Regular oil changes are critical. Low or dirty oil causes engine wear, overheating, and eventual seizure. Check the dipstick before every season.

Air Filter & Intake
A clogged air filter starves the engine of air, causing rich running, power loss, and hard starting. Inspect and clean or replace it each season.
Photos for educational reference. Actual parts may vary by make and model.
Common Mistakes to Avoid
Replacing the spark plug without testing if current actually reaches the plug wire.
Using a steel feeler gauge on the ignition coil, which can magnetically stick to the flywheel.
Overlooking the simple inline fuel filter, which is often completely opaque.
Assuming the battery is good just because the starter motor cranks the engine slowly.
Spraying starter fluid directly into the air filter housing instead of bypassing the filter element.
If This Didn't Fix It
Still having trouble? These are the next things to check:
Get the Exact Parts for Your Machine
Tell us your equipment's year, make, and model — we'll search for parts that actually fit, not generic ones.
Finding parts for
Cub Cadet XT1 cranks but
Required Gear
Matched to your Cub Cadet XT1 cranks but — click to find the exact fit on Amazon.
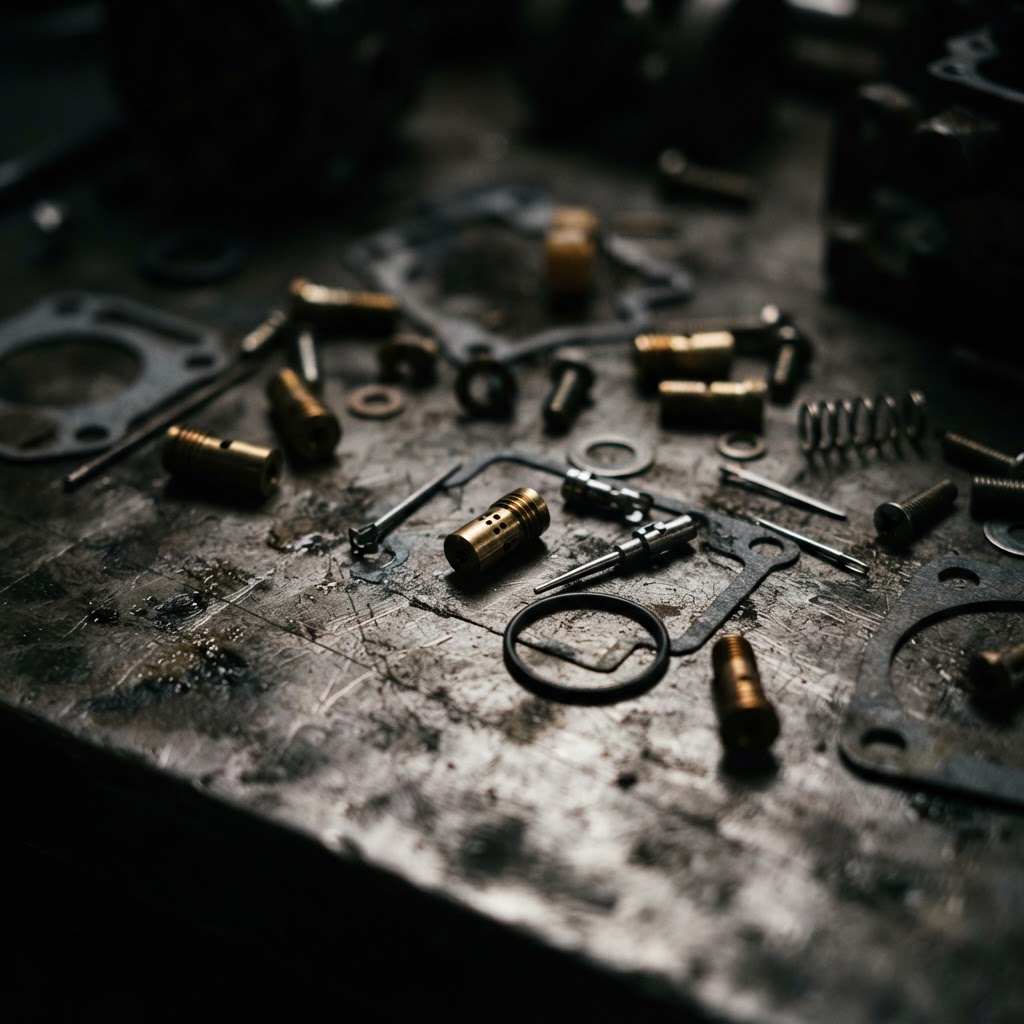
Carburetor Rebuild Kit
This kit provides the essential gaskets, needle, and seat needed to clear internal varnish and restore proper fuel delivery after stale gasoline has clogged the main jet.
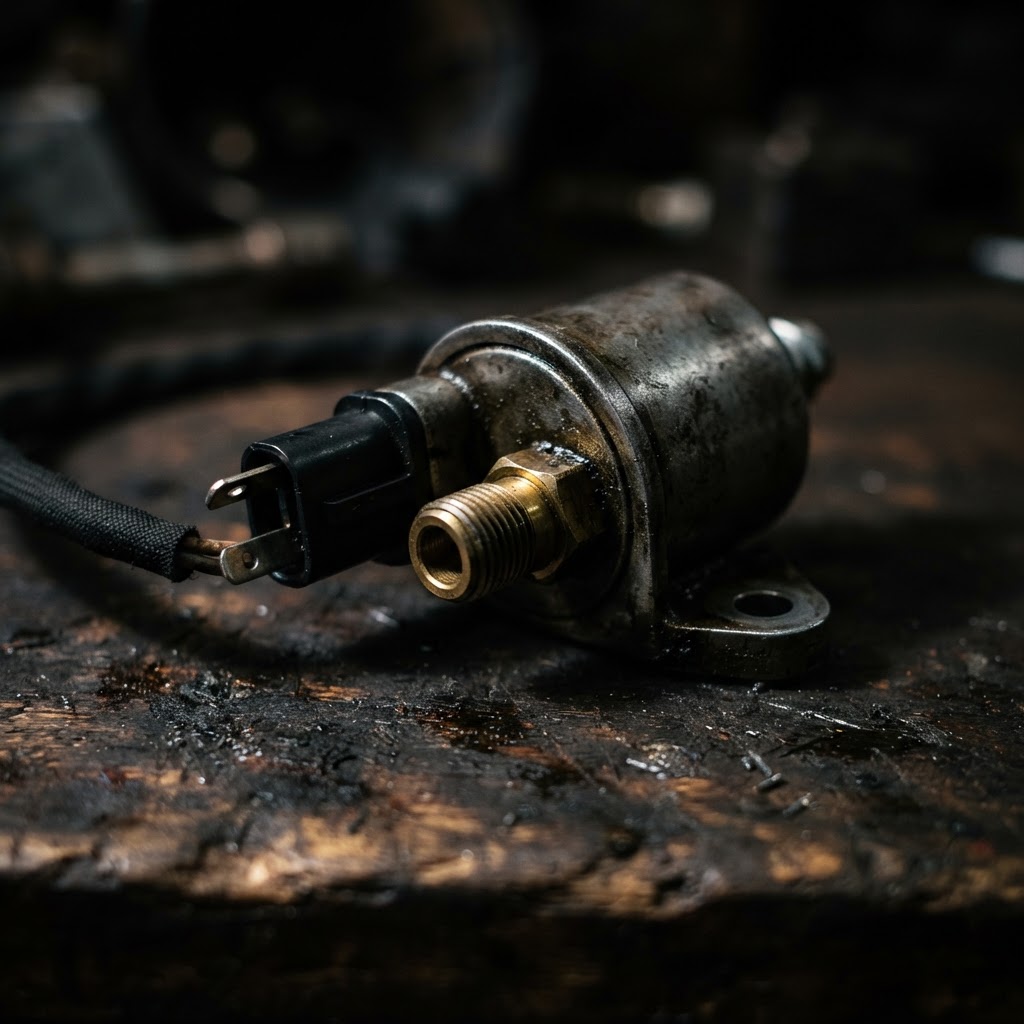
Fuel Shut-off Solenoid
If the existing solenoid fails to retract, it will physically block fuel flow into the main jet; replacing it ensures the fuel path remains open during engine cranking.
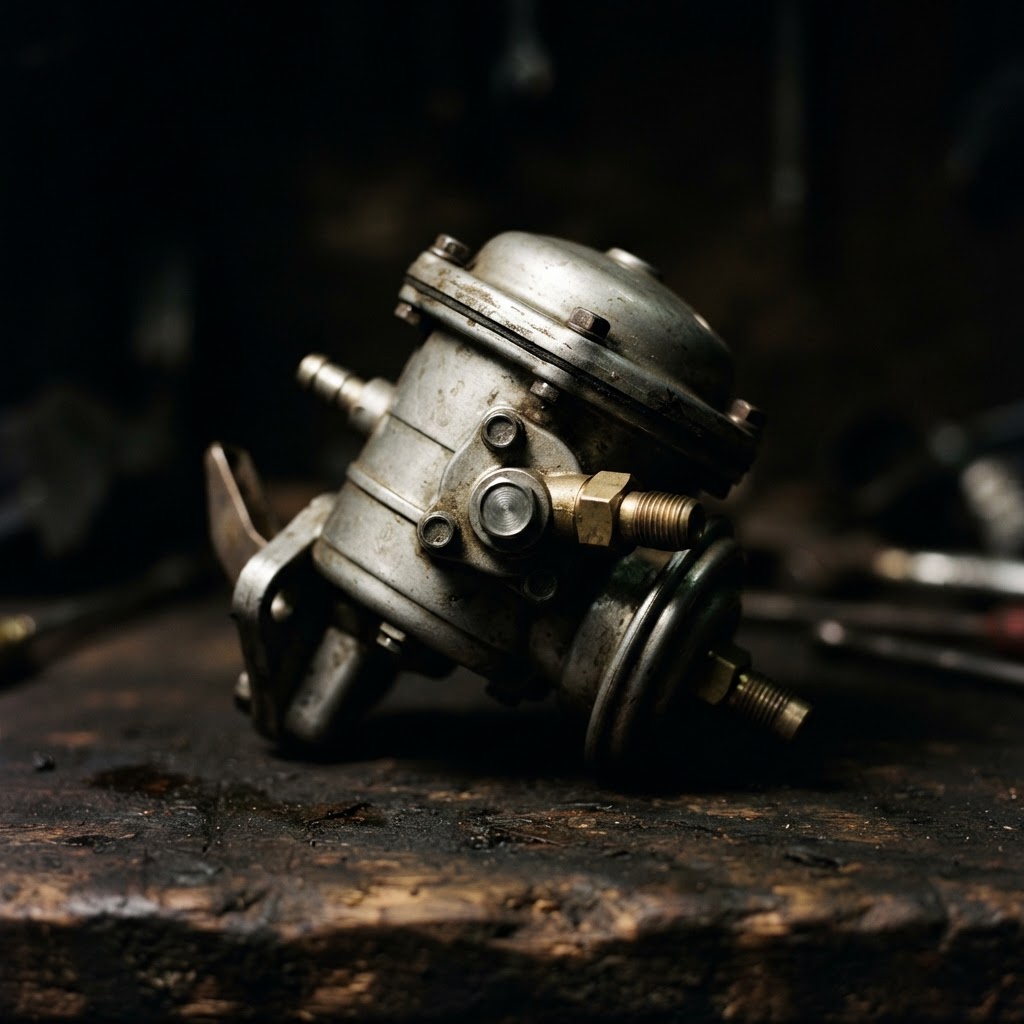
Vacuum Fuel Pump
A failed internal diaphragm in the pulse pump prevents fuel from being pulled from the tank to the carburetor, which is a common failure point for these Cub Cadet models.
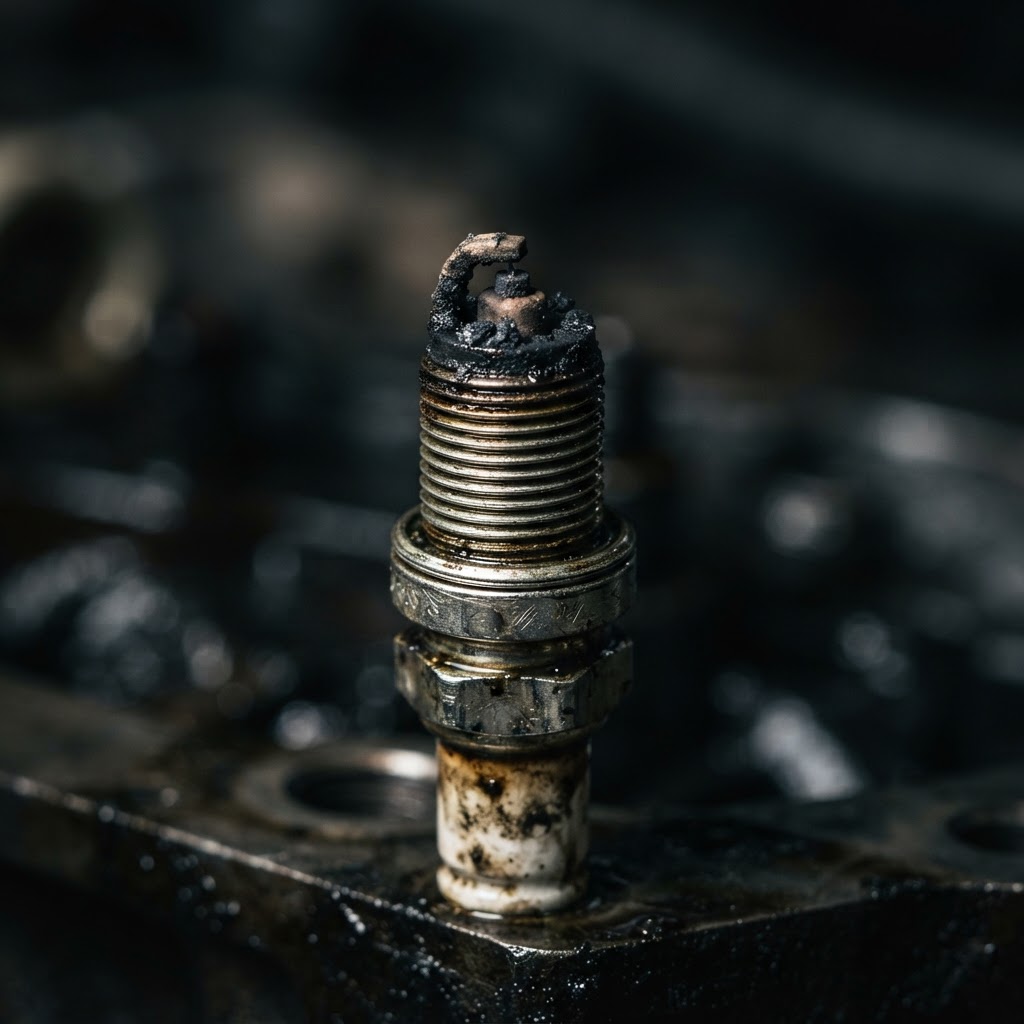
Spark Plug
Fouled or damaged spark plugs are a frequent contributor to no-start conditions and should be replaced once spark integrity is verified to ensure consistent combustion.
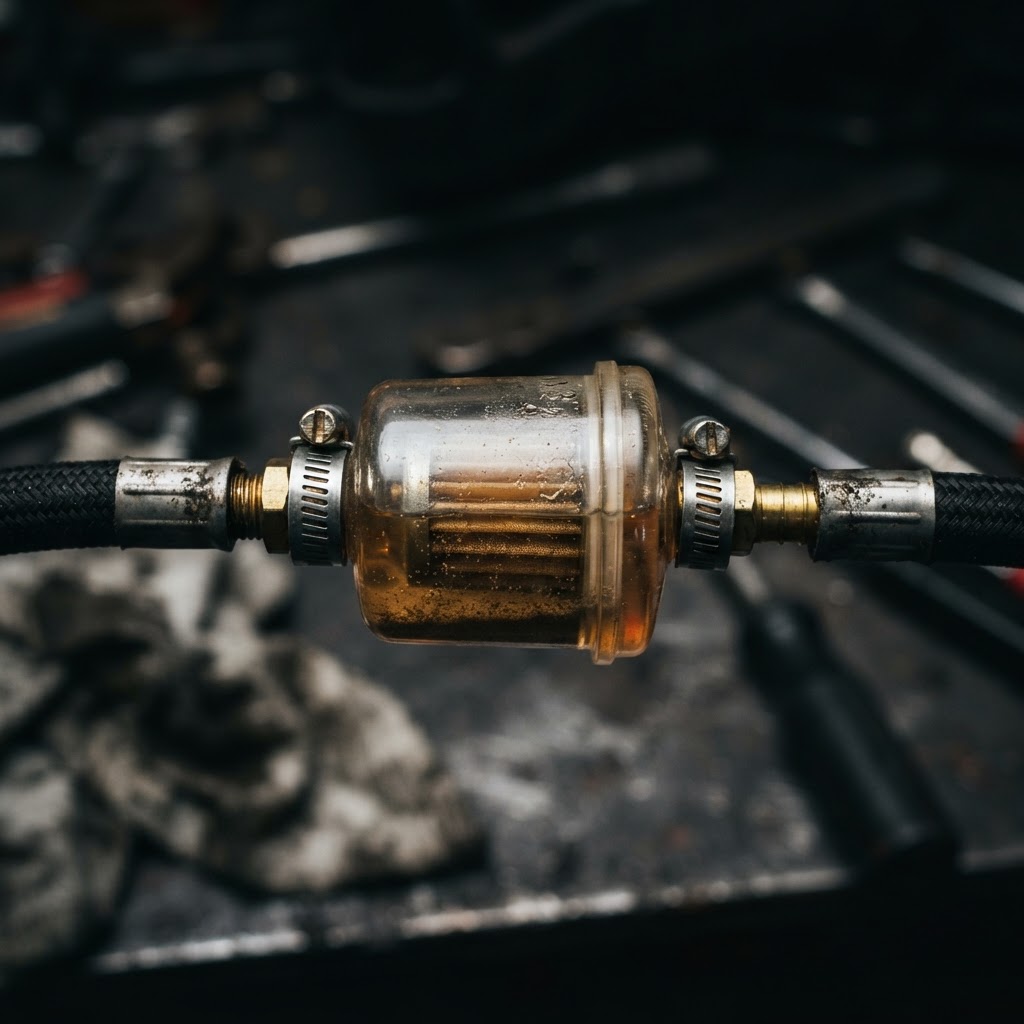
Fuel Filter
Contaminated fuel filters often restrict the flow required for starting; replacing this is a critical step after confirming fuel delivery issues during diagnosis.
Affiliate Disclosure: Lil Engine may earn commissions from qualifying purchases.
Pro Tips from the Community
Real-world fixes from Reddit, YouTube & forums.
"On the XT1, if it's cranking but not firing, double-check that the choke is actually closing fully. Sometimes the cable slips and the plate stays open, preventing a cold start."
Reddit r/lawnmowers"The fuel solenoid on these Kohler engines often gets 'sticky.' If you're stuck in the field, give the side of the carb bowl a firm tap with a screwdriver handle while cranking to jar the needle loose."
TractorByNet Forum"Check the wiring harness near the oil filter. It can rub against the frame or engine block on XT1 models, causing a short that kills the spark or the fuel solenoid power."
YouTube commentsBrand-Specific Notes
Cub Cadet
The XT1 is typically equipped with a Kohler 7000 series engine. The carburetor has an anti-backfire (fuel shut-off) solenoid at the bottom of the float bowl that should audibly click when the key is turned to Run; check for 12V DC at its spade terminal. The fuel pump is pulse-style, driven by crankcase pressure pulses through a vacuum line.
Kohler
7000 series engines on the XT1 use a magneto ignition with an air gap set to .010 inch. A faulty seat switch or partially engaged PTO lever can ground the ignition kill wire, killing spark even while cranking.
Model-Specific Variations
Cub Cadet XT1
Kohler 7000 series engine; anti-backfire solenoid at carb bowl bottom (12V DC, audible click on key-ON); pulse-style fuel pump; magneto air gap .010 in.
Prevent This From Coming Back
Use non-ethanol gasoline whenever possible to prevent fuel system degradation.
Add a high-quality fuel stabilizer to every fuel can before refueling the mower.
Replace the inline fuel filter every season to reduce the load on the pulse pump.
Apply dielectric grease to the spark plug boot to ensure a moisture-proof connection.
Keep the engine cooling fins clean of debris to prevent overheating and premature coil failure.
Prevent This From Happening Again
While you're fixing it, stock up on the maintenance essentials that keep your riding mowers running right.
Small Engine Oil
Change oil every 50 hours or once per season to prevent engine wear.
Get on AmazonAir Filter
A clogged air filter reduces power and fuel efficiency — replace annually.
Get on AmazonFuel Stabilizer
Keeps fuel fresh during storage, preventing carburetor gumming.
Get on AmazonAffiliate Disclosure: Lil Engine may earn commissions from qualifying purchases.
Frequently Asked Questions
Yes, most XT1 models use a vacuum-pulse pump mounted to the side of the engine. It uses the pressure pulse from the crankcase to pump fuel from the tank up to the carburetor.
Video Help
Helpful videos showing these repairs in action.
Share Your Repair
Real-world fixes help everyone. Share what worked and your repair becomes part of Lil Engine's community database.
Related Problems
More Riding Mowers GuidesRelated Maintenance Articles
Related Symptoms
Won’t Start
Carburetor / Fuel Issues
Related Searches
Cub Cadet riding mower Guides
Did this help?
Your feedback helps improve guides for everyone.