Riding Mower Cranks But Won't Start — Fuel & Spark Diagnosis
⚡ Quick Answer
A riding mower that cranks but won't start is almost always suffering from a lack of fuel, spark, or compression. In my 20 years of experience, the vast majority of these cases are caused by stale fuel clogging the carburetor or a failed safety interlock preventing ignition. Follow this structured diagnostic process to methodically isolate the failure point before replacing expensive components like the ignition coil or carburetor.
What do you want to do?
Most Likely Cause
Old or degraded fuel
Modern gasoline begins to break down and oxidize in as little as 30 days, causing it to lose volatility and clog the microscopic jets inside the carburetor. Because the engine is cranking, the electrical system is likely functional, pointing to a failure in the combustion process caused by stale fuel preventing proper ignition.
Start here — this is the most common reason for this symptom.
Why This Problem Happens
For a riding mower to run, it requires a precise stoichiometric mixture of air and fuel compressed in the combustion chamber, ignited at exactly the right moment by a spark plug. When an engine cranks but fails to fire, the ignition system or the fuel delivery path has been compromised, preventing the chemical reaction needed to produce mechanical power. This usually manifests as either a complete lack of spark, an overly lean condition where not enough fuel atomizes, or a 'flooded' condition where liquid fuel displaces the oxygen required for combustion.
Mechanically, the starter motor is successfully engaging the flywheel ring gear and rotating the crankshaft, which confirms the battery, solenoid, and starter are functional. The failure exists purely in the 'fire' or 'fuel' loop. You are looking for a break in the high-tension lead continuity, a fouled electrode bridge, or a restriction in the carburetor circuits—specifically the slow jet or main nozzle—that prevents combustible vapors from reaching the piston head during the intake stroke.
Common Symptoms
- Starter motor engages and turns the engine over briskly
- No pop or intermittent ignition catch
- Dry spark plug tip after repeated cranking
- Heavy gasoline odor present near the exhaust
- Black, carbon-fouled spark plug electrode
Before You Buy Parts
Quick, free inspections — check these first. Most repairs don't actually need replacement parts.
Diagnostic Flowchart
Follow this decision tree step-by-step to isolate the problem.
Is there a strong blue spark at the spark plug terminal?
Proceed to check fuel system delivery.
Go to step 2
Check ignition coil, spark plug, or safety interlock switches.
Go to step 4
Does fuel reach the combustion chamber (spark plug wet after cranking)?
Check for flooding or incorrect timing.
Go to step 3
Inspect fuel lines, filter, and fuel pump output.
Go to step 5
Is the compression within manufacturer specifications?
Inspect carburetor jets for clogging or vacuum leaks.
Inspect valve lash clearances or check for blown head gasket.
Are all safety interlocks (seat, blade, neutral) closed?
Test ignition coil continuity to ground.
Engage parking brake or verify seat switch functionality.
Does the fuel pump pulse with engine rotation?
Replace dirty fuel filter or clear lines.
Repair or replace pulse-type fuel pump vacuum line.
Complete Resource Guide
Complete Riding Mowers Troubleshooting Guide
Repair Overview
60-120 minutes
$10-$80
First Checks — Start Here
- 1Check the fuel level in the tank
- 2Ensure the fuel shut-off valve is in the open position
- 3Verify the parking brake is engaged
- 4Check that the mower deck is disengaged (PTO switch off)
- 5Inspect the spark plug wire for a firm connection
- 6Test with a fresh battery to ensure sufficient cranking RPMs
- 7Toggle the seat safety switch to confirm it is not stuck
Safety Warnings
- !Use insulated pliers to hold the plug to prevent a high-voltage shock.
- !Ensure the parking brake is set and the transmission is in neutral.
- !Perform this over a fuel-rated catch pan to prevent spills and fire hazards.
- !Keep all ignition sources away from the open fuel bowl.
- !Disconnect the spark plug wire to prevent accidental engine startup while rotating the flywheel.
- !Never use ether while the spark plug is out, as it can cause an intake backfire.
- !Replacing the ignition coil without testing for spark first
- !Using a generic spark plug that does not match the manufacturer's heat range
- !Failing to clean the fuel tank before refilling with fresh gasoline
Always disconnect the spark plug, work in a well-ventilated area, and consult a professional if unsure.
Most Likely Causes
Ranked by likelihood — tap each to see diagnosis details.
Modern ethanol-blended gasoline leaves behind varnish deposits that block the microscopic orifices in the carburetor. Use a mechanic's wire or carburetor cleaner to verify the main jet is clear of obstructions.
Carbon buildup or a bridge across the electrodes prevents the high-voltage spark from jumping the gap. Check for a light tan or gray color on the porcelain; heavy black soot suggests a fuel-rich condition.
🔧 Step-by-Step Fix Guide
Perform a Spark Test
Remove the spark plug, reattach it to the high-tension lead, and ground the threads against the cylinder head. Observe for a sharp, bright blue spark while a helper cranks the engine.
Use insulated pliers to hold the plug to prevent a high-voltage shock.
Verify Fuel Solenoid Operation
With the key in the 'run' position, listen for a distinct 'click' at the bottom of the carburetor bowl. If no click is heard, test for 12V DC at the solenoid wire; if power is present but no click, the solenoid is failed.
Ensure the parking brake is set and the transmission is in neutral.
Test for Fuel Delivery
Disconnect the fuel line from the carburetor inlet and turn the fuel valve on to verify flow. If flow is weak, check the inline fuel filter for clogs or the tank outlet for debris.
Perform this over a fuel-rated catch pan to prevent spills and fire hazards.
Check Carburetor Bowl for Contamination
Drain the float bowl by removing the bottom bolt. Look for water droplets or sediment that indicate the fuel system needs a full flush.
Keep all ignition sources away from the open fuel bowl.
Verify Ignition Coil Air Gap
Rotate the flywheel magnets until they align with the ignition coil legs. Use a clean feeler gauge to verify the gap matches the manufacturer's specification.
Disconnect the spark plug wire to prevent accidental engine startup while rotating the flywheel.
Cold-Start Ether Test
Remove the air filter and spray a short 2-second burst of starting fluid into the intake throat. Attempt to start the engine; if it fires momentarily, the ignition is functional and the problem is confirmed as fuel delivery.
Never use ether while the spark plug is out, as it can cause an intake backfire.
What To Test Next
If fresh fuel and a clean carburetor do not resolve the issue, you must check for consistent spark at the spark plug to rule out an ignition system fault.
Component Reference

Carburetor & Fuel Intake
The carburetor mixes air and fuel for combustion. A clogged jet or stuck float is the #1 cause of small engine starting and surging problems.

Spark Plug & Ignition System
The spark plug ignites the air-fuel mixture. A fouled plug, wrong gap, or failing ignition coil will prevent the engine from firing.

Oil & Lubrication System
Regular oil changes are critical. Low or dirty oil causes engine wear, overheating, and eventual seizure. Check the dipstick before every season.

Air Filter & Intake
A clogged air filter starves the engine of air, causing rich running, power loss, and hard starting. Inspect and clean or replace it each season.
Photos for educational reference. Actual parts may vary by make and model.
Common Mistakes to Avoid
Replacing the ignition coil without testing for spark first
Using a generic spark plug that does not match the manufacturer's heat range
Over-tightening the carburetor mounting bolts which causes vacuum leaks
Failing to clean the fuel tank before refilling with fresh gasoline
If This Didn't Fix It
Still having trouble? These are the next things to check:
Riding Mower Starting Problems
Not sure if this is the right guide? Here's how to find the exact fix for your symptom:
Get the Exact Parts for Your Machine
Tell us your equipment's year, make, and model — we'll search for parts that actually fit, not generic ones.
Finding parts for
riding mower cranks but
Required Gear
Matched to your riding mower cranks but — click to find the exact fit on Amazon.
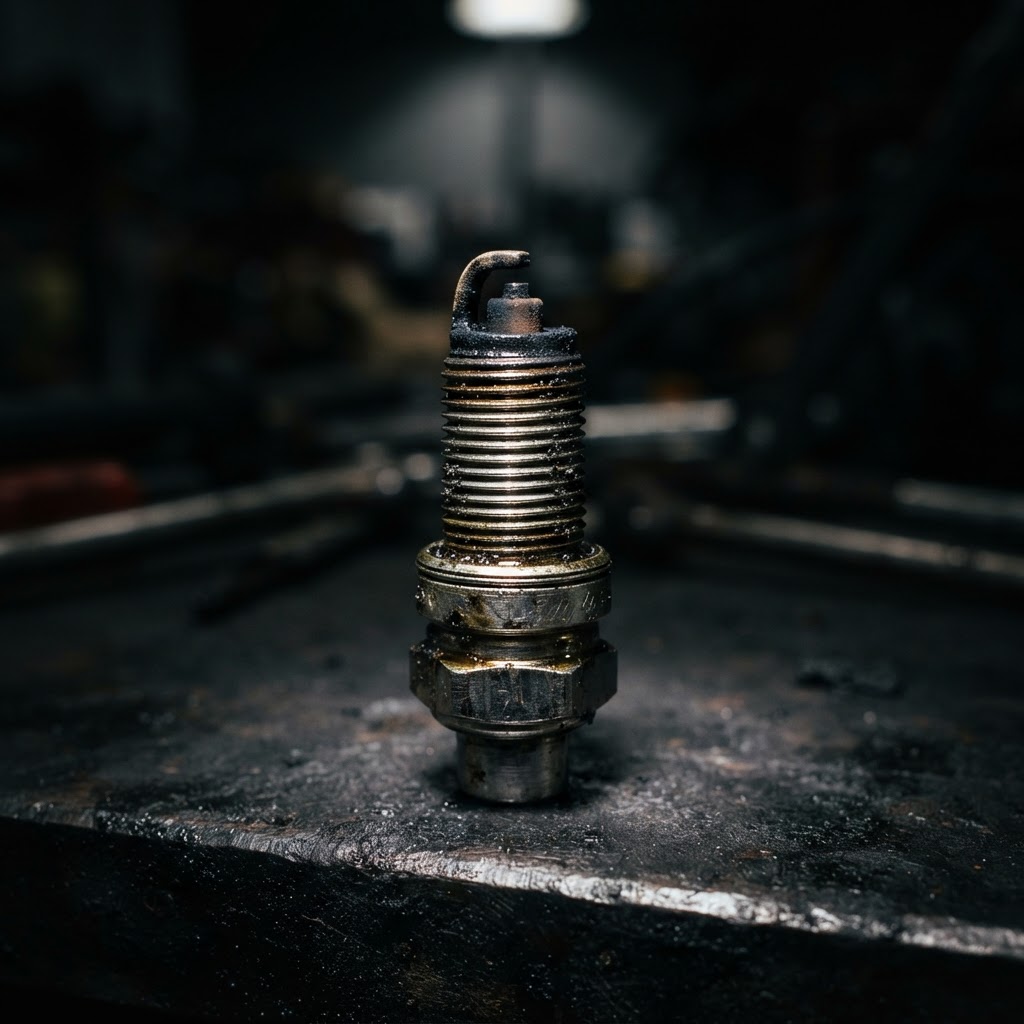
Spark Plug
Replacing a fouled or worn spark plug is the first step to addressing ignition failure and ensuring a strong, consistent spark for combustion.
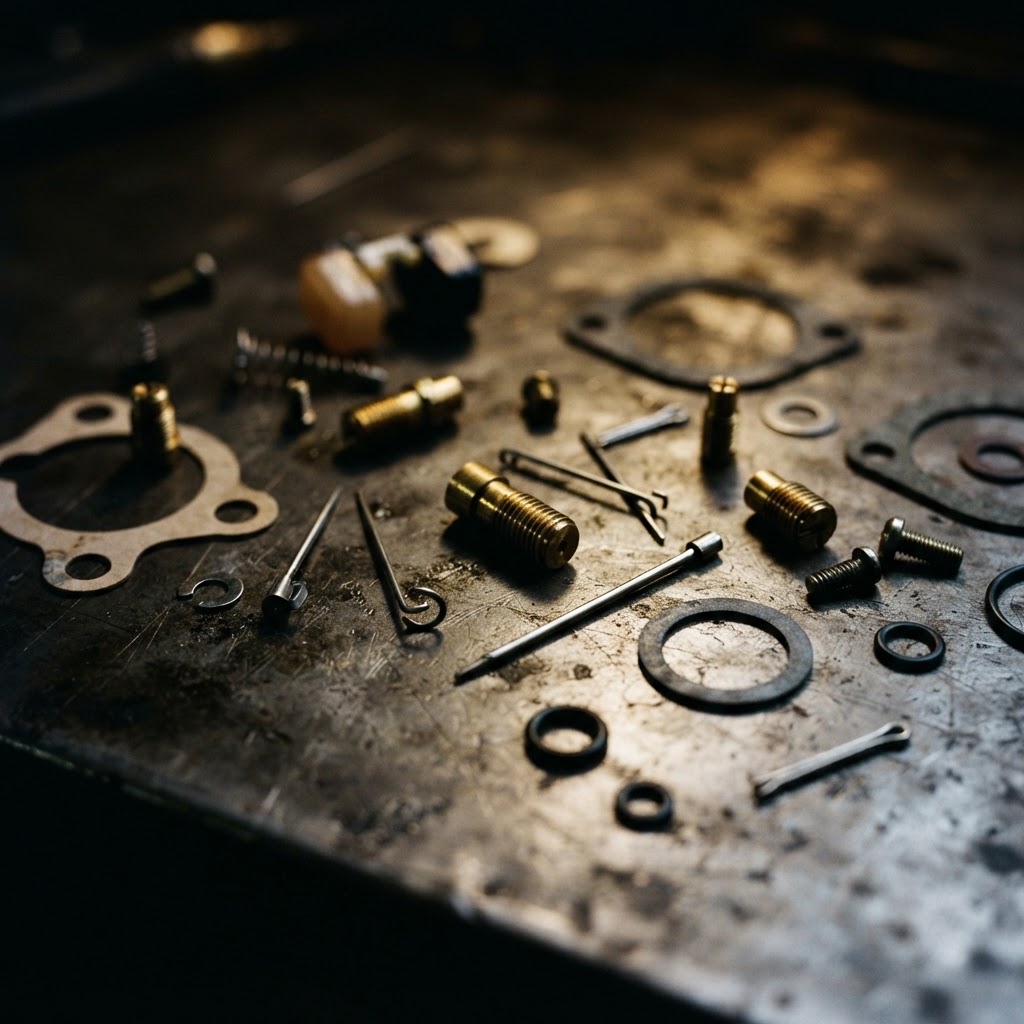
Carburetor Rebuild Kit
When internal passages or the main jet are permanently obstructed by fuel varnish, this kit provides the necessary gaskets and components to restore proper fuel flow.
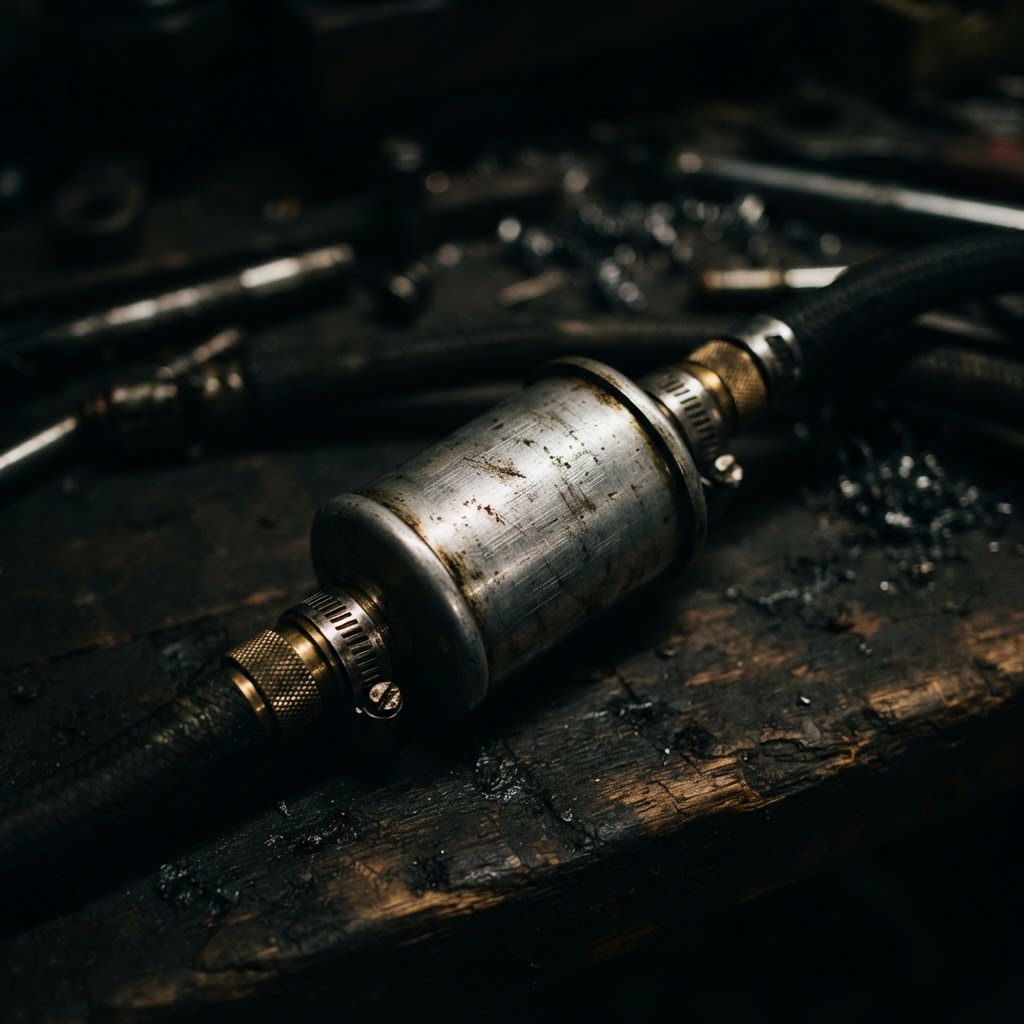
In-Line Fuel Filter
A clogged filter prevents the fuel pump or gravity system from delivering adequate fuel to the carburetor, which is a common cause of no-start conditions after storage.
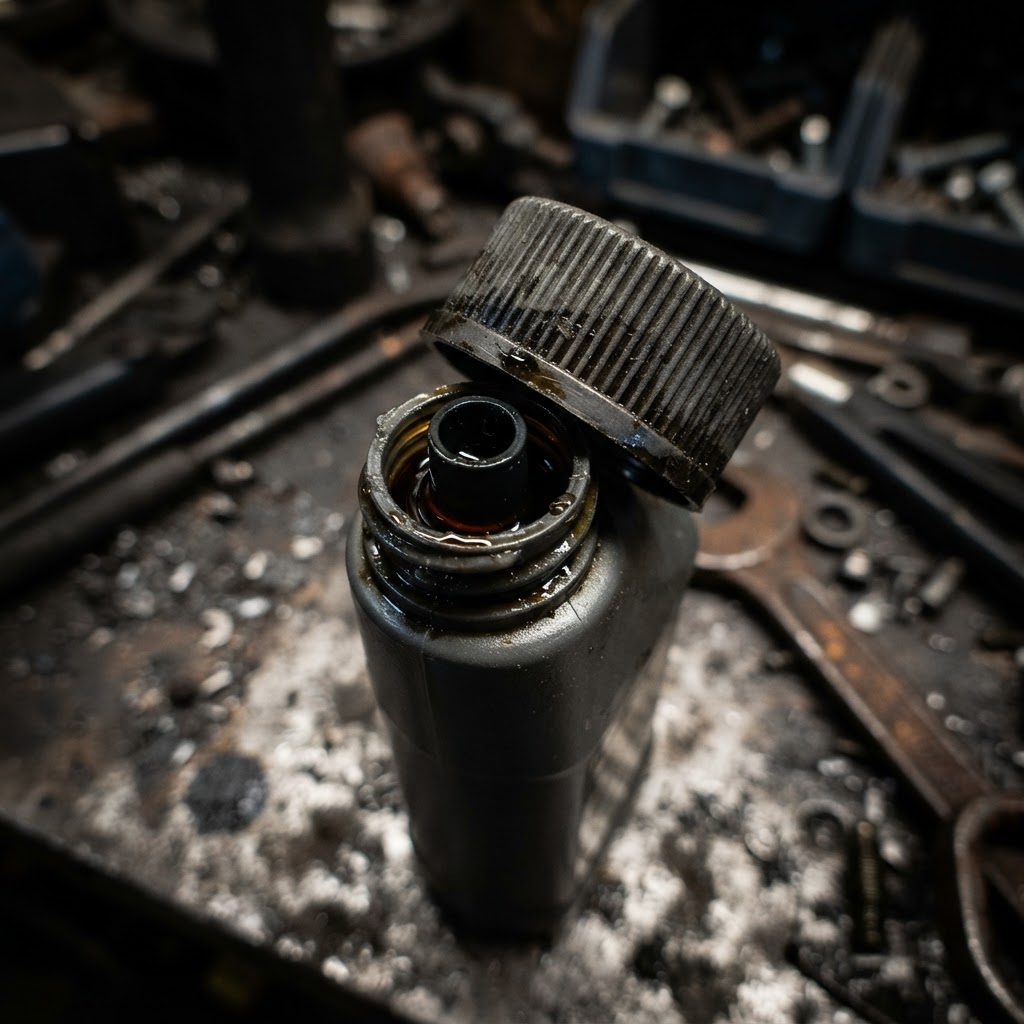
Fuel Stabilizer
Adding this to the tank prevents future fuel degradation and gum formation that directly leads to the carburetor clogging issues identified in your troubleshooting.
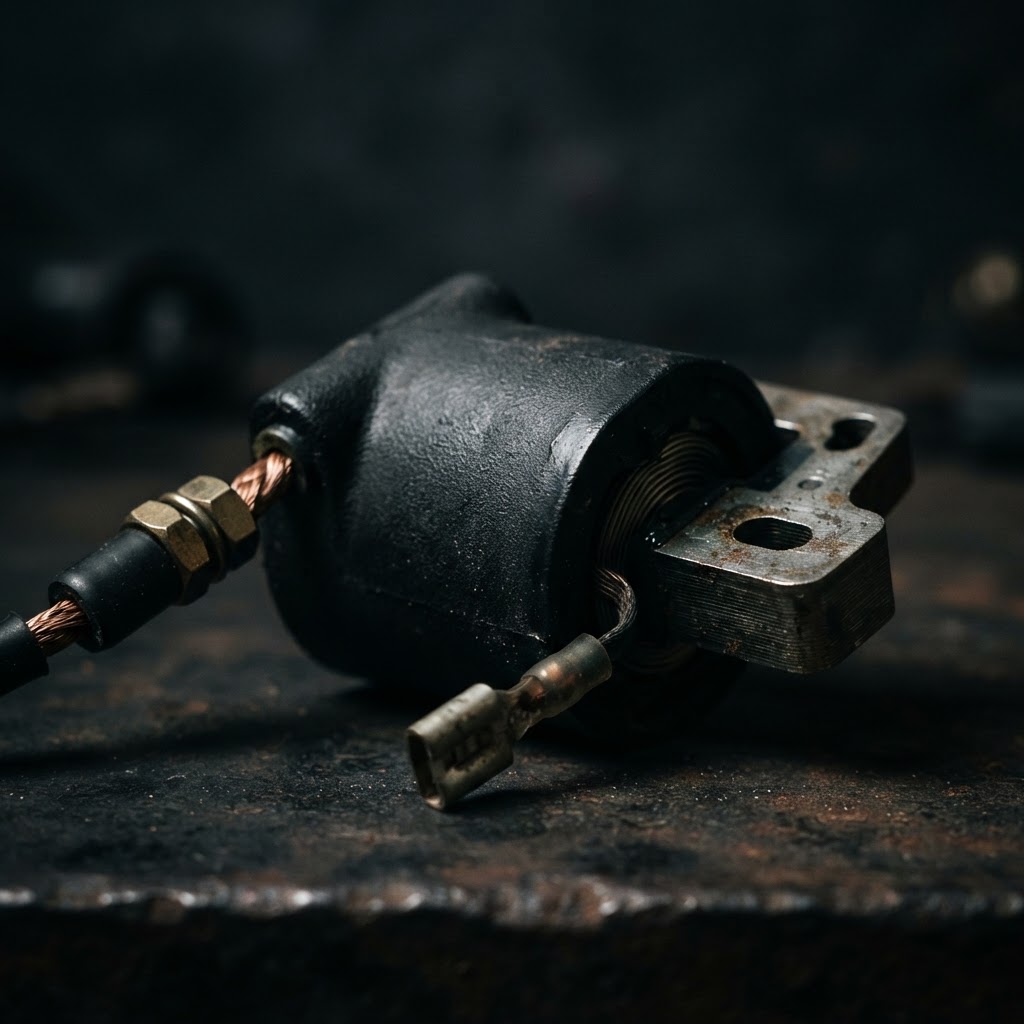
Ignition Coil
If spark testing confirms a dead signal, replacing the magneto is the only way to restore the electrical path required to fire the plug.
Affiliate Disclosure: Lil Engine may earn commissions from qualifying purchases.
Pro Tips from the Community
Real-world fixes from Reddit, YouTube & forums.
"If it won't fire, give the carburetor bowl a few firm taps with the handle of a screwdriver. This often jars a stuck float or fuel solenoid needle loose enough to get you through the day."
YouTube comments"Check your oil level and smell it. If it smells like gas, your carburetor float stuck open and flooded the engine. You'll need to change the oil and fix the carb or it'll never run right."
Reddit r/lawncare"Don't overlook the 'kill wire' on the coil. Unplug the small wire from the ignition coil and try to start it; if it fires up, you have a bad safety switch or a short in the wiring harness."
LawnSite.com ForumBrand-Specific Notes
Briggs & Stratton
These engines are notorious for carburetor solenoid failures where the anti-backfire fuel shut-off fails to open. Always verify 12V power to the solenoid wire when the ignition is in the run position.
Kohler
Kohler Command and Courage engines often suffer from loose head bolts, leading to blown head gaskets that mimic low compression issues. Check for oil residue near the cylinder head mating surface.
Kawasaki
Kawasaki V-twin engines use sensitive pulse fuel pumps that can become brittle over time. If fuel is not reaching the carb, check the vacuum port on the crankcase for debris or blockage.
Model-Specific Variations
Briggs Intek V-Twin
Equipped with an overhead valve (OHV) design that requires periodic valve lash adjustment. Improper clearance prevents the compression release from engaging, causing a no-start condition.
Honda GX Series
Features a low oil alert sensor that grounds the ignition circuit if the oil level is low. Always check the oil dipstick before dismantling the ignition system.
Kohler Courage SV710
Uses a specialized plastic cam gear that can wear prematurely. If the engine spins too freely while cranking, verify valve timing alignment.
Diagnosis Matrix for No-Start
| Symptom | Primary Suspect | Secondary Suspect | Verification Method |
|---|---|---|---|
| Dry Spark Plug | Fuel Pump/Filter | Clogged Jet | Test fuel flow |
| Wet Spark Plug | Flooding/Choke | Weak Spark | Test coil gap |
| No Spark | Kill Switch | Ignition Coil | Multimeter testing |
Real-World Repair Examples
Situation
A Kohler Courage engine cranked but refused to fire after winter storage. The fuel tank had old gas, and the fuel line was collapsed.
Solution
Drained the fuel system, replaced the fuel filter, and installed a new ethanol-resistant fuel line.
Engine started immediately upon the second turn of the key.
Situation
A Briggs V-Twin mower had no spark due to a faulty seat safety interlock wire being pinched.
Solution
Used a multimeter to track the ground path from the ignition module to the chassis and repaired the frayed wire insulation.
Spark returned to the plug and the engine fired.
Situation
Customer reported no start after stalling while mowing; compression was found to be 30 PSI.
Solution
Removed the cylinder head and found a blown gasket between the cylinder and pushrod gallery.
Replaced head gasket and torqued bolts to factory specs, restoring 90 PSI compression.
Prevent This From Coming Back
Always use a fuel stabilizer in every gas can throughout the season
Replace the inline fuel filter every 50 hours of operation
Store the mower with the fuel valve off and the carburetor drained in the off-season
Keep the area around the air intake clear of clippings to prevent overheating
Prevent This From Happening Again
While you're fixing it, stock up on the maintenance essentials that keep your riding mowers running right.
Small Engine Oil
Change oil every 50 hours or once per season to prevent engine wear.
Get on AmazonAir Filter
A clogged air filter reduces power and fuel efficiency — replace annually.
Get on AmazonFuel Stabilizer
Keeps fuel fresh during storage, preventing carburetor gumming.
Get on AmazonAffiliate Disclosure: Lil Engine may earn commissions from qualifying purchases.
Frequently Asked Questions
A weak battery will cause slow cranking, but if the engine spins at a normal speed, the battery is not the issue. The spark plug requires consistent RPM to generate a strong enough magnetic field in the coil.
Related Questions
Common variations and related questions about this repair.
Why does my mower crank but not start?
The most common causes are fuel starvation, lack of spark, or insufficient compression. You should methodically test each system, starting with checking the spark plug, then verifying fuel delivery to the carburetor.
How do I check if my spark plug is working?
Remove the plug, connect it to the high-tension lead, and ground the threads against the engine block. Crank the engine and observe if a bright blue spark jumps across the electrode gap.
Can bad gas prevent a mower from starting?
Yes, old fuel loses volatility over time, especially ethanol-blended gasoline which can gum up carburetor jets. Always use fresh gas and a stabilizer if the mower has sat for more than 30 days.
What is the role of the anti-backfire solenoid?
It is an electrical valve on the bottom of the carburetor that stops fuel flow when the engine is turned off. If it fails to retract, the engine will crank but receive no fuel.
Does a blown head gasket cause a no-start?
Yes, a blown head gasket results in a loss of compression, which is necessary for the air-fuel mixture to ignite. You can confirm this by performing a cylinder leak-down test.
How often should I change the fuel filter?
It is recommended to replace the fuel filter every 50 hours of operation or at least once per season. A clogged filter restricts flow and is a common cause for engines that crank but won't start.
Video Help
Helpful videos showing these repairs in action.
Share Your Repair
Real-world fixes help everyone. Share what worked and your repair becomes part of Lil Engine's community database.
Related Problems
More Riding Mowers GuidesRelated Maintenance Articles
Did this help?
Your feedback helps improve guides for everyone.