Gravely ZT HD Won't Crank — Dead Starting Circuit Diagnosis
⚡ Quick Answer
On the Gravely ZT HD, the most frequent cause for a 'dead' machine is a tripped PTO (blade) switch or a failed seat safety switch. Ensure the battery maintains at least 12.4V DC and check the 20A/30A main fuses located near the starter solenoid. If the engine cranks but won't fire, the Kawasaki FR-series fuel shut-off solenoid at the base of the carburetor is the likely culprit, often sticking due to ethanol-blended fuel.
What do you want to do?
Most Likely Cause
Failed Seat Safety Switch
The ZT HD utilizes a weight-sensitive switch under the operator seat. If the switch plunger is stuck or the wiring harness beneath the seat has been tugged or frayed, the starter solenoid will not receive a signal.
Start here — this is the most common reason for this symptom.
Why This Problem Happens
The Gravely ZT HD starting circuit relies on a complex series of safety interlocks designed to prevent engagement unless the machine is in a 'safe' configuration. When you turn the key, 12V DC current must flow through the seat switch, the brake-pedal proximity sensor, and the PTO clutch switch before reaching the starter solenoid. If any of these normally-closed or normally-open circuits fail to complete the loop, the ground or power signal is interrupted, leaving the starter solenoid unenergized. This is rarely a total component failure of the engine itself, but rather a disruption in the logic gate that ensures the blades aren't engaged or the operator isn't absent. Over time, debris ingress from heavy mowing cycles can cause these switches to oxidize or become physically obstructed. Additionally, the ZT HD uses a robust frame-grounding system; if the heavy-gauge battery cable connections to the chassis or the starter motor casing become corroded or loose, the high-amperage draw required to kick the starter pinion into the flywheel teeth cannot be achieved, resulting in a 'dead' condition despite a fully charged battery.
Common Symptoms
- Complete silence when turning the key to the start position
- Dash lights illuminate but fade when the ignition is engaged
- Clicking sound from the starter solenoid but engine does not rotate
- Intermittent starting only when the seat is shifted
- Blades are not engaged but the safety light on the dash persists
Before You Buy Parts
Quick, free inspections — check these first. Most repairs don't actually need replacement parts.
Complete Resource Guide
Complete Riding Mowers Troubleshooting Guide
Brand Resource Hub
Gravely Troubleshooting & Repair Guide
Repair Overview
45–90 minutes
$0–$150
First Checks — Start Here
- 1Verify battery voltage is at 12.4V or higher using a multimeter
- 2Cycle the PTO (blade) switch off and on; it must be 'Down' to start
- 3Ensure the parking brake is fully engaged to trigger the safety interlock
- 4Inspect the 20-amp and 30-amp blade fuses for a blown filament
- 5Jump the starter solenoid posts with an insulated screwdriver to test the starter motor
- 6Check for 12V at the fuel shut-off solenoid (bottom of carb) with the key in the 'On' position
Safety Warnings
- !Wear eye protection as batteries can off-gas hydrogen.
- !Ensure the PTO is disengaged and the mower is in neutral to prevent the machine from moving.
- !Disconnect the negative battery terminal before checking continuity to prevent damaging your multimeter.
- !Do not over-torque the chassis bolt as it may strip the frame threads.
- !This is for diagnostic testing only; never operate the mower with the safety switch bypassed permanently.
- !Keep hands clear of the cooling fan and blades as the starter can engage unexpectedly.
- !Relying on a simple digital multimeter for battery health without a load test
- !Overlooking the inline fuse located near the battery tray
Always disconnect the spark plug, work in a well-ventilated area, and consult a professional if unsure.
Most Likely Causes
Ranked by likelihood — tap each to see diagnosis details.
The ZT HD utilizes a weight-sensitive switch under the operator seat. If the switch plunger is stuck or the wiring harness beneath the seat has been tugged or frayed, the starter solenoid will not receive a signal.
Vibration on zero-turn mowers frequently loosens battery terminal hardware. A high-resistance connection here will show nominal voltage on a multimeter but fail under the heavy load of the starter solenoid engagement.
🔧 Step-by-Step Fix Guide
Load Test the Battery
Use a digital battery load tester to verify the battery is not just showing voltage, but providing amperage. A static voltage reading of 12.6V is insufficient if the battery drops below 9.5V under a 100-amp load.
Wear eye protection as batteries can off-gas hydrogen.
Bypass Test the Solenoid
Using an insulated screwdriver, bridge the two large terminals on the starter solenoid for a split second. If the starter spins, the issue is in the control circuit (switches/key); if it does not spin, the starter or battery cables are the culprit.
Ensure the PTO is disengaged and the mower is in neutral to prevent the machine from moving.
Inspect the PTO Clutch Switch
Locate the PTO switch on the dash and check for continuity using a multimeter. If the switch does not show a closed circuit when pulled to the 'off' position, the starting circuit is physically interrupted.
Disconnect the negative battery terminal before checking continuity to prevent damaging your multimeter.
Clean and Tighten All Grounds
Trace the negative battery cable to the chassis bolt. Remove, clean the contact point with a wire brush to bare metal, and re-torque the bolt to ensure a path of least resistance for the high-current draw.
Do not over-torque the chassis bolt as it may strip the frame threads.
Check the Seat Switch Harness
Unplug the connector under the seat and use a jumper wire to simulate a closed circuit. If the mower cranks, the seat switch is the confirmed point of failure.
This is for diagnostic testing only; never operate the mower with the safety switch bypassed permanently.
Test the Starter Motor
Connect a set of jumper cables directly from a known-good battery to the starter motor positive terminal and the starter housing ground. If the starter remains dead, the starter motor has an internal open circuit or worn brushes.
Keep hands clear of the cooling fan and blades as the starter can engage unexpectedly.
What To Test Next
If fuel delivery checks out, the next thing to inspect is spark — remove the spark plug, ground its threads to the engine block, and crank the engine to look for a visible blue spark.
Component Reference

Carburetor & Fuel Intake
The carburetor mixes air and fuel for combustion. A clogged jet or stuck float is the #1 cause of small engine starting and surging problems.

Spark Plug & Ignition System
The spark plug ignites the air-fuel mixture. A fouled plug, wrong gap, or failing ignition coil will prevent the engine from firing.

Oil & Lubrication System
Regular oil changes are critical. Low or dirty oil causes engine wear, overheating, and eventual seizure. Check the dipstick before every season.

Fuel System
Stale fuel is the most common cause of seasonal starting failures. Fuel breaks down in 30 days, leaving varnish that clogs carburetor jets and fuel filters.
Photos for educational reference. Actual parts may vary by make and model.
Common Mistakes to Avoid
Replacing the starter motor before verifying the solenoid engagement signal
Relying on a simple digital multimeter for battery health without a load test
Overlooking the inline fuse located near the battery tray
Forgetting to check the parking brake interlock sensor adjustment
If This Didn't Fix It
Still having trouble? These are the next things to check:
Get the Exact Parts for Your Machine
Tell us your equipment's year, make, and model — we'll search for parts that actually fit, not generic ones.
Finding parts for
Gravely ZT HD
Required Gear
Matched to your Gravely ZT HD — click to find the exact fit on Amazon.
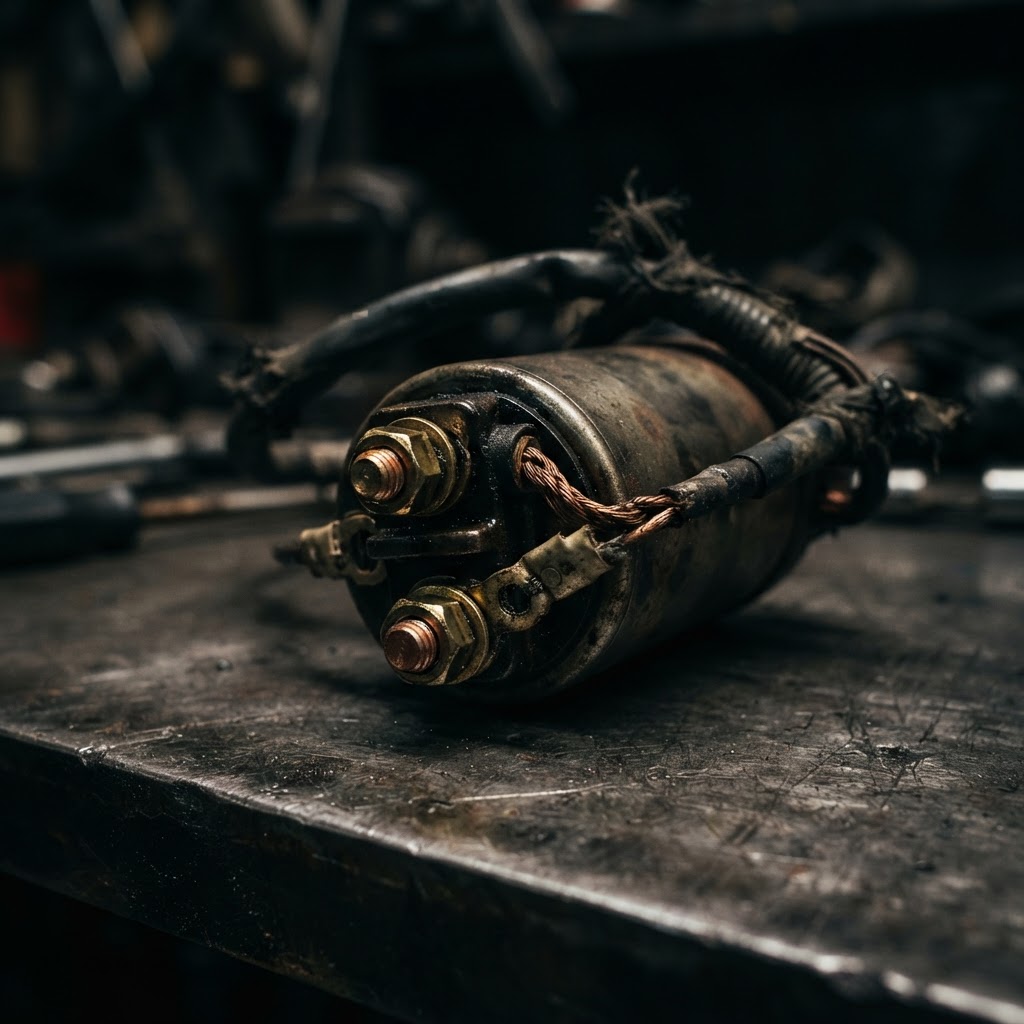
Starter Solenoid
If the solenoid fails the bypass test, it must be replaced to bridge the high-amperage connection between the battery and the starter motor.

Ignition Fuse Kit
These specific amperage fuses are essential replacements if your diagnostic steps confirmed that a blown fuse is preventing power from reaching the ignition circuit.

Battery Terminal Cleaning Brush
This is a repair-specific consumable needed to remove heavy oxidation from battery posts and chassis ground points to ensure proper electrical conductivity.
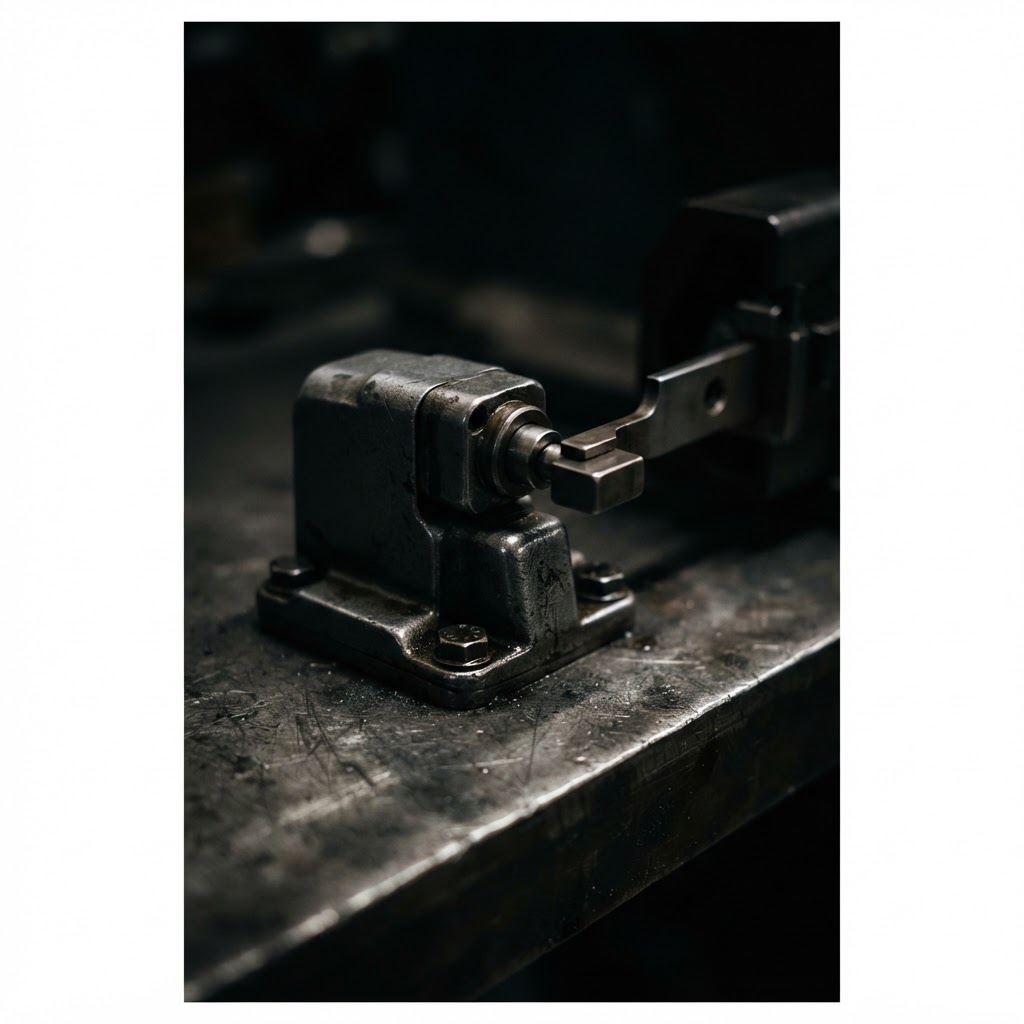
Safety Interlock Switch
Replacement seat or brake safety switches are required if the existing units fail continuity tests during your inspection of the mower's starting circuit.

Dielectric Grease
This consumable is critical to apply to all newly cleaned ground connections and electrical terminals to prevent future corrosion and ensure a reliable starting path.
Affiliate Disclosure: Lil Engine may earn commissions from qualifying purchases.
Pro Tips from the Community
Real-world fixes from Reddit, YouTube & forums.
"The PTO switch on Gravely mowers often gets dust inside; toggle it 10-20 times rapidly with the key off to 'clean' the contacts. Sometimes this is all it takes to get it to crank again."
LawnSite.com Forum"Check the purple trigger wire going to the solenoid. It's a known weak point on the ZT HD harness and can vibrate loose or break inside the insulation right at the spade connector."
Reddit r/lawnmowers"If it won't crank, check the ground bolt on the right side of the frame near the engine. Gravely paints the frame before assembly, and sometimes the ground isn't making good contact through the paint."
TractorByNet ForumPrevent This From Coming Back
Apply dielectric grease to all electrical connector pins annually
Keep battery terminals tight and coated with a thin layer of petroleum jelly to prevent oxidation
Regularly blow out the area under the seat and around the pedal linkages with compressed air
Ensure the PTO switch is always returned to the OFF position after engine shutdown to prevent strain
Prevent This From Happening Again
While you're fixing it, stock up on the maintenance essentials that keep your riding mowers running right.
Small Engine Oil
Change oil every 50 hours or once per season to prevent engine wear.
Get on AmazonAir Filter
A clogged air filter reduces power and fuel efficiency — replace annually.
Get on AmazonFuel Stabilizer
Keeps fuel fresh during storage, preventing carburetor gumming.
Get on AmazonAffiliate Disclosure: Lil Engine may earn commissions from qualifying purchases.
Frequently Asked Questions
While technically possible for diagnostic purposes, it is highly dangerous as it disables critical operator-presence protection. You should always replace a faulty switch with the genuine Gravely part.
Video Help
Helpful videos showing these repairs in action.
Share Your Repair
Real-world fixes help everyone. Share what worked and your repair becomes part of Lil Engine's community database.
Related Problems
More Riding Mowers GuidesRelated Maintenance Articles
Related Symptoms
Won’t Start
Carburetor / Fuel Issues
Related Searches
Gravely riding mower Guides
Did this help?
Your feedback helps improve guides for everyone.