Riding Mower Safety Switch Troubleshooting
⚡ Quick Answer
Riding mowers have multiple safety interlocks that prevent the engine from starting if they detect an unsafe condition. The most likely causes are a loose wire, a faulty seat switch, or a blade engagement lever that is not fully in the 'off' position.
What do you want to do?
Most Likely Cause
Faulty Seat Safety Switch
The seat safety switch is designed to kill the engine or prevent starting if the operator is not seated, making it the most frequent point of failure in the starting circuit. It is exposed to vibration, moisture, and debris daily, which eventually degrades the internal contacts and prevents the electrical signal from reaching the starter solenoid.
Start here — this is the most common reason for this symptom.
Why This Problem Happens
Riding mower safety circuits operate as a series of normally-open or normally-closed switches interconnected in a safety interlock module. When you turn the ignition key to the start position, a 12V signal must complete a path through the seat switch, the brake/clutch pedal switch, and the deck engagement lever switch before reaching the starter solenoid coil. If any mechanical linkage is bent, a plunger is stuck with grit, or a connector has oxidized, this continuity is broken, effectively creating an open circuit that prevents the solenoid from engaging. The physical failure often stems from the harsh operating environment; vibration causes wire chafing, while moisture ingress leads to terminal corrosion. These switches rely on spring-loaded internal contacts which lose tension over time or become packed with debris from grass clippings and soil, rendering the mechanical connection unreliable. When the electrical resistance in these switches exceeds the operational threshold, the solenoid fails to receive sufficient voltage to pull in, leaving the starter motor dead even with a fully charged battery.
Common Symptoms
- Complete silence when turning ignition to start
- Single click from solenoid but no crank
- Engine starts only when bypassing seat switch
- Mower dies immediately when mower deck is engaged
- Dashboard LED indicators fail to cycle correctly
Before You Buy Parts
Quick, free inspections — check these first. Most repairs don't actually need replacement parts.
Complete Resource Guide
Complete Riding Mowers Troubleshooting Guide
Repair Overview
30–60 minutes
$10–$40
First Checks — Start Here
- 1Ensure the parking brake is fully engaged
- 2Verify the blade engagement (PTO) lever is in the OFF position
- 3Check that the mower is in neutral if applicable
- 4Sit firmly in the center of the seat
- 5Check for loose wires under the seat or near the brake pedal
Safety Warnings
- !Keep hands and tools clear of the cooling fan and pulleys during testing.
- !Never bridge or jumper a safety switch connector to force a start; replace the faulty switch instead.
- !Ensure the battery is disconnected before spraying cleaners to prevent shorts.
- !Block the wheels to prevent the mower from rolling during adjustment.
- !Do not test continuity while the switch is still powered by the battery.
- !Ensure the engine is cool before working near the exhaust-side ground points.
Always disconnect the spark plug, work in a well-ventilated area, and consult a professional if unsure.
Most Likely Causes
Ranked by likelihood — tap each to see diagnosis details.
The switch beneath the seat is designed to kill the engine if the operator leaves the seat while the mower is in gear. Debris buildup or a faulty plunger mechanism prevents the switch from clicking closed when seated.
If the PTO switch does not verify the blades are disengaged, the circuit stays open. Moisture commonly causes green oxidation on the blade-style connectors behind the dash.
🔧 Step-by-Step Fix Guide
Perform Voltage Drop Test
Use a digital multimeter set to DC volts to check for 12V at the load side of each switch. Trace the circuit from the battery through the key switch and individual safety switches to see where the voltage drop occurs.
Keep hands and tools clear of the cooling fan and pulleys during testing.
Isolate the Faulty Switch with Continuity Testing
Back-probe each suspect safety switch connector with a digital multimeter set to ohms, with the switch in its expected actuated state (seat occupied, brake depressed, PTO disengaged). A healthy switch reads near-zero ohms when actuated and open (OL) when released. The switch that fails to close when it should is your fault — replace it rather than bridging the connector.
Never bridge or jumper a safety switch connector to force a start; replace the faulty switch instead.
Cleaning Switch Terminals
Use a contact cleaner like CRC QD Electronic Cleaner and a small pick to remove debris and oxidation from the spade terminals. Ensure the connector 'clicks' securely back into place.
Ensure the battery is disconnected before spraying cleaners to prevent shorts.
Adjusting Linkage Play
If the switch is fine but not being depressed, inspect the brake or PTO linkage for excessive wear. Adjust the turnbuckles or replace worn bushings to ensure the switch plunger is fully compressed.
Block the wheels to prevent the mower from rolling during adjustment.
Testing Continuity of Switch Plunger
Remove the switch and set your multimeter to the continuity (beep) setting. Depress the plunger manually; the meter should beep only when the switch is fully actuated.
Do not test continuity while the switch is still powered by the battery.
Inspect Ground Connections
The safety circuit often relies on a common ground chassis point. Clean the ring terminal connection to the engine block with a wire brush to ensure a solid electrical return path.
Ensure the engine is cool before working near the exhaust-side ground points.
What To Test Next
If the seat switch is functioning correctly, the next logical step is to test the continuity of the brake or parking brake switch using a multimeter.
Component Reference

Carburetor & Fuel Intake
The carburetor mixes air and fuel for combustion. A clogged jet or stuck float is the #1 cause of small engine starting and surging problems.

Electrical & Starting System
The battery, solenoid, and starter motor work together to crank the engine. A weak battery or corroded connection is often mistaken for a fuel or spark problem.

Drive & Cutting System
Belts, pulleys, and clutches transfer engine power to the wheels and cutting deck. A worn or thrown belt is the most common drive-system failure.
Photos for educational reference. Actual parts may vary by make and model.
Common Mistakes to Avoid
Replacing the starter solenoid before checking the interlock switches
Leaving bypass jumpers connected after diagnosis
Using aggressive sandpaper on switch pins which removes the protective plating
Ignoring loose ground connections in favor of replacing expensive components
If This Didn't Fix It
Still having trouble? These are the next things to check:
Riding Mower Starting Problems
Not sure if this is the right guide? Here's how to find the exact fix for your symptom:
Get the Exact Parts for Your Machine
Tell us your equipment's year, make, and model — we'll search for parts that actually fit, not generic ones.
Finding parts for
riding mower safety switch
Required Gear
Matched to your riding mower safety switch — click to find the exact fit on Amazon.
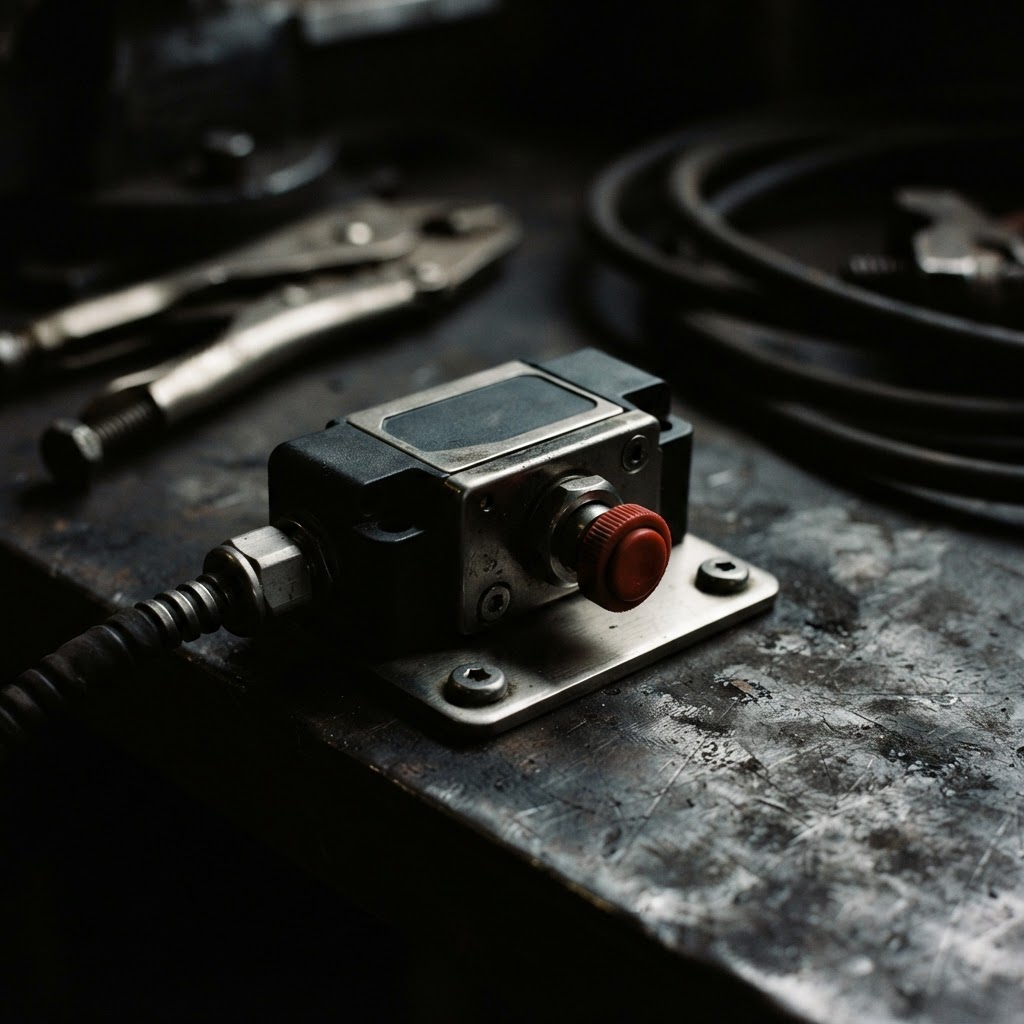
Safety Interlock Switch
If testing confirms a switch has no continuity, it must be replaced with an identical OEM part to restore safety functionality.
Electrical Contact Cleaner
Used to remove oxidation and debris from electrical connectors that may be causing an open circuit.
Dielectric Grease
Applied to electrical connectors to prevent future corrosion and moisture intrusion after cleaning.
Affiliate Disclosure: Lil Engine may earn commissions from qualifying purchases.
Prevent This From Coming Back
Blow out the area under the seat with compressed air every 10 hours
Apply dielectric grease to all electrical connectors annually
Inspect wiring harnesses for signs of rubbing or heat damage during oil changes
Check brake linkage tension to ensure switches are fully depressed
Prevent This From Happening Again
While you're fixing it, stock up on the maintenance essentials that keep your riding mowers running right.
Small Engine Oil
Change oil every 50 hours or once per season to prevent engine wear.
Get on AmazonAir Filter
A clogged air filter reduces power and fuel efficiency — replace annually.
Get on AmazonFuel Stabilizer
Keeps fuel fresh during storage, preventing carburetor gumming.
Get on AmazonAffiliate Disclosure: Lil Engine may earn commissions from qualifying purchases.
Frequently Asked Questions
No. Bypassing safety switches is extremely dangerous and can lead to severe injury if the mower is operated unintentionally.
Video Help
Helpful videos showing these repairs in action.
Share Your Repair
Real-world fixes help everyone. Share what worked and your repair becomes part of Lil Engine's community database.
Related Problems
More Riding Mowers GuidesRelated Maintenance Articles
Did this help?
Your feedback helps improve guides for everyone.