Toro Power Max Snow Blower Cranks But Won't Start — Fuel & Spark Fix
⚡ Quick Answer
If your Toro Power Max cranks but won't fire, the most likely culprit is a clogged carburetor main jet or a failed primer bulb line. First, verify spark with a tester, then spray a small amount of carburetor cleaner into the intake; if the engine fires for a few seconds, you have confirmed a fuel delivery issue. Ensure the safety key is fully seated and the fuel shut-off valve is open before dismantling the carburetor.
What do you want to do?
Most Likely Cause
Main Jet Obstruction
Varnish from stale fuel blocks the brass main jet located at the bottom of the carburetor. Use a fine wire to ensure the passage is clear if the engine cranks but only runs when primed.
Start here — this is the most common reason for this symptom.
Why This Problem Happens
Toro Power Max snow blowers utilize overhead valve (OHV) engines that rely on a delicate balance of atomized fuel, high-intensity spark, and specific compression timing. When an engine cranks but fails to fire, it is usually because the fuel-to-air ratio is too lean due to a gummed-up carburetor, or the ignition system is failing to bridge the spark plug gap at the precise millisecond of top-dead-center compression. Modern ethanol-blended gasoline is highly hydroscopic; when it sits in the Power Max’s aluminum float bowl for more than thirty days, it degrades into a varnish-like sludge that restricts the narrow orifices of the main jet. Without proper fuel delivery, the combustible charge fails to ignite regardless of cranking speed. Simultaneously, if the ignition coil fails to trigger a robust spark, or if the safety interlock switch on the dash console is creating phantom resistance, the combustion cycle never initiates. Understanding this interaction—where fuel starvation meets electrical interruption—is the key to diagnosing the Toro starting sequence effectively.
Common Symptoms
- Engine turns over steadily but shows no signs of firing
- Spark plug tip appears bone-dry after repeated cranking
- Pungent odor of stale or varnished gasoline near the carburetor
- Intermittent popping sounds during high-speed cranking
- Presence of debris or moisture in the fuel tank sight window
Before You Buy Parts
Quick, free inspections — check these first. Most repairs don't actually need replacement parts.
Complete Resource Guide
Complete Leaf Blower Troubleshooting & Repair Guide
Brand Resource Hub
Toro Troubleshooting & Repair Guide
Repair Overview
1–2 hours
$10–$40
First Checks — Start Here
- 1Verify the plastic safety key is pushed in until it clicks.
- 2Ensure the fuel shut-off valve (located under the fuel tank) is turned to the 'ON' position.
- 3Check for spark using an inline tester — look for a consistent blue arc.
- 4Perform a 'static' test by spraying carb cleaner into the air intake to see if it fires.
- 5Inspect the primer bulb line for cracks or dry-rot that prevent fuel priming.
- 6Confirm the throttle lever is in the 'Fast' or 'Start' position to engage the choke.
Safety Warnings
- !Ensure you are working in a well-ventilated area away from open flames or hot heaters.
- !Keep fingers clear of the plug wire tip while cranking to avoid a significant electric shock.
- !Wear safety glasses, as pressurized cleaner will spray back out of the orifice.
- !Disconnect the spark plug wire entirely before reaching near the rotating flywheel assembly.
- !Do not attempt to bypass safety switches permanently as it compromises machine operation.
- !Ensure the piston is at top-dead-center on the compression stroke before measuring clearances.
- !Using an automotive spark plug that has the wrong reach or heat range for the Toro engine.
- !Neglecting to remove the fuel bowl nut, which holds the actual jet, and only cleaning the outside of the carb.
Always disconnect the spark plug, work in a well-ventilated area, and consult a professional if unsure.
Most Likely Causes
Ranked by likelihood — tap each to see diagnosis details.
Varnish from stale fuel blocks the brass main jet located at the bottom of the carburetor. Use a fine wire to ensure the passage is clear if the engine cranks but only runs when primed.
Carbon buildup on the electrodes or a damaged porcelain insulator prevents a strong spark. Verify the gap and ensure the plug is the specific heat range recommended for Toro OHV engines.
🔧 Step-by-Step Fix Guide
Inspect Fuel Quality and Flow
Drain the old fuel into a container and inspect for phase separation. Disconnect the fuel line from the carburetor intake to confirm that a steady stream of fresh fuel flows from the tank.
Ensure you are working in a well-ventilated area away from open flames or hot heaters.
Perform Spark Gap Test
Use an adjustable ignition tester to confirm the spark jumps a 1/4 inch gap. If the spark is yellow or weak, replace the plug or check the ignition coil grounding wire.
Keep fingers clear of the plug wire tip while cranking to avoid a significant electric shock.
Clean Carburetor Main Jet
Remove the bowl nut using a 10mm or 13mm socket. Use carburetor cleaner and a small strand of wire to clear the jet passage located inside the bowl bolt.
Wear safety glasses, as pressurized cleaner will spray back out of the orifice.
Verify Ignition Coil Magnet Gap
Remove the starter housing shroud and use a business card as a spacer between the coil magnet and the flywheel. Loosen the coil bolts, press it against the flywheel, and re-tighten to ensure the correct gap.
Disconnect the spark plug wire entirely before reaching near the rotating flywheel assembly.
Test Electrical Safety Switches
Use a multimeter set to continuity to check the dash-mounted stop switch. If it shows continuity when in the 'run' position, the switch is faulty and must be replaced.
Do not attempt to bypass safety switches permanently as it compromises machine operation.
Check Valve Clearance
If the engine has high hours, check the intake and exhaust valve clearances using a feeler gauge. If the intake valve is too tight, it will bleed off compression, leading to no-start conditions.
Ensure the piston is at top-dead-center on the compression stroke before measuring clearances.
What To Test Next
If fuel delivery checks out, the next thing to inspect is spark — remove the spark plug, ground its threads to the engine block, and crank the engine to look for a visible blue spark.
Component Reference

Carburetor & Fuel Intake
The carburetor mixes air and fuel for combustion. A clogged jet or stuck float is the #1 cause of small engine starting and surging problems.

Spark Plug & Ignition System
The spark plug ignites the air-fuel mixture. A fouled plug, wrong gap, or failing ignition coil will prevent the engine from firing.

Oil & Lubrication System
Regular oil changes are critical. Low or dirty oil causes engine wear, overheating, and eventual seizure. Check the dipstick before every season.

Air Filter & Intake
A clogged air filter starves the engine of air, causing rich running, power loss, and hard starting. Inspect and clean or replace it each season.
Photos for educational reference. Actual parts may vary by make and model.
Common Mistakes to Avoid
Using starter fluid excessively, which can wash oil off the cylinder walls and cause scoring.
Using an automotive spark plug that has the wrong reach or heat range for the Toro engine.
Neglecting to remove the fuel bowl nut, which holds the actual jet, and only cleaning the outside of the carb.
Forgetting to switch the ignition toggle to the 'ON' position before troubleshooting.
If This Didn't Fix It
Still having trouble? These are the next things to check:
Get the Exact Parts for Your Machine
Tell us your equipment's year, make, and model — we'll search for parts that actually fit, not generic ones.
Finding parts for
Toro Power Max snow blower cranks but
Required Gear
Matched to your Toro Power Max snow blower cranks but — click to find the exact fit on Amazon.
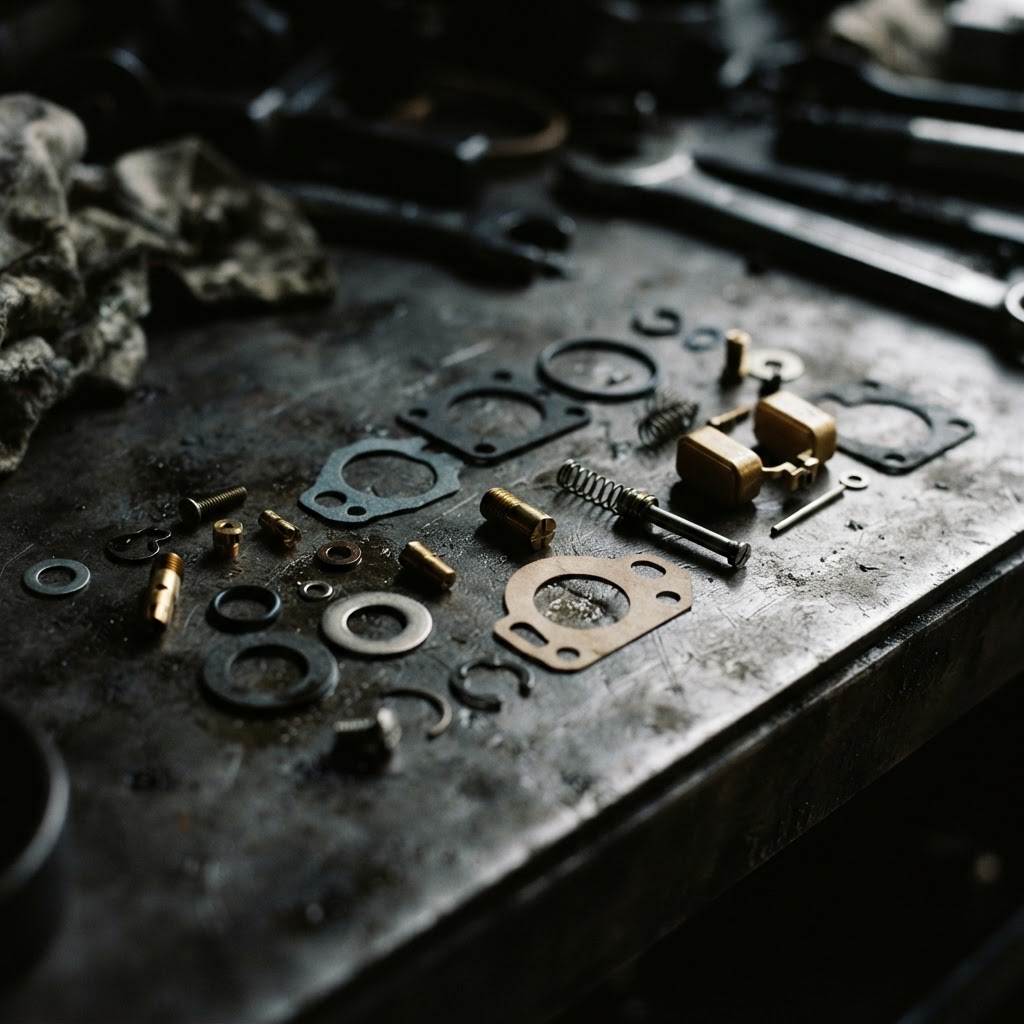
Carburetor Rebuild Kit
If the main jet is obstructed and cleaning doesn't resolve the fuel flow, replacing the internal seals and jet components is essential for reliable ignition.
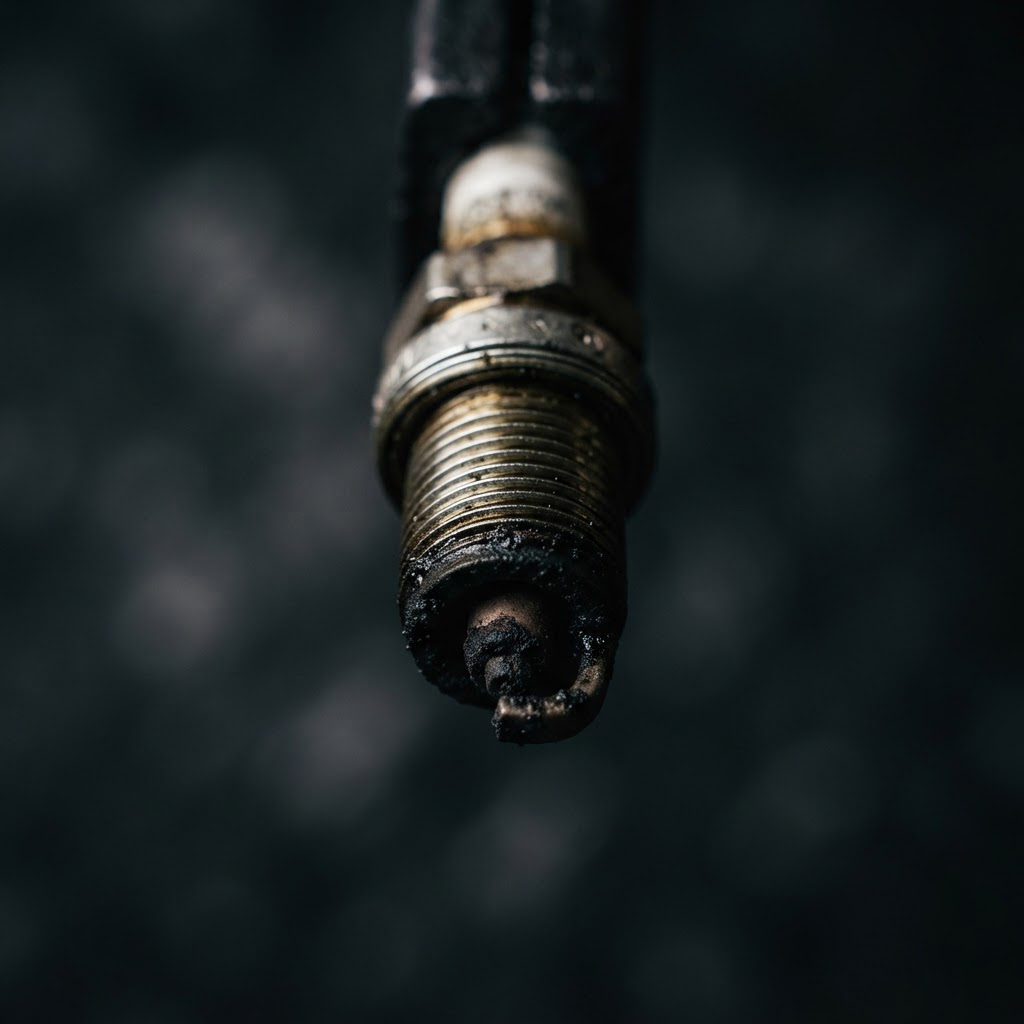
Spark Plug
A fouled or damaged plug is a primary cause of no-start conditions, and replacing it is the most effective way to ensure a consistent, strong spark.
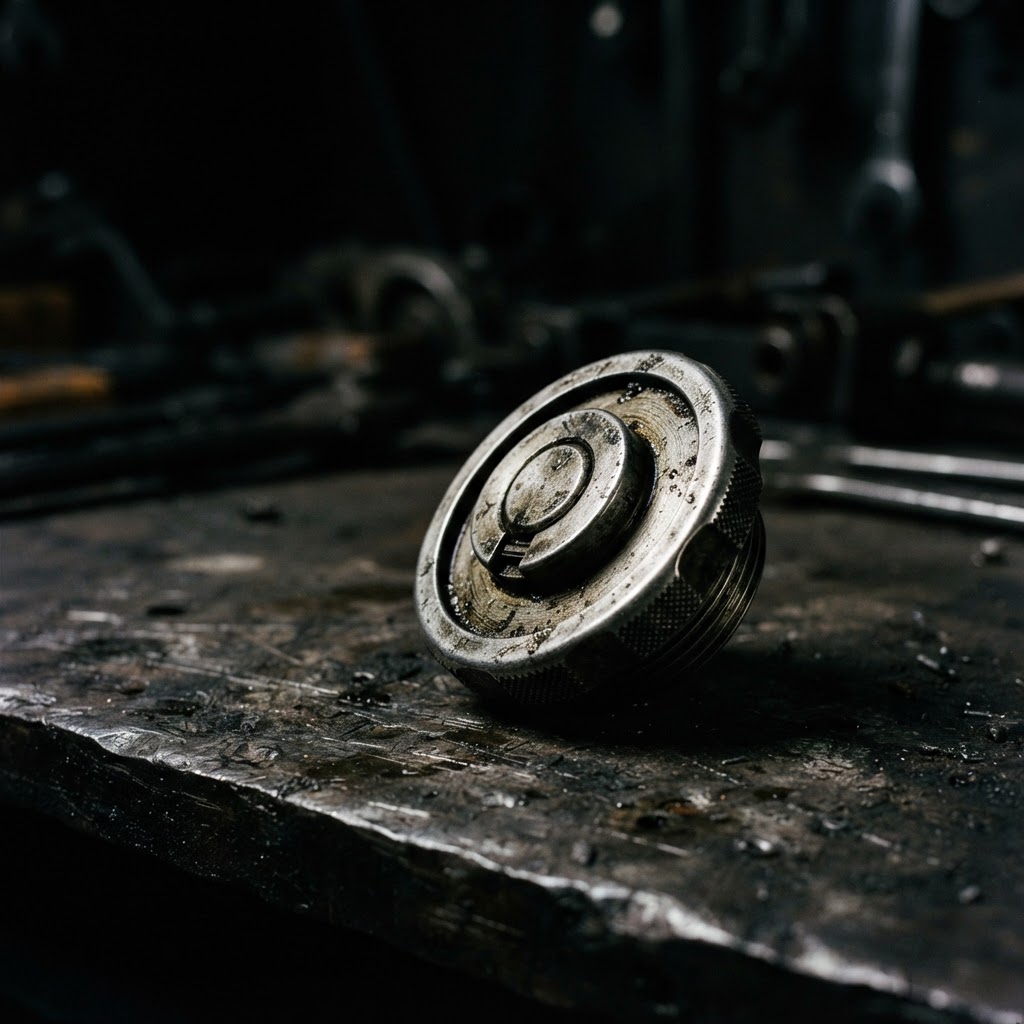
Fuel Cap
If the existing cap's vent has failed, it creates a vacuum in the fuel tank that prevents gas from reaching the engine; replacing it restores proper atmospheric venting.
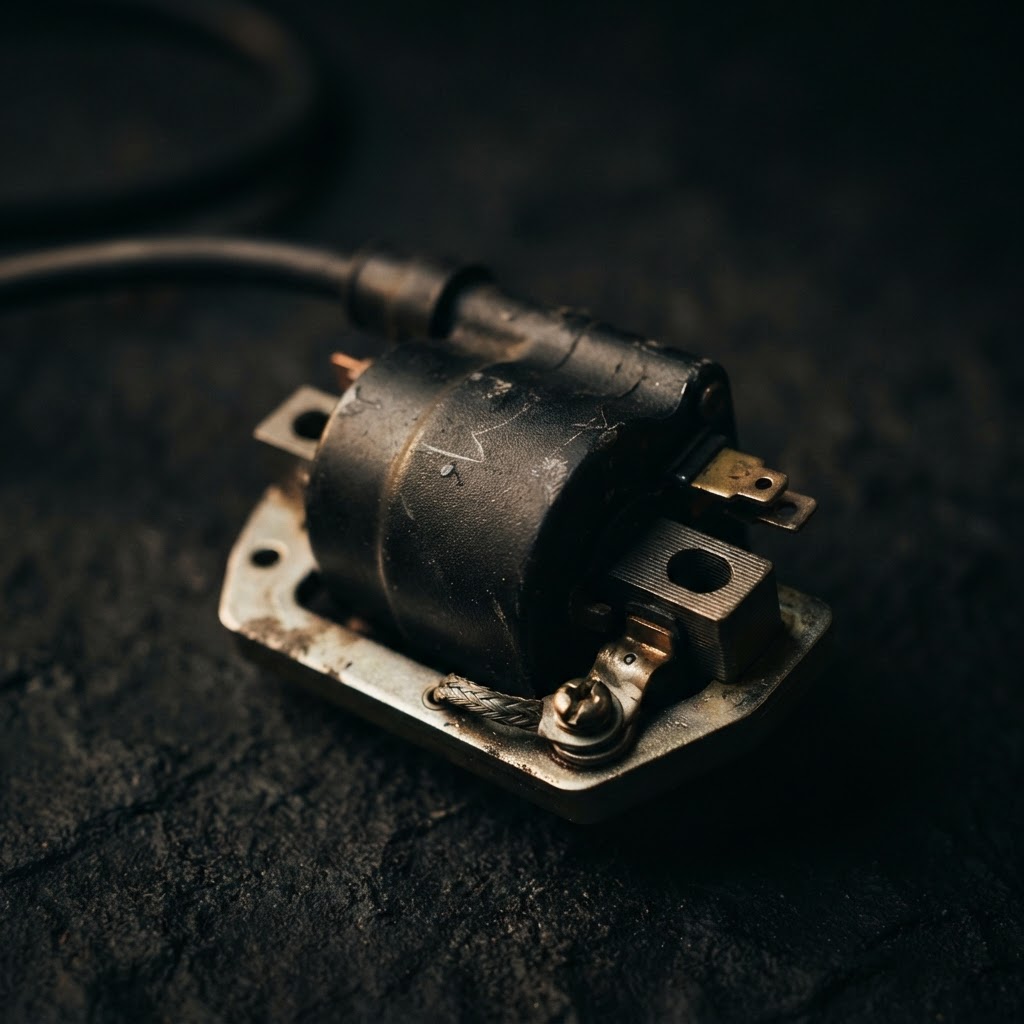
Ignition Coil
If the coil fails the gap test or lacks sufficient output due to internal degradation, this component must be replaced to generate the electrical charge required to fire the spark plug.
Affiliate Disclosure: Lil Engine may earn commissions from qualifying purchases.
Pro Tips from the Community
Real-world fixes from Reddit, YouTube & forums.
"On many Toro Power Max models, the fuel shut-off valve is 'hidden' under the side of the fuel tank. Users often bump it to the 'OFF' position while moving the machine in the garage."
Reddit r/snowblowers"If the primer bulb doesn't feel like it has resistance, the line has likely popped off the back of the carb. You don't need a new bulb, just a zip-tie to secure the hose back on."
YouTube comments"Try starting it with the gas cap loosened. If the vent in the cap is clogged, it creates a vacuum that prevents fuel from flowing into the carburetor."
LawnSite.com ForumPrevent This From Coming Back
Always add a high-quality fuel stabilizer like STA-BIL to every gas can used for the snow blower.
Run the engine dry or use a fuel shut-off valve to empty the carburetor bowl at the end of every season.
Replace the spark plug every two years regardless of visual appearance.
Store the machine in a dry, covered area to prevent moisture-induced corrosion in the ignition system.
Prevent This From Happening Again
While you're fixing it, stock up on the maintenance essentials that keep your leaf blowers running right.
2-Cycle Oil
Correct mix ratio prevents engine damage and starting problems.
Get on AmazonSpark Plug
A fouled plug is the #1 cause of hard starting in leaf blowers.
Get on AmazonFuel Stabilizer
Prevents fuel breakdown during off-season storage.
Get on AmazonAffiliate Disclosure: Lil Engine may earn commissions from qualifying purchases.
Frequently Asked Questions
This confirms you have spark but lack fuel. The carburetor jets are almost certainly clogged with fuel varnish and require a thorough cleaning or replacement.
Video Help
Helpful videos showing these repairs in action.
Share Your Repair
Real-world fixes help everyone. Share what worked and your repair becomes part of Lil Engine's community database.
Related Problems
More Leaf Blowers GuidesRelated Maintenance Articles
Related Symptoms
Won’t Start
Carburetor / Fuel Issues
Related Searches
Toro leaf blower Guides
Did this help?
Your feedback helps improve guides for everyone.