Westinghouse Generator Won't Start
⚡ Quick Answer
The most common reason a Westinghouse generator won't start is old fuel clogging the carburetor or a dead battery. Start by checking your fuel levels and condition, then verify that the ignition switch is set to the correct 'On' position and the battery is charged.

What do you want to do?
Most Likely Cause
Clogged Pilot Jet
The low-speed pilot jet is prone to varnish buildup during storage, starving the engine of fuel during the initial crank. You can identify this if the engine fires momentarily with starting fluid but refuses to sustain idle.
Start here — this is the most common reason for this symptom.
Why This Problem Happens
Westinghouse generators, particularly the WGen and iGen series, utilize precision-engineered OHV engines that are highly sensitive to fuel degradation and electrical safety interlocks. When left sitting, the ethanol content in modern pump gasoline evaporates, leaving behind a gummy varnish that obstructs the minuscule passages in the Mikuni or generic Huayi-style carburetor jets. This prevents the stoichiometric air-fuel mixture required for combustion. Simultaneously, the ignition system relies on a magnetic trigger (coil gap) to generate a spark; if the engine's low-oil sensor—a common failure point in Westinghouse units—registers an open circuit due to debris or low oil levels, the CDI module grounds the ignition circuit, effectively preventing any spark at the plug regardless of fuel health. Furthermore, Westinghouse units often feature a complex DC control board interlock that monitors ground faults. If the sensitive GFCI receptacles detect a minuscule moisture-induced shunt or a faulty neutral-to-ground bond, the internal sensing relay may latch in an 'open' state, inhibiting the engine from initiating the starting sequence during an electric start cycle, resulting in a silent unit or a crank-no-start condition.
Common Symptoms
- Dry spark plug electrode after repeated cranking attempts
- Audible 'click' from the starter solenoid without engine rotation
- Strong odor of stale or varnished gasoline
- Spark plug fouled with dark carbon deposits
- Engine rotates freely but lacks combustion pulses
Before You Buy Parts
Quick, free inspections — check these first. Most repairs don't actually need replacement parts.
Complete Resource Guide
Complete Generator Troubleshooting & Repair Guide
Brand Resource Hub
Westinghouse Equipment Repair & Maintenance Hub
Repair Overview
1–2 hours
$10–$50
First Checks — Start Here
- 1Check that the fuel tank has fresh, non-expired gasoline
- 2Ensure the fuel valve (petcock) is turned to the ON position
- 3Confirm the ignition switch is turned to the RUN or START position
- 4Verify the oil level is adequate to disengage the low-oil sensor
- 5Check for a loose or disconnected spark plug wire
Safety Warnings
- !Wear insulated gloves to prevent high-voltage shock during the spark test.
- !Ensure you are working in a well-ventilated area away from open flames.
- !Only operate the engine briefly with the sensor bypassed to prevent damage.
- !Carburetor cleaner is toxic; wear eye protection when spraying through internal ports.
- !Use an insulated screwdriver to prevent accidental shorting to the chassis.
- !Ensure the output circuit breaker is in the 'OFF' position before attempting to start.
- !Replacing the spark plug without testing for actual spark presence
- !Ignoring the condition of the battery ground strap at the frame connection
- !Assuming the fuel is good because it is 'new' but failing to check for water content
Always disconnect the spark plug, work in a well-ventilated area, and consult a professional if unsure.
Most Likely Causes
Ranked by likelihood — tap each to see diagnosis details.
The low-speed pilot jet is prone to varnish buildup during storage, starving the engine of fuel during the initial crank. You can identify this if the engine fires momentarily with starting fluid but refuses to sustain idle.
If the oil level is sufficient but the sensor float is stuck in the down position, it triggers a 'no-run' condition. Use a digital multimeter to check for continuity across the sensor leads to confirm if the switch is permanently grounded.
🔧 Step-by-Step Fix Guide
Verify Spark at the Plug
Remove the spark plug, reattach the high-tension lead, and ground the threads against the engine block while cranking. A healthy spark will be bright blue; a weak, orange spark indicates a failing coil or corroded ground wire.
Wear insulated gloves to prevent high-voltage shock during the spark test.
Check Fuel Flow and Quality
Drain the carburetor float bowl using the drain screw at the base; if the fuel is yellowed or smells like turpentine, flush the entire tank. Replace the fuel with fresh non-ethanol gasoline treated with a stabilizer.
Ensure you are working in a well-ventilated area away from open flames.
Bypass the Oil Sensor
Locate the single yellow or black wire exiting the crankcase near the oil fill port and unplug the connector. If the unit starts with the sensor disconnected, the switch assembly is faulty and needs replacement.
Only operate the engine briefly with the sensor bypassed to prevent damage.
Clean the Carburetor Jets
Remove the float bowl and unscrew the main jet; use a thin strand of copper wire or compressed air to clear the orifice. Ensure the float needle moves freely and is not stuck in the 'closed' position.
Carburetor cleaner is toxic; wear eye protection when spraying through internal ports.
Inspect Starter Solenoid and Battery
Use a multimeter to check battery voltage; it should be 12.6V or higher. If the battery is healthy, bridge the two large terminals on the solenoid with a screwdriver to see if the starter motor engages directly.
Use an insulated screwdriver to prevent accidental shorting to the chassis.
Reset the GFCI/Control Board
On inverter models, the control board may prevent starting if it detects a fault. Power cycle the unit by removing the battery negative lead for 60 seconds, which resets the logic board's internal sensors.
Ensure the output circuit breaker is in the 'OFF' position before attempting to start.
What To Test Next
If fuel delivery checks out, the next thing to inspect is spark — remove the spark plug, ground its threads to the engine block, and crank the engine to look for a visible blue spark.
Component Reference

Carburetor & Fuel Intake
The carburetor mixes air and fuel for combustion. A clogged jet or stuck float is the #1 cause of small engine starting and surging problems.

Spark Plug & Ignition System
The spark plug ignites the air-fuel mixture. A fouled plug, wrong gap, or failing ignition coil will prevent the engine from firing.

Oil & Lubrication System
Regular oil changes are critical. Low or dirty oil causes engine wear, overheating, and eventual seizure. Check the dipstick before every season.

Air Filter & Intake
A clogged air filter starves the engine of air, causing rich running, power loss, and hard starting. Inspect and clean or replace it each season.
Photos for educational reference. Actual parts may vary by make and model.
Common Mistakes to Avoid
Using starting fluid excessively, which can wash oil off cylinder walls
Replacing the spark plug without testing for actual spark presence
Over-tightening the carburetor bowl nut, which can crack the delicate alloy
Ignoring the condition of the battery ground strap at the frame connection
Assuming the fuel is good because it is 'new' but failing to check for water content
If This Didn't Fix It
Still having trouble? These are the next things to check:
Get the Exact Parts for Your Machine
Tell us your equipment's year, make, and model — we'll search for parts that actually fit, not generic ones.
Finding parts for
Westinghouse generator
Required Gear
Matched to your Westinghouse generator — click to find the exact fit on Amazon.
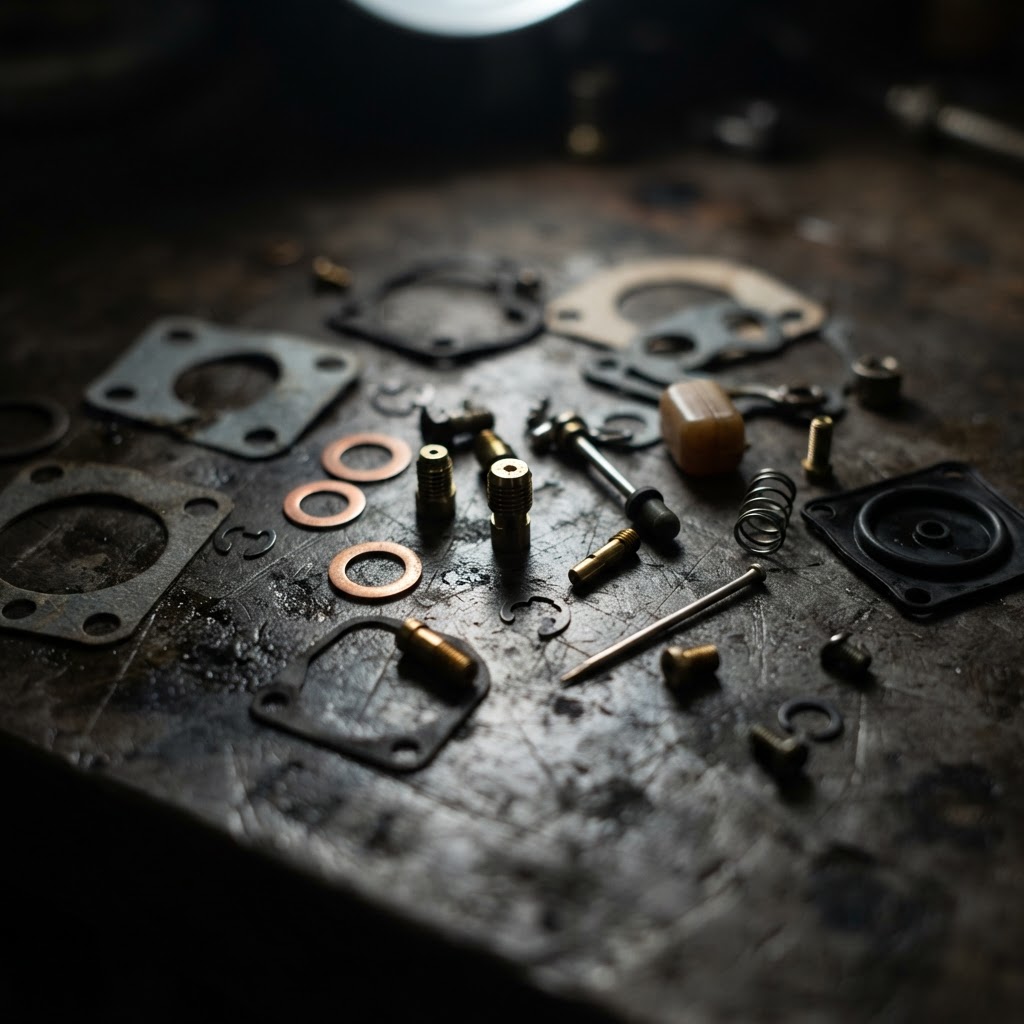
Carburetor Rebuild Kit
This kit provides the necessary internal gaskets, needles, and jets required to resolve a clogged pilot jet that prevents fuel delivery to the engine.
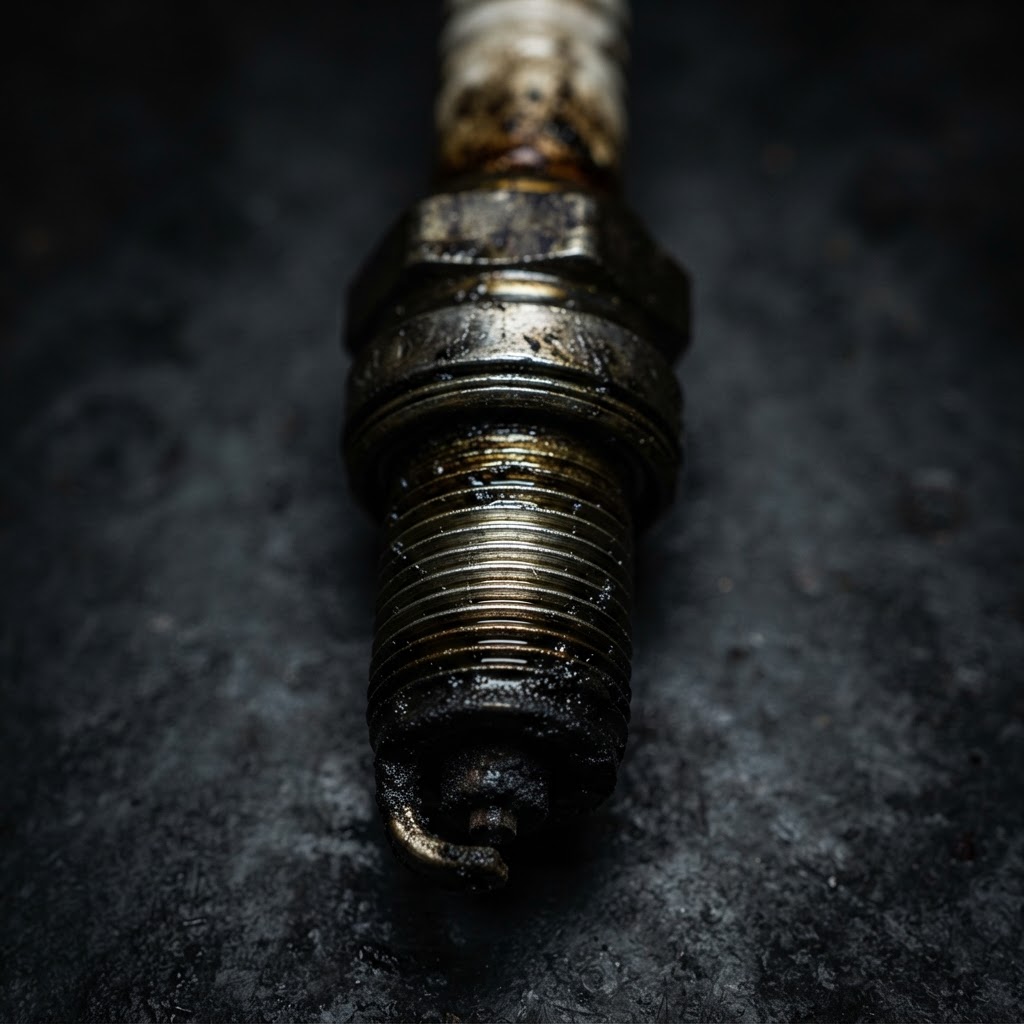
Spark Plug
Replacing the plug is essential if the diagnostic check reveals a lack of spark or if the original plug is fouled due to improper starting attempts.
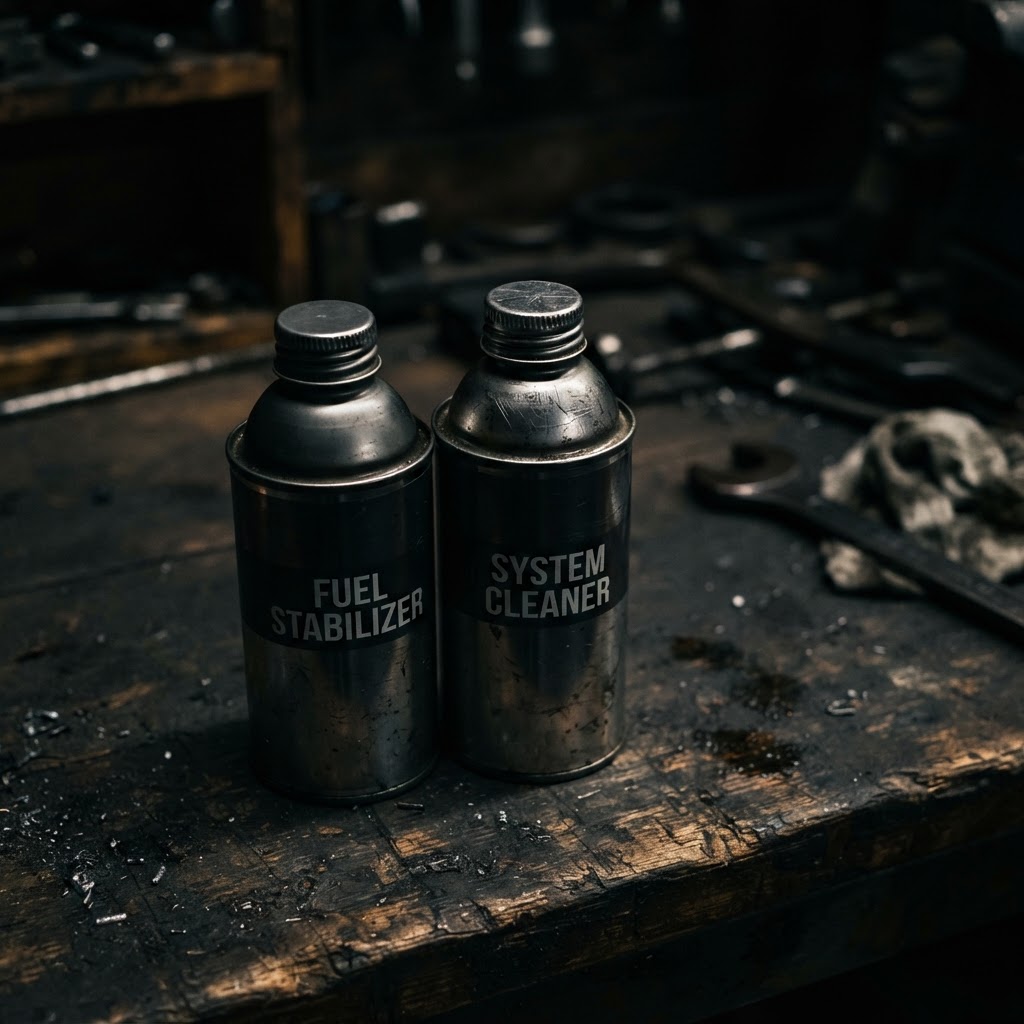
Fuel Stabilizer and System Cleaner
This additive helps dissolve residual varnish in the fuel lines and tank, ensuring the new fuel flows freely through the cleaned carburetor components.
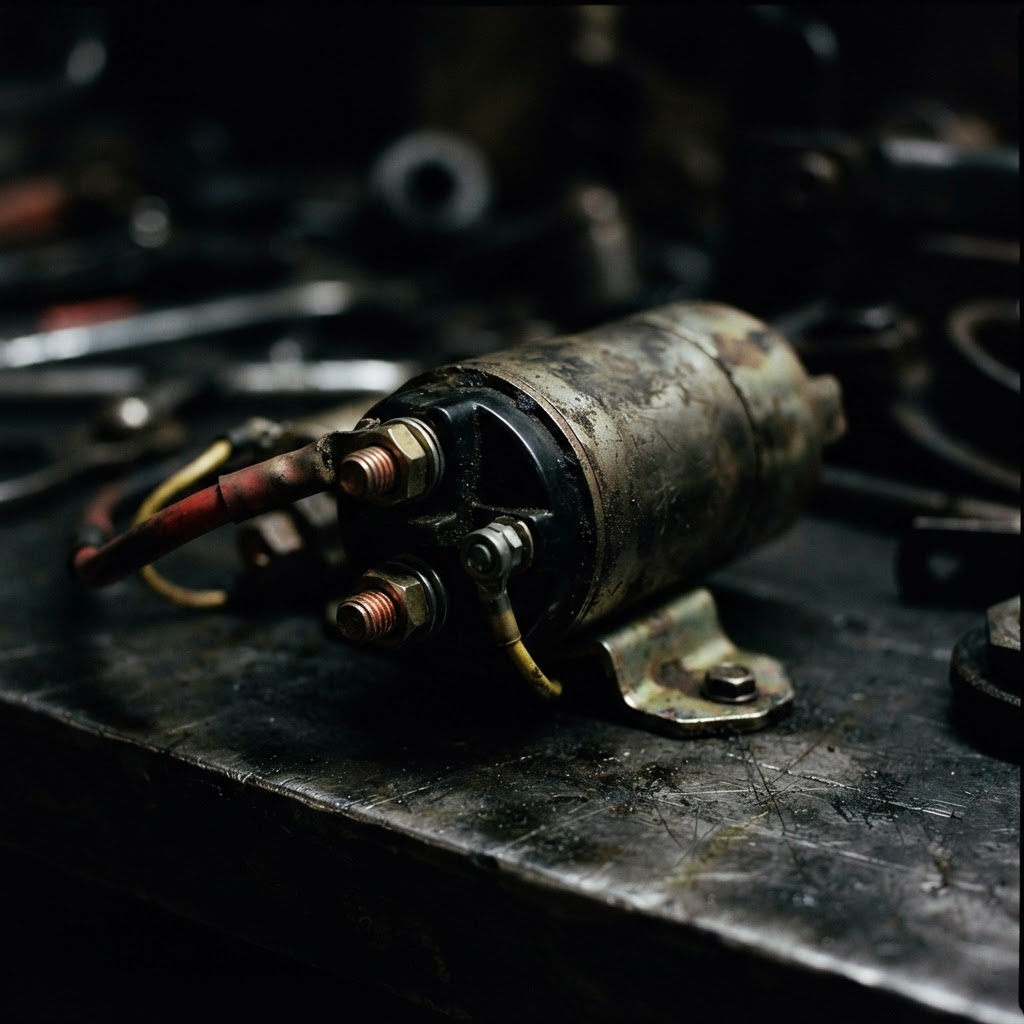
Starter Solenoid
If the battery terminals are clean but the engine still fails to crank, the solenoid is likely internally corroded and requires replacement to engage the starter motor.
Affiliate Disclosure: Lil Engine may earn commissions from qualifying purchases.
Pro Tips from the Community
Real-world fixes from Reddit, YouTube & forums.
"If it won't fire, pull the fuel line at the carb and crank it to see if fuel flows; if not, your petcock is likely clogged with debris from the tank."
Reddit r/Generator"Check the low oil sensor by unplugging it, as these sensors are notorious for failing and preventing a spark even when the oil level is perfect."
DoItYourself.com Forum"Take the spark plug out and touch it to the engine block while cranking to confirm a blue, snappy spark; if it's yellow or absent, your ignition coil is toast."
LawnSite.com Forum"Drain the float bowl using the drain screw at the bottom of the carb; nine times out of ten, you have old fuel gumming up the jet that won't pass gas until you clear it."
YouTube commentsPrevent This From Coming Back
Run the generator under a load for 15 minutes every month to circulate fuel
Use a fuel stabilizer in every gas can stored for more than 30 days
Keep the battery on a trickle charger if the unit is stored longer than three months
Store the unit with an empty carburetor bowl if you anticipate a long-term shutdown
Perform annual oil changes using 10W-30 synthetic to keep the oil sensor float moving freely
Prevent This From Happening Again
While you're fixing it, stock up on the maintenance essentials that keep your generators running right.
Fuel Stabilizer
Generators sit unused for months — stabilizer prevents stale fuel issues.
Get on AmazonSpark Plug
Replace yearly so your generator starts instantly in an emergency.
Get on AmazonSmall Engine Oil
Check oil level before each use — low oil shuts down the engine.
Get on AmazonAffiliate Disclosure: Lil Engine may earn commissions from qualifying purchases.
Frequently Asked Questions
No, never use E85 or any fuel with more than 10% ethanol. High-ethanol fuels will rapidly degrade the plastic and rubber components in the fuel system and cause severe starting issues.
Video Help
Helpful videos showing these repairs in action.
Share Your Repair
Real-world fixes help everyone. Share what worked and your repair becomes part of Lil Engine's community database.
Related Problems
More Generators GuidesRelated Maintenance Articles
Related Symptoms
Won’t Start
Carburetor / Fuel Issues
Related Searches
Westinghouse generator Guides
Did this help?
Your feedback helps improve guides for everyone.