ATV Battery Keeps Dying
⚡ Quick Answer
An ATV battery that keeps dying is usually caused by either an old battery that can no longer hold a charge or a faulty charging system component like the stator or voltage regulator. Start by testing the battery voltage and inspecting the connections for corrosion, then move on to checking if the charging system is working while the engine is running.
What do you want to do?
Most Likely Cause
Failed Stator Output
If the stator's internal copper windings are charred or open, it cannot produce the required AC voltage. You can identify this by checking for low AC voltage across the stator leads while the engine is running.
Start here — this is the most common reason for this symptom.
Why This Problem Happens
An ATV's electrical system relies on a delicate equilibrium between the battery's chemical capacity and the charging system's output. When a battery fails to hold a charge, it is typically because the lead-acid plates have become sulfated due to chronic undercharging or physical depletion. This process creates a resistive barrier that prevents the chemical reaction required to store electricity, effectively shrinking the battery's actual amp-hour capacity until it cannot crank the high-torque starter motor. Alternatively, if the battery is healthy, the charging system itself often fails to replenish the load. The stator, acting as an AC generator, sends current through a rectifier-regulator which converts that power into stable 14.2 to 14.8 volts of DC. If a diode within the regulator shorts or a stator winding grounds out, the battery is constantly drained by the ignition system or parasitic draws without receiving a sufficient supply of replenishment voltage. Over time, this leads to a 'dead' battery, even if the battery component itself is perfectly functional, because the energy balance is fundamentally broken.
Common Symptoms
- Slow cranking sound during ignition
- Dimming headlights when idling
- Backfiring due to low spark voltage
- Corrosion buildup on battery terminals
- Dashboard display flickering during acceleration
- Clicking noise from the starter solenoid
Before You Buy Parts
Quick, free inspections — check these first. Most repairs don't actually need replacement parts.
Complete Resource Guide
Complete Small Engines Troubleshooting Guide
Repair Overview
1–2 hours
$20–$150
First Checks — Start Here
- 1Check battery terminals for loose or corroded cables
- 2Ensure battery connections are clean and tight
- 3Inspect the battery for physical damage or swelling
- 4Check if any lights or accessories were left on
- 5Test the battery voltage with a multimeter
Safety Warnings
- !Ensure the ATV is in neutral and the parking brake is set before testing electrical components.
- !Do not attempt to start the engine while the multimeter is connected in series, as the high current will blow the meter's internal fuse.
- !Keep hands clear of the cooling fan and drive belt while the engine is running.
- !Always perform this test with the engine off to prevent electrical shock from the ignition system.
- !Be aware that the regulator can become extremely hot during operation; wait for it to cool before touching.
- !Always disconnect the negative terminal first to prevent accidental shorting with a wrench.
- !Replacing the battery without testing the charging system first
- !Using a standard charger on an AGM battery instead of an AGM-compatible smart charger
- !Buying a cheap, off-brand battery that lacks the required CCA rating for the engine
- !Performing voltage tests while the battery is still cold in sub-freezing temperatures
Always disconnect the spark plug, work in a well-ventilated area, and consult a professional if unsure.
Most Likely Causes
Ranked by likelihood — tap each to see diagnosis details.
If the stator's internal copper windings are charred or open, it cannot produce the required AC voltage. You can identify this by checking for low AC voltage across the stator leads while the engine is running.
The regulator is responsible for converting AC power to DC and capping the voltage to prevent boiling the battery. If it fails, it can either overcharge and destroy the battery or fail to charge it entirely, showing less than 13 volts at the terminals.
🔧 Step-by-Step Fix Guide
Perform a Static Voltage Test
Set your multimeter to DC Volts and measure the battery terminals after sitting for 24 hours. A healthy battery should read 12.6V or higher; anything below 12.2V indicates the battery is either discharged or dying.
Ensure the ATV is in neutral and the parking brake is set before testing electrical components.
Measure Parasitic Drain
Disconnect the negative cable and place your multimeter in series between the cable and the terminal using the 10A scale. If you see a draw over 5-10 milliamps with the key off, pull fuses one by one to isolate the faulty circuit.
Do not attempt to start the engine while the multimeter is connected in series, as the high current will blow the meter's internal fuse.
Test Charging System Voltage
Start the engine and measure the voltage at the battery terminals at a fast idle. You should see between 13.5V and 14.8V; if it stays below 13V, your charging system is not replenishing the battery.
Keep hands clear of the cooling fan and drive belt while the engine is running.
Check Stator Resistance
Locate the three-pin connector from the stator and measure the resistance between the pins using an Ohmmeter. Compare these readings against your specific service manual to check for shorts to ground or open circuits.
Always perform this test with the engine off to prevent electrical shock from the ignition system.
Inspect the Rectifier-Regulator
Check the wiring harness leading to the regulator for heat damage or melted plastic. If the voltage readings fluctuate wildly or are absent despite a good stator, the regulator is likely faulty and must be replaced.
Be aware that the regulator can become extremely hot during operation; wait for it to cool before touching.
Clean and Tighten Connections
Remove the battery cables, clean the terminals with a wire brush, and inspect the ground cable mounting point on the engine block. Tighten connections firmly to ensure a low-resistance path for the charging current.
Always disconnect the negative terminal first to prevent accidental shorting with a wrench.
What To Test Next
If the basics check out, verify spark, fuel delivery, and compression in that order — the three essentials of any combustion engine.
Component Reference

Spark Plug & Ignition System
The spark plug ignites the air-fuel mixture. A fouled plug, wrong gap, or failing ignition coil will prevent the engine from firing.

Oil & Lubrication System
Regular oil changes are critical. Low or dirty oil causes engine wear, overheating, and eventual seizure. Check the dipstick before every season.

Electrical & Starting System
The battery, solenoid, and starter motor work together to crank the engine. A weak battery or corroded connection is often mistaken for a fuel or spark problem.

Drive & Cutting System
Belts, pulleys, and clutches transfer engine power to the wheels and cutting deck. A worn or thrown belt is the most common drive-system failure.
Photos for educational reference. Actual parts may vary by make and model.
Common Mistakes to Avoid
Replacing the battery without testing the charging system first
Using a standard charger on an AGM battery instead of an AGM-compatible smart charger
Ignoring the condition of the ground cable attached to the frame
Buying a cheap, off-brand battery that lacks the required CCA rating for the engine
Performing voltage tests while the battery is still cold in sub-freezing temperatures
If This Didn't Fix It
Still having trouble? These are the next things to check:
Get the Exact Parts for Your Machine
Tell us your equipment's year, make, and model — we'll search for parts that actually fit, not generic ones.
Finding parts for
ATV battery keeps dying
Required Gear
Matched to your ATV battery keeps dying — click to find the exact fit on Amazon.
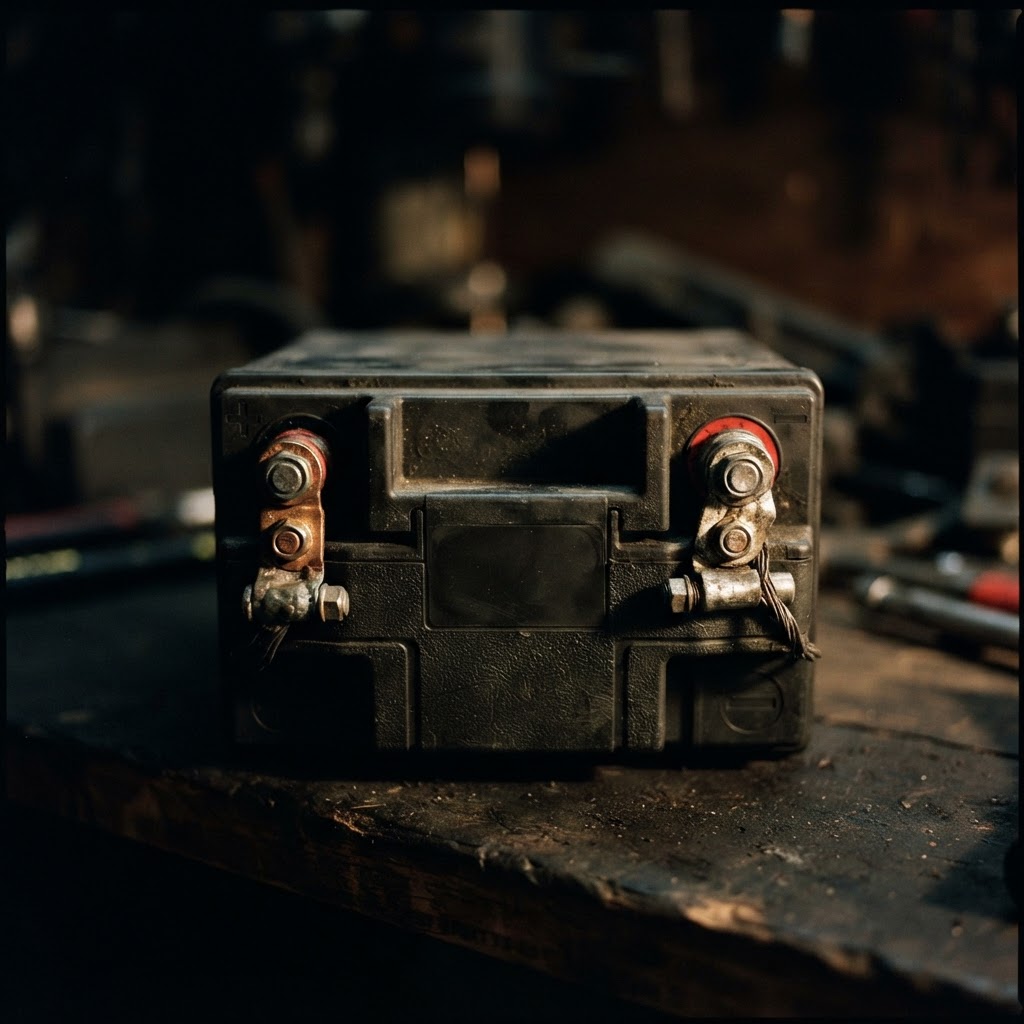
Replacement AGM/Lead-Acid Battery
Once the plates have become sulfated from repeated deep discharges, the battery loses its capacity to hold a charge and must be replaced to ensure reliable starting.
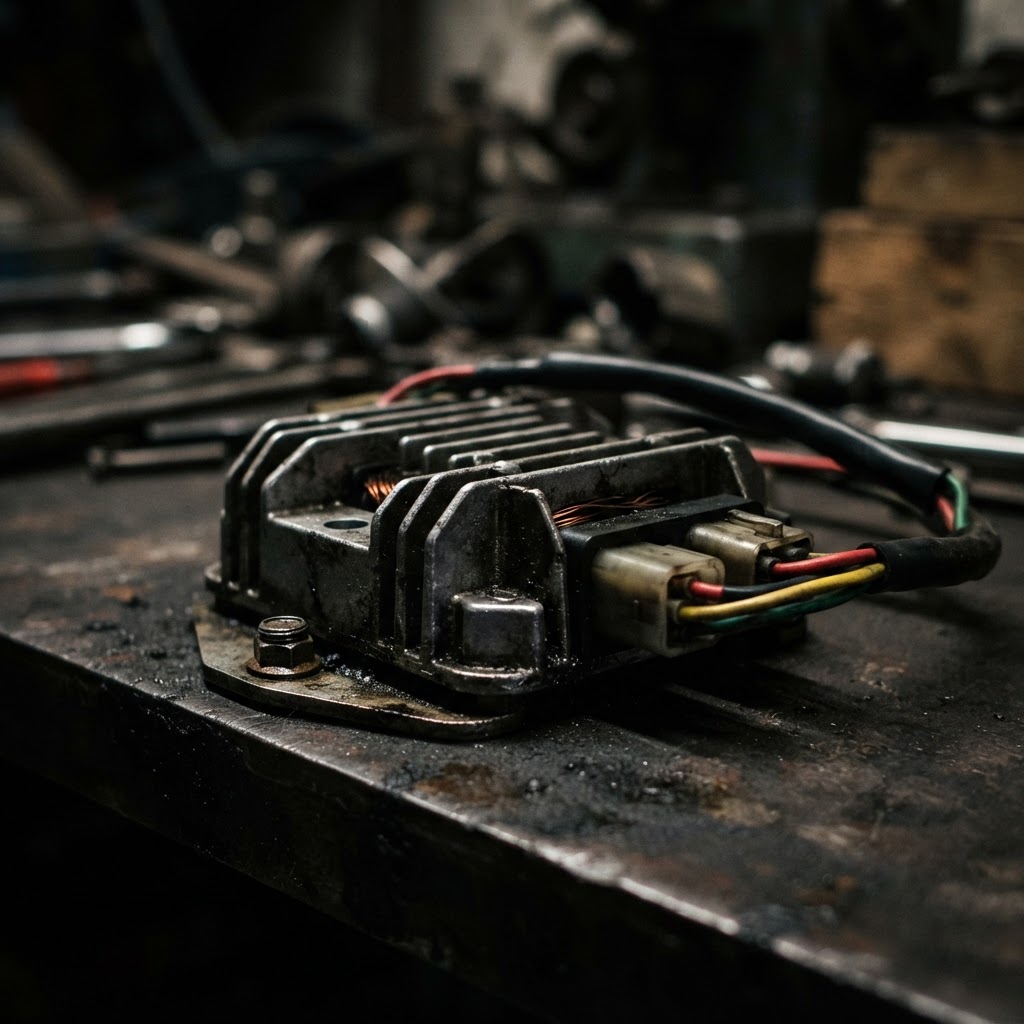
Rectifier-Regulator Assembly
If the charging system test confirms the unit is failing to convert stator AC power to stable DC voltage, this component must be replaced to prevent battery undercharging or overcharging.
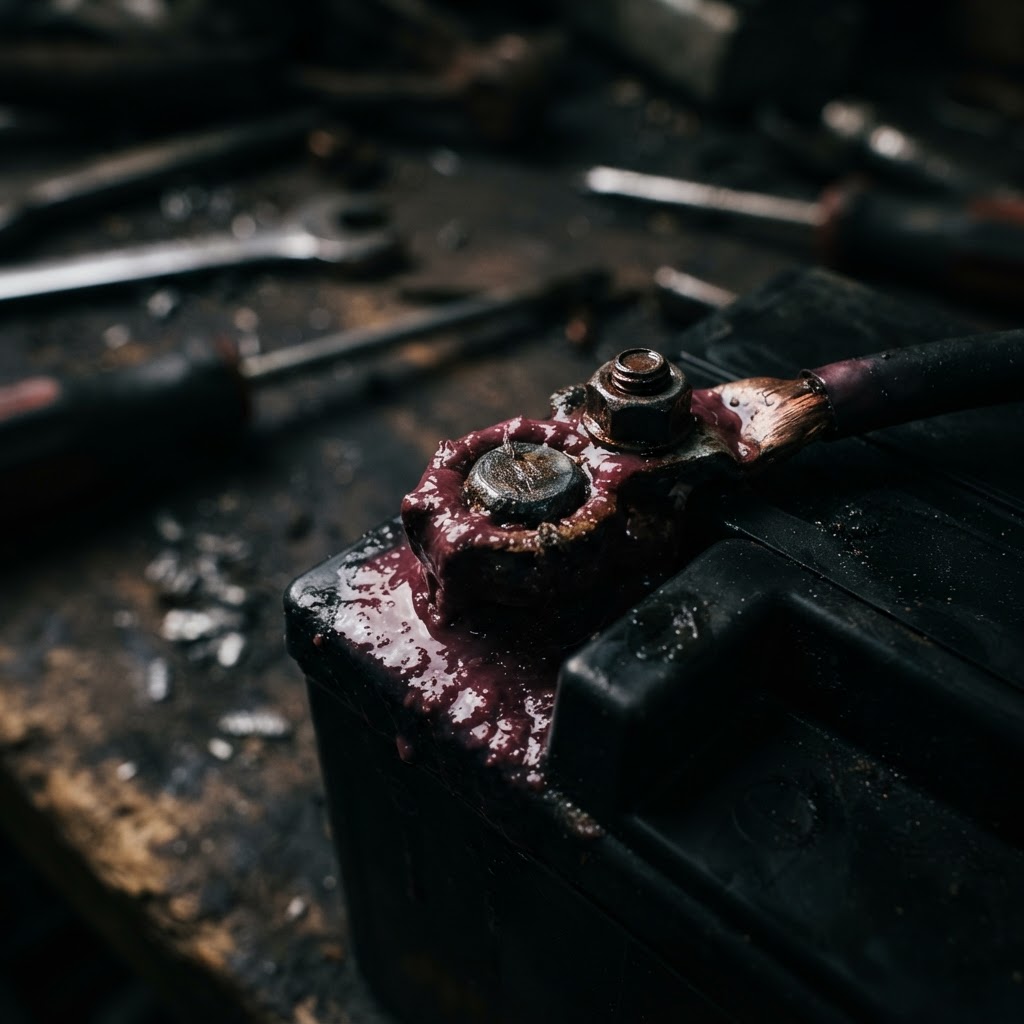
Battery Terminal Corrosion Preventative/Spray
Applying this after cleaning ensures long-term electrical conductivity and protects the newly serviced connections from future oxidation and resistance buildup.
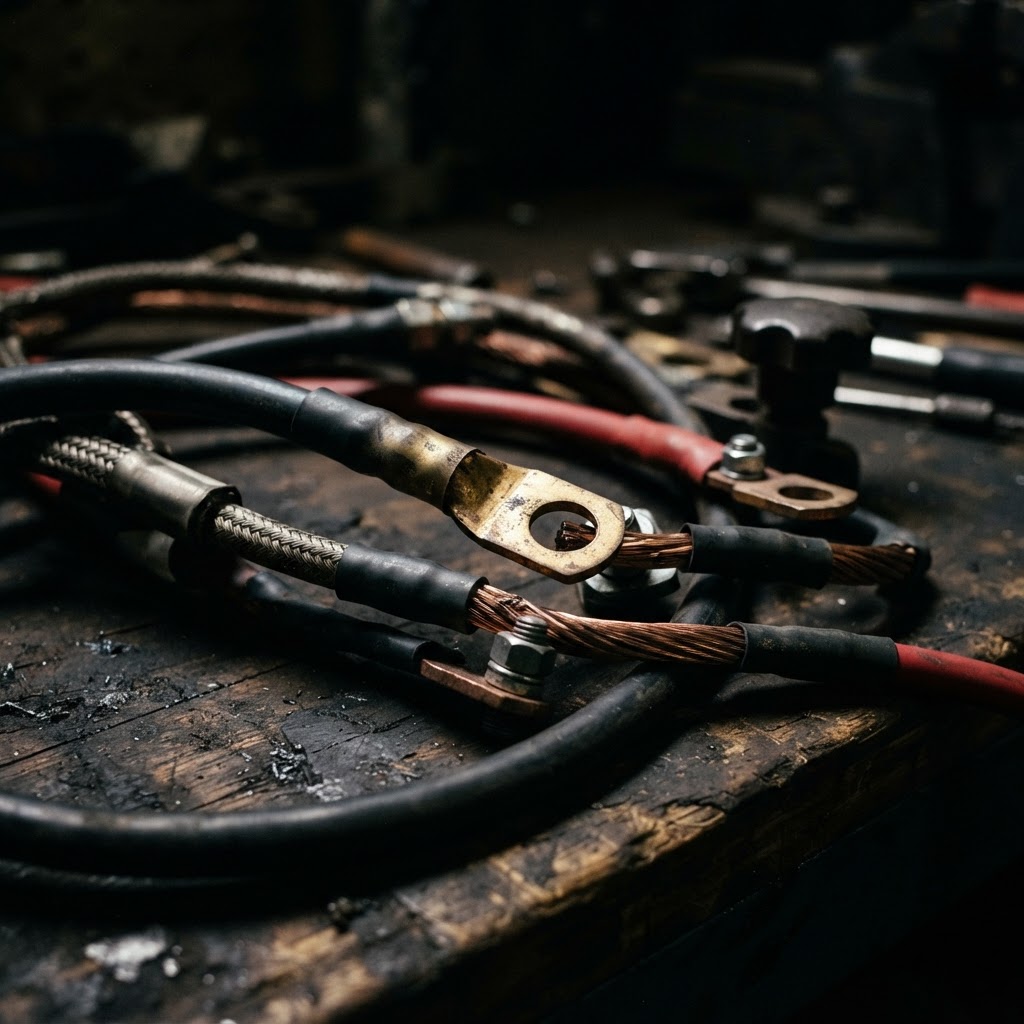
Replacement Battery Cable Kit
If the existing cables show signs of internal corrosion or fraying during the inspection, replacing them is essential to eliminate high-resistance paths that prevent proper charging.
Affiliate Disclosure: Lil Engine may earn commissions from qualifying purchases.
Pro Tips from the Community
Real-world fixes from Reddit, YouTube & forums.
"Always check the stator output with a multimeter at the battery terminals while revving the engine; if it stays below 13.5 volts, your charging system is toast, not the battery."
Reddit r/ATV"Check for parasitic draw by disconnecting the negative terminal and putting a multimeter in series; if you see more than a few milliamps with the key off, you have a shorted accessory or a grounded wire somewhere."
DoItYourself.com Forum"Before replacing expensive parts, pull your battery cables and clean both ends with a wire brush, as hidden corrosion on the ground strap is the silent killer of ATV electrical systems."
YouTube comments"If your regulator-rectifier is scorching hot to the touch or the potting compound is bubbling, replace it immediately because it's failing and frying your battery."
TractorByNetPrevent This From Coming Back
Use a battery tender during the off-season to prevent sulfation
Apply dielectric grease to battery terminals to prevent future corrosion
Check fluid levels if using a conventional lead-acid (flooded) battery
Clean the battery tray to remove acidic debris that causes self-discharge
Regularly inspect the wiring harness for signs of rodent damage
Prevent This From Happening Again
While you're fixing it, stock up on the maintenance essentials that keep your small engines running right.
Spark Plug
The cheapest, fastest fix for most small engine starting problems.
Get on AmazonCarburetor Cleaner
Cleaning the carb is the #1 fix for surging and stalling engines.
Get on AmazonFuel Stabilizer
Prevents the stale fuel problems that cause most seasonal no-starts.
Get on AmazonAffiliate Disclosure: Lil Engine may earn commissions from qualifying purchases.
Frequently Asked Questions
No, this is dangerous for your electrical system and will eventually damage the starter solenoid and the charging system. The alternator is designed to maintain a charge, not to recharge a completely dead, depleted battery.
Video Help
Helpful videos showing these repairs in action.
Share Your Repair
Real-world fixes help everyone. Share what worked and your repair becomes part of Lil Engine's community database.
Related Problems
More Small Engines GuidesRelated Maintenance Articles
Related Symptoms
Related Searches
Small Engines Troubleshooting
Did this help?
Your feedback helps improve guides for everyone.