2017 Yamaha Motorcycle Won't Crank — Starter Circuit & Battery Diagnosis
⚡ Quick Answer
If your 2017 Yamaha has 'not enough power to crank,' the most likely culprit is a sulfated battery or a failing starter relay. First, perform a load test with a multimeter; voltage should not drop below 10.5V while pressing the start button. If the battery holds voltage but the engine won't turn, bridge the two large terminals on the starter solenoid with a heavy-gauge screwdriver to see if the starter spins—if it does, the solenoid or its trigger circuit is faulty.
What do you want to do?
Most Likely Cause
Sulfated or Discharged Battery
A battery that has sat for extended periods (common in 2017 models) develops lead sulfate crystals that increase internal resistance. While it may show 12V on a meter, it lacks the Cold Cranking Amps (CCA) to move the starter motor. Confirm this by measuring voltage drop during a start attempt; a drop to 7V or 8V indicates a dead cell or sulfation [Troubleshooting Your Motorcycle Battery - MPW Motorcycle Parts Warehouse](https://motorcyclepartswarehouse.co.uk/blog/post/troubleshooting-your-motorcycle-battery).
Start here — this is the most common reason for this symptom.
Before You Buy Parts
Quick, free inspections — check these first. Most repairs don't actually need replacement parts.
Complete Resource Guide
Complete Small Engines Troubleshooting Guide
Repair Overview
30–60 minutes
$20–$120
First Checks — Start Here
- 1Check battery resting voltage — must be 12.6V or higher for a full charge.
- 2Perform a load test — voltage must stay above 10.5V during cranking attempts.
- 3Inspect battery terminals for white corrosion or loose bolts.
- 4Check the 30A Main Fuse, typically located on the starter relay housing.
- 5Verify the bike is in Neutral and the side stand is up (safety interlocks).
- 6Bridge the starter relay terminals — if the starter spins, the relay is bad.
Safety Warnings
- !Ensure the bike is in neutral to prevent it from jumping forward if the starter suddenly engages.
- !Always disconnect the negative terminal first to avoid shorting the battery to the frame with your wrench.
- !Expect a small spark when bridging terminals; ensure there are no fuel leaks nearby.
- !Do not permanently bypass safety switches as this can lead to accidental starting in gear.
- !Keep fingers and loose clothing away from the drive chain or belt during this test.
- !Replacing the starter motor before testing the battery load capacity.
- !Assuming a battery is 'good' just because the lights and dash turn on.
Always disconnect the spark plug, work in a well-ventilated area, and consult a professional if unsure.
Most Likely Causes
Ranked by likelihood — tap each to see diagnosis details.
A battery that has sat for extended periods (common in 2017 models) develops lead sulfate crystals that increase internal resistance. While it may show 12V on a meter, it lacks the Cold Cranking Amps (CCA) to move the starter motor. Confirm this by measuring voltage drop during a start attempt; a drop to 7V or 8V indicates a dead cell or sulfation [Troubleshooting Your Motorcycle Battery - MPW Motorcycle Parts Warehouse](https://motorcyclepartswarehouse.co.uk/blog/post/troubleshooting-your-motorcycle-battery).
The starter relay is an electromagnetic switch that sends high current to the starter. Over time, the internal copper contacts can pit or burn, preventing power flow even if you hear a 'click.' You can confirm this by using a multimeter to check for 12V at the starter-side terminal of the relay while the button is pressed [Motorcycle Starter Relay: Symptoms, Test & Fix (Clicking ... MTP-Racing](https://mtp-racing.de/starter-relay-blog).
🔧 Step-by-Step Fix Guide
Perform a Static and Load Battery Test
Set your multimeter to DC Volts. A healthy battery should read 12.6V–12.8V resting. While watching the meter, press the start button; if the voltage plunges below 10V, the battery is chemically incapable of holding a load and must be replaced. If it stays high but nothing happens, the issue is further down the circuit.
Ensure the bike is in neutral to prevent it from jumping forward if the starter suddenly engages.
Inspect and Clean Battery Terminals
Remove the negative (black) cable first, then the positive (red). Use a wire brush or sandpaper to clean the lead terminals and the cable eyelets until they are shiny. Reinstall tightly, positive first, to ensure maximum current flow for the high-amperage draw of the starter.
Always disconnect the negative terminal first to avoid shorting the battery to the frame with your wrench.
Test the Starter Relay (Solenoid)
Locate the relay (usually near the battery under the seat). Check the 30A fuse mounted on it. If the fuse is good, use a screwdriver with an insulated handle to briefly bridge the two large copper studs on the relay. If the engine cranks vigorously, the relay is defective and needs replacement [Everything You Need To Know About Yamaha Raider Starter Relay Solenoid](https://wiredata80.centralindia.cloudapp.azure.com/pictorial-wiring-diagrams/everything-you-need-to-know-about-yamaha-raider-starter-relay.html).
Expect a small spark when bridging terminals; ensure there are no fuel leaks nearby.
Verify Safety Interlock Switches
Yamaha bikes use a logic circuit involving the neutral switch, clutch switch, and side stand switch. If the bike thinks it is in gear with the stand down, it will kill the starter trigger. Ensure the 'Neutral' light is illuminated on the dash and try pulling the clutch lever in while starting to bypass a potentially faulty neutral sensor.
Do not permanently bypass safety switches as this can lead to accidental starting in gear.
Check Voltage Drop at the Starter Motor
Place the positive multimeter probe on the starter motor's input stud and the negative probe on the starter's metal case. Press the start button. If you see 12V but the motor doesn't spin, the starter motor is internally shorted or has worn brushes. If you see low voltage, there is a resistance issue in the cabling.
Keep fingers and loose clothing away from the drive chain or belt during this test.
What To Test Next
If fuel delivery checks out, the next thing to inspect is spark — remove the spark plug, ground its threads to the engine block, and crank the engine to look for a visible blue spark.
Component Reference

Carburetor & Fuel Intake
The carburetor mixes air and fuel for combustion. A clogged jet or stuck float is the #1 cause of small engine starting and surging problems.

Spark Plug & Ignition System
The spark plug ignites the air-fuel mixture. A fouled plug, wrong gap, or failing ignition coil will prevent the engine from firing.

Oil & Lubrication System
Regular oil changes are critical. Low or dirty oil causes engine wear, overheating, and eventual seizure. Check the dipstick before every season.

Fuel System
Stale fuel is the most common cause of seasonal starting failures. Fuel breaks down in 30 days, leaving varnish that clogs carburetor jets and fuel filters.
Photos for educational reference. Actual parts may vary by make and model.
Common Mistakes to Avoid
Replacing the starter motor before testing the battery load capacity.
Assuming a battery is 'good' just because the lights and dash turn on.
Forgetting to check the fuse hidden on the starter relay itself.
Not checking the clutch switch when the bike is in gear.
If This Didn't Fix It
Still having trouble? These are the next things to check:
Get the Exact Parts for Your Machine
Tell us your equipment's year, make, and model — we'll search for parts that actually fit, not generic ones.
Finding parts for
My 2017 Yamaha motor cycle
Required Gear
Matched to your My 2017 Yamaha motor cycle — click to find the exact fit on Amazon.
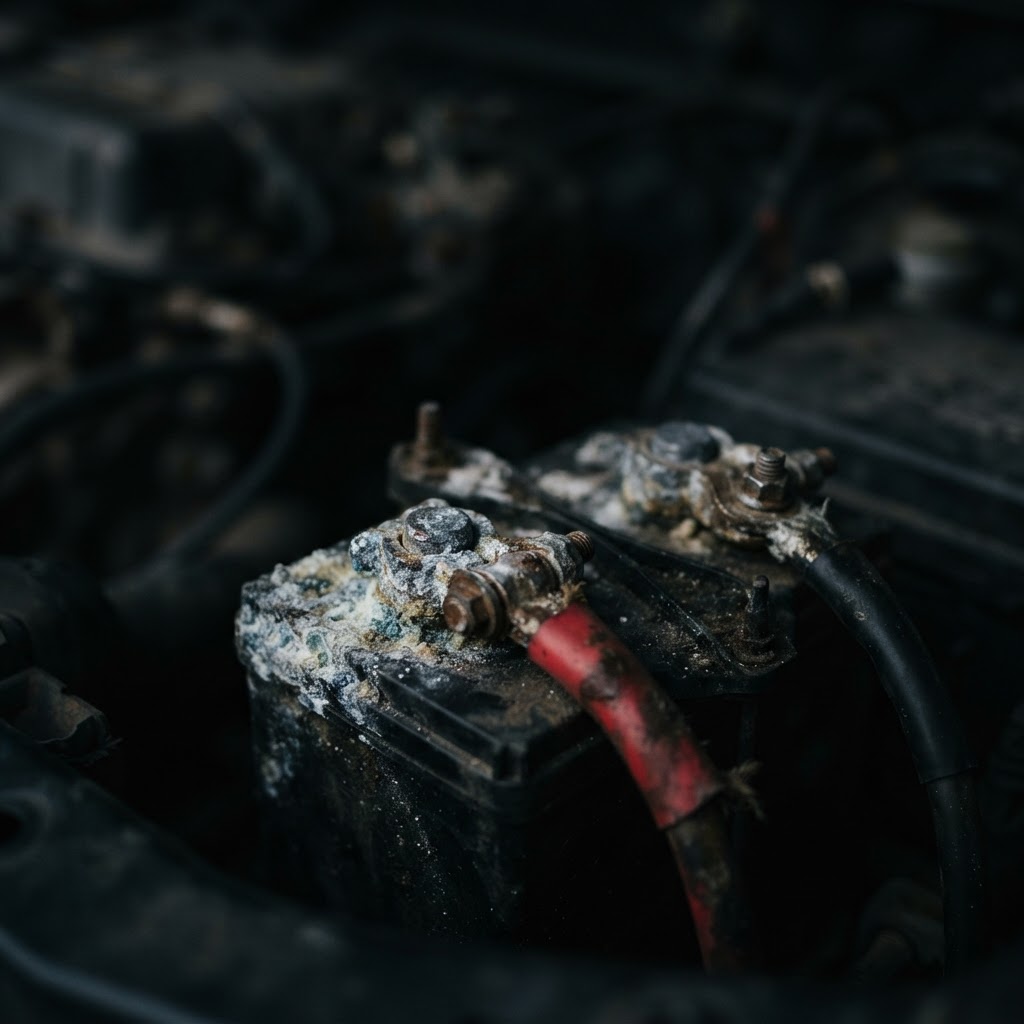
Battery
The most common cause of 'not enough power to crank' on a 2017 Yamaha is a weak battery. Look for an AGM (Absorbed Glass Mat) type for better vibration resistance.
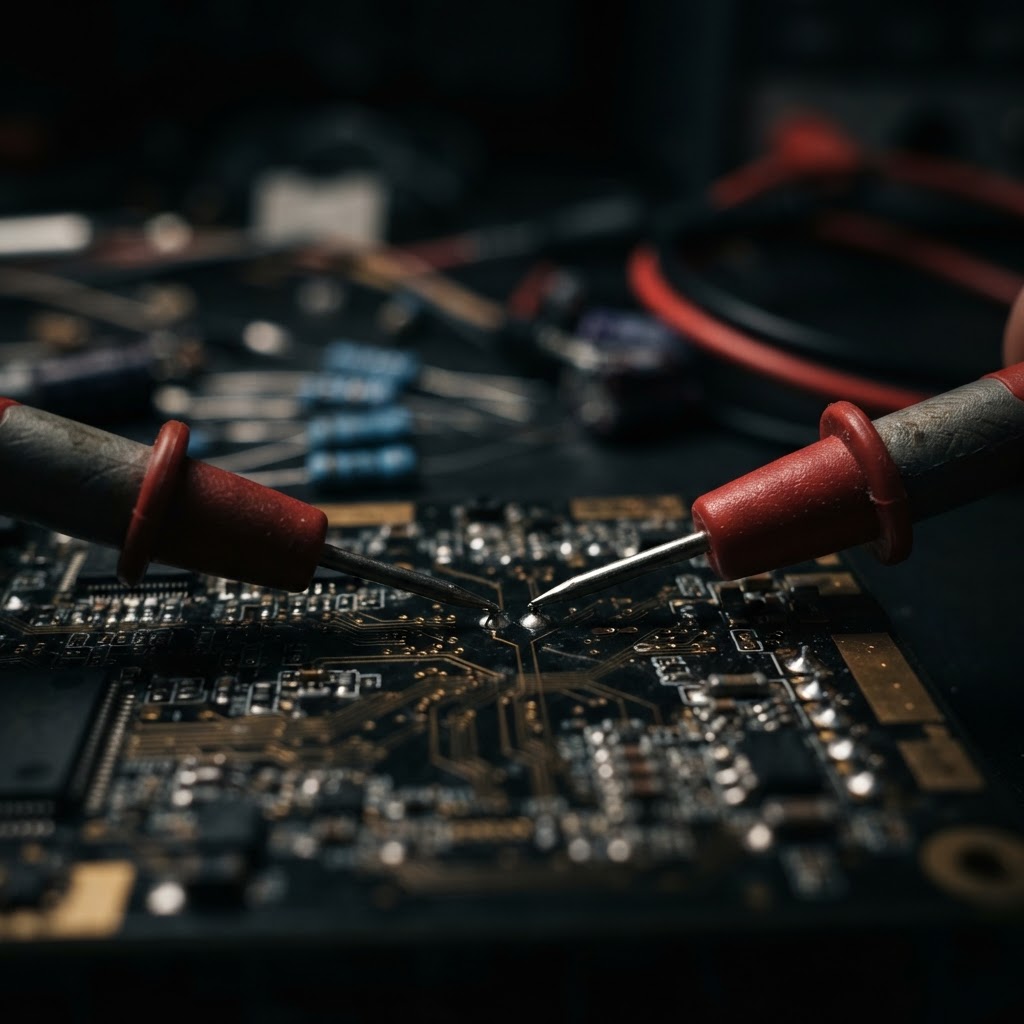
Multimeter
Essential for performing load tests and checking for voltage drops in the starting circuit. A digital model is required for accuracy.
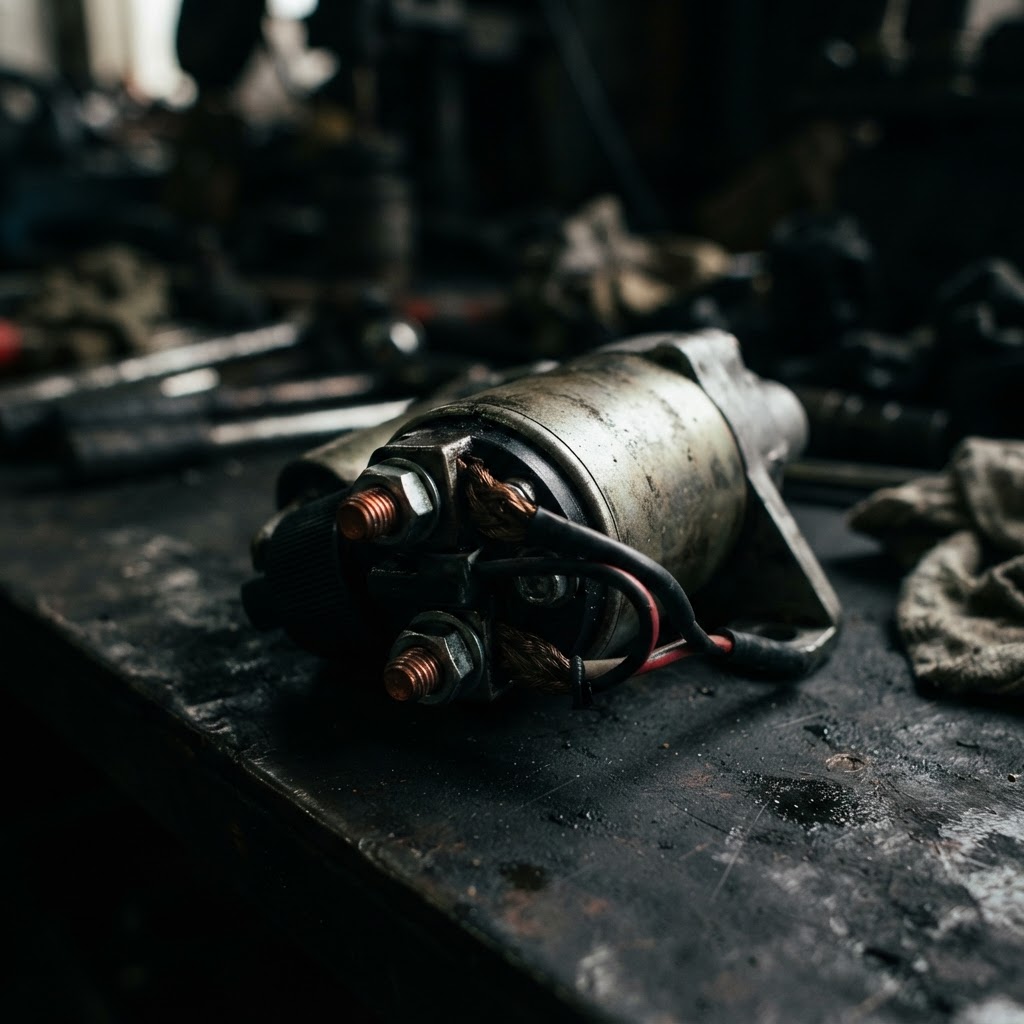
Starter Solenoid
If the relay clicks but doesn't pass power, this is the specific replacement part for the 2017 Yamaha starting system.
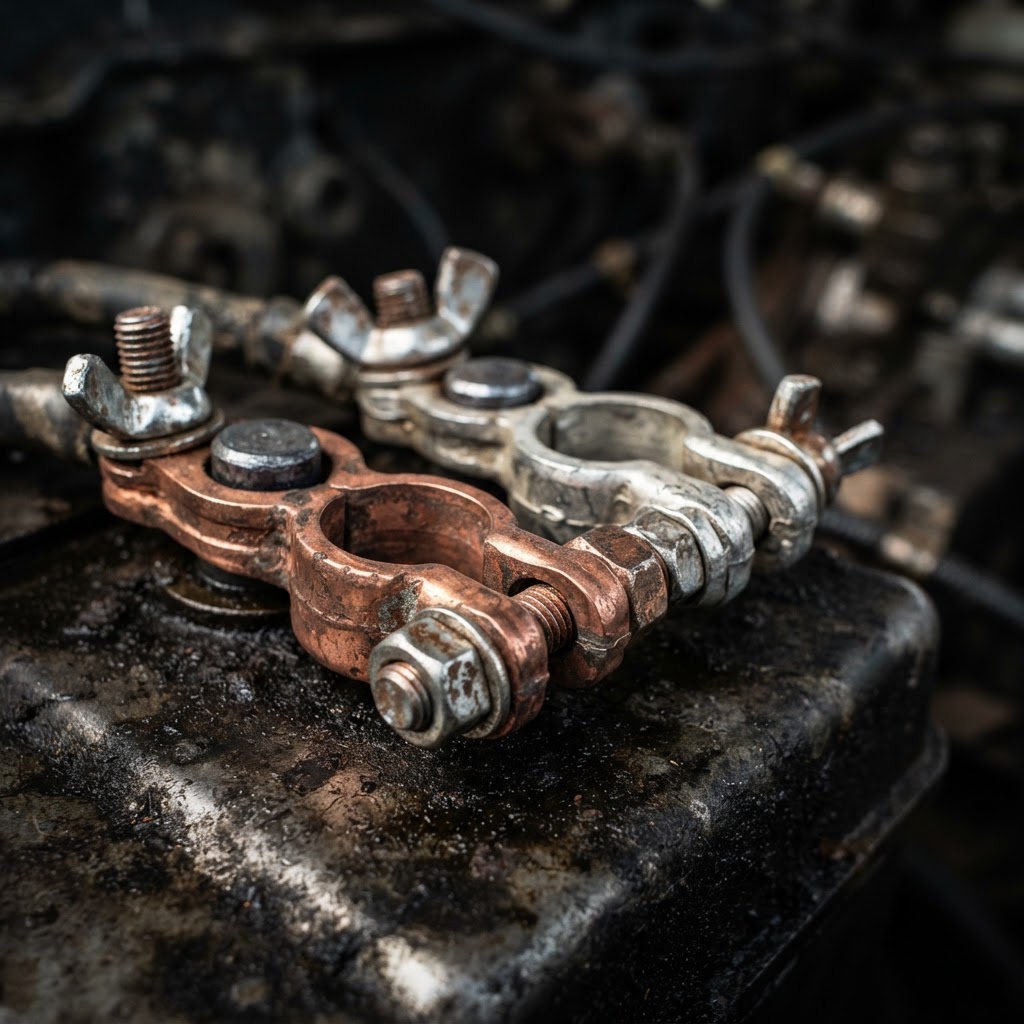
Battery Tester
A dedicated load tester can confirm if a battery is sulfated even if it shows 12V on a standard multimeter.

Shop Towels
Necessary for cleaning up grease and corrosion during terminal and ground wire maintenance.
Affiliate Disclosure: Lil Engine may earn commissions from qualifying purchases.
Pro Tips from the Community
Real-world fixes from Reddit, YouTube & forums.
"Yamaha starter relays often fail by clicking but not passing current—bridge the terminals with a screwdriver to confirm the motor is actually okay."
Reddit r/motorcycles"Check the 'Main' 30A fuse located directly on the starter solenoid housing; it's often overlooked when checking the main fuse box."
Yamaha R6 Forum"If it cranks slow, check the ground wire where it bolts to the engine case; they often vibrate loose on Yamaha twins and triples."
YouTube commentsPrevent This From Coming Back
Keep the battery on a smart tender during the off-season to prevent sulfation.
Apply dielectric grease to battery terminals to prevent oxidation.
Periodically check that the engine ground bolt is torqued to spec.
Prevent This From Happening Again
While you're fixing it, stock up on the maintenance essentials that keep your small engines running right.
Spark Plug
The cheapest, fastest fix for most small engine starting problems.
Get on AmazonCarburetor Cleaner
Cleaning the carb is the #1 fix for surging and stalling engines.
Get on AmazonFuel Stabilizer
Prevents the stale fuel problems that cause most seasonal no-starts.
Get on AmazonAffiliate Disclosure: Lil Engine may earn commissions from qualifying purchases.
Frequently Asked Questions
The clicking is the starter relay engaging, but there isn't enough amperage to turn the motor, usually due to a weak battery or poor connections.
Video Help
Helpful videos showing these repairs in action.
Share Your Repair
Real-world fixes help everyone. Share what worked and your repair becomes part of Lil Engine's community database.
Related Problems
More Small Engines GuidesRelated Maintenance Articles
Related Symptoms
Related Searches
Small Engines Troubleshooting
Did this help?
Your feedback helps improve guides for everyone.