Riding Mower Blades Won't Engage
⚡ Quick Answer
Most often, mower blades fail to engage due to a broken or slipped deck belt, or a faulty electric clutch switch. Start by checking your belt tension and ensuring your safety interlocks are functioning correctly.
What do you want to do?
Most Likely Cause
Stretched or Degraded Deck Belt
Over time, belt rubber compounds dry out and stretch, preventing the idler pulley from applying adequate pressure. Check for glazing on the inner V-groove and excessive play between the blade spindles.
Start here — this is the most common reason for this symptom.
Why This Problem Happens
Riding mower deck engagement failures generally stem from a disconnect in the mechanical tensioning system or a fault in the electromagnetic Power Take-Off (PTO) circuit. On manual systems, the mechanism relies on a high-tension spring pulling an idler pulley against the drive belt to create necessary friction; if this spring fatigues, the belt loses grip and slips under load. Alternatively, mechanical linkages can bind due to corrosion or debris buildup, preventing the idler from reaching its full stroke. In electric systems, engagement requires a steady 12-volt supply to the PTO clutch coil to create a magnetic field that bridges the gap between the armature and rotor. Failure often occurs because of high resistance in the circuit, usually caused by a failing voltage regulator, a corroded operator presence switch, or a burned-out clutch coil that cannot sustain the electromagnetic force required to lock the pulley to the drive shaft. When this magnetic gap widens beyond factory specifications due to heat wear, the clutch slips or fails to engage entirely, resulting in dead deck blades.
Common Symptoms
- Engine bogs down but blades remain stationary
- High-pitched screeching or burning rubber smell
- Visible slack in the deck drive belt
- No audible click when moving the PTO switch
- Intermittent engagement while mowing through thick grass
Before You Buy Parts
Quick, free inspections — check these first. Most repairs don't actually need replacement parts.
Complete Resource Guide
Complete Riding Mowers Troubleshooting Guide
Repair Overview
1–3 hours
$20–$150
First Checks — Start Here
- 1Ensure the engine is fully warmed up
- 2Check that the mower deck engagement lever or switch is fully seated
- 3Inspect the deck belt for visible cracks or slipping
- 4Check under the deck for grass buildup or stuck debris
- 5Ensure the safety interlock switch under the seat is pressed
Safety Warnings
- !Always disconnect the spark plug wire to prevent accidental engine rotation during inspection.
- !Exercise extreme caution around moving parts and spinning pulleys while the engine is running.
- !Ensure the battery is disconnected before performing any adjustments to prevent electrical discharge.
- !Use eye protection, as tension springs can snap and cause injury if they release unexpectedly.
- !Never permanently bypass safety switches, as this creates a severe injury risk.
- !Block the deck securely if working underneath; do not rely solely on the mower's hydraulic lift.
Always disconnect the spark plug, work in a well-ventilated area, and consult a professional if unsure.
Most Likely Causes
Ranked by likelihood — tap each to see diagnosis details.
Over time, belt rubber compounds dry out and stretch, preventing the idler pulley from applying adequate pressure. Check for glazing on the inner V-groove and excessive play between the blade spindles.
The internal coil of the clutch can short out or experience an open circuit due to extreme engine heat. Measure the resistance across the clutch connector pins using a digital multimeter; it should typically read between 2 and 4 ohms.
🔧 Step-by-Step Fix Guide
Verify Mechanical Belt Pathing
Remove the deck covers and inspect the belt routing against the diagram on the mower deck decal. Ensure the belt is properly seated in every pulley groove and has not jumped off the tensioner.
Always disconnect the spark plug wire to prevent accidental engine rotation during inspection.
Test PTO Clutch Voltage
Use a multimeter at the clutch pigtail connector while the engine is running and the PTO switch is set to ON. You should measure a solid 12V DC; if voltage is absent, trace back to the switch or relay.
Exercise extreme caution around moving parts and spinning pulleys while the engine is running.
Adjust Clutch Air Gap
If the clutch engages but slips, the air gap between the clutch hub and the pulley may be too wide. Use a feeler gauge to set the gap to manufacturer specifications, usually between .010 and .015 inches, by adjusting the nuts on the clutch housing.
Ensure the battery is disconnected before performing any adjustments to prevent electrical discharge.
Check Idler Pulley Spring Tension
Locate the extension spring that pulls the idler pulley. If the spring is stretched or broken, replace it to ensure the belt maintains enough tension to prevent slippage during high-load cutting.
Use eye protection, as tension springs can snap and cause injury if they release unexpectedly.
Inspect Safety Interlocks
Test continuity on the seat switch and the brake pedal safety switch using an ohmmeter. If these switches show infinite resistance when depressed, they will prevent the PTO clutch from receiving power.
Never permanently bypass safety switches, as this creates a severe injury risk.
Clear Deck Debris
Build-up of compacted grass and dirt can physically block the movement of the idler arm. Scrape the underside of the deck and clean around the tensioner pivots to ensure full range of motion.
Block the deck securely if working underneath; do not rely solely on the mower's hydraulic lift.
What To Test Next
If the basics check out, verify spark, fuel delivery, and compression in that order — the three essentials of any combustion engine.
Component Reference

Spark Plug & Ignition System
The spark plug ignites the air-fuel mixture. A fouled plug, wrong gap, or failing ignition coil will prevent the engine from firing.

Oil & Lubrication System
Regular oil changes are critical. Low or dirty oil causes engine wear, overheating, and eventual seizure. Check the dipstick before every season.

Electrical & Starting System
The battery, solenoid, and starter motor work together to crank the engine. A weak battery or corroded connection is often mistaken for a fuel or spark problem.

Drive & Cutting System
Belts, pulleys, and clutches transfer engine power to the wheels and cutting deck. A worn or thrown belt is the most common drive-system failure.
Photos for educational reference. Actual parts may vary by make and model.
Common Mistakes to Avoid
Replacing a perfectly functional clutch when the issue is merely a blown relay or fuse
Installing a generic belt instead of the OEM-specified length and profile
Ignoring the condition of the spindle bearings, which causes high load and clutch slippage
Failing to tighten the bolt securing the clutch to the crankshaft, leading to shearing the keyway
If This Didn't Fix It
Still having trouble? These are the next things to check:
Get the Exact Parts for Your Machine
Tell us your equipment's year, make, and model — we'll search for parts that actually fit, not generic ones.
Finding parts for
Riding mower blades won't engage
Required Gear
Matched to your Riding mower blades won't engage — click to find the exact fit on Amazon.
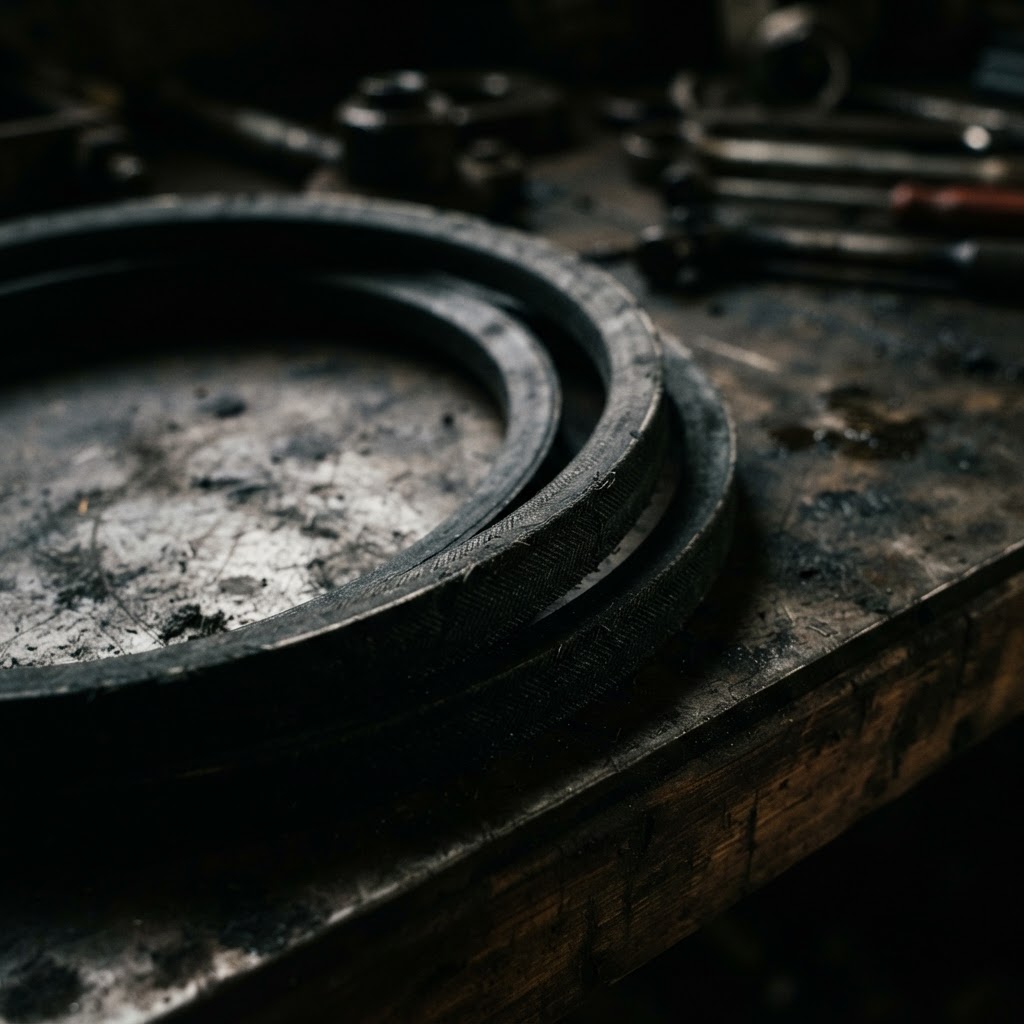
Replacement Mower Deck Drive Belt
If your inspection reveals a stretched, glazed, or cracked belt, replacing it is necessary to restore the friction required to spin the blade spindles.
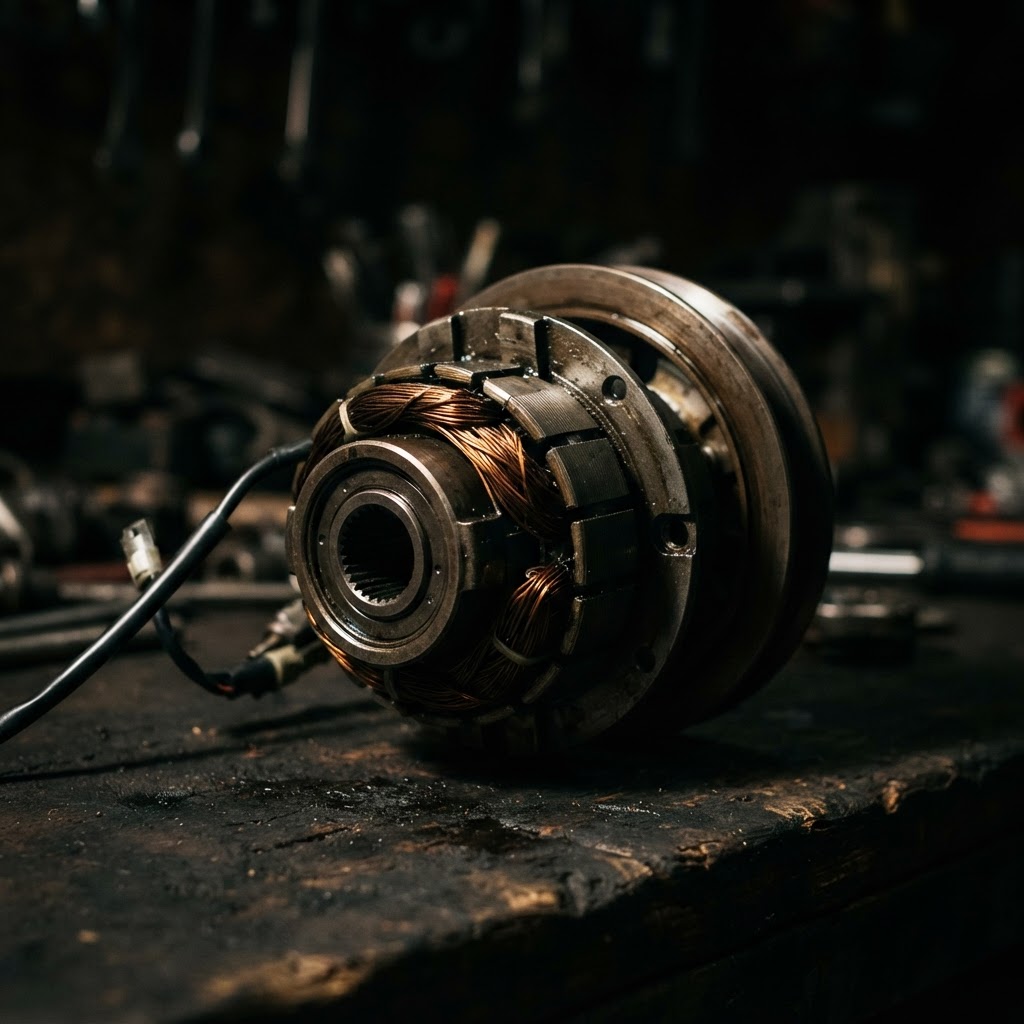
Electric PTO Clutch Assembly
If the clutch fails the voltage test or has a worn-out air gap beyond adjustment, replacing the entire assembly is the only way to re-engage the cutting deck.
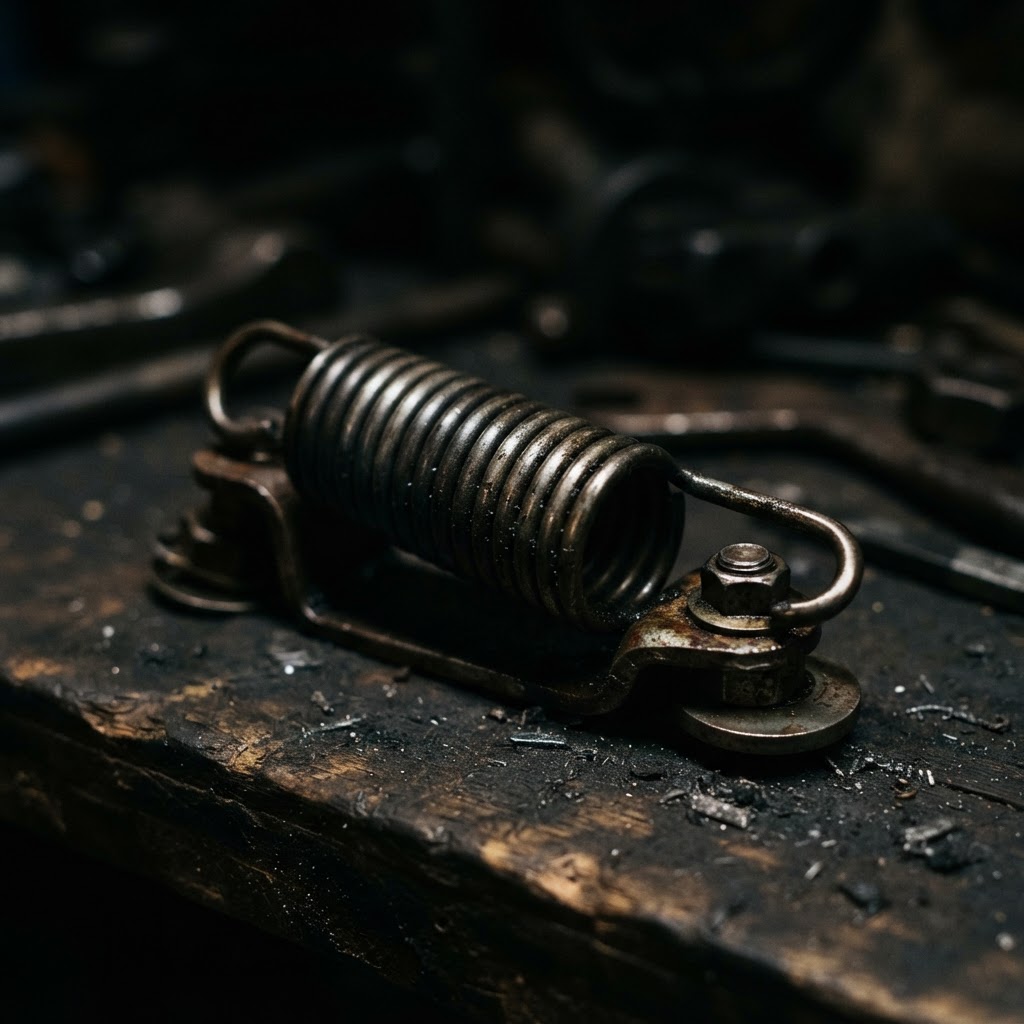
Idler Pulley Tensioner Spring
Over time, these springs lose their tension, causing the belt to slip during engagement; a new spring ensures proper pressure is applied to the deck belt.
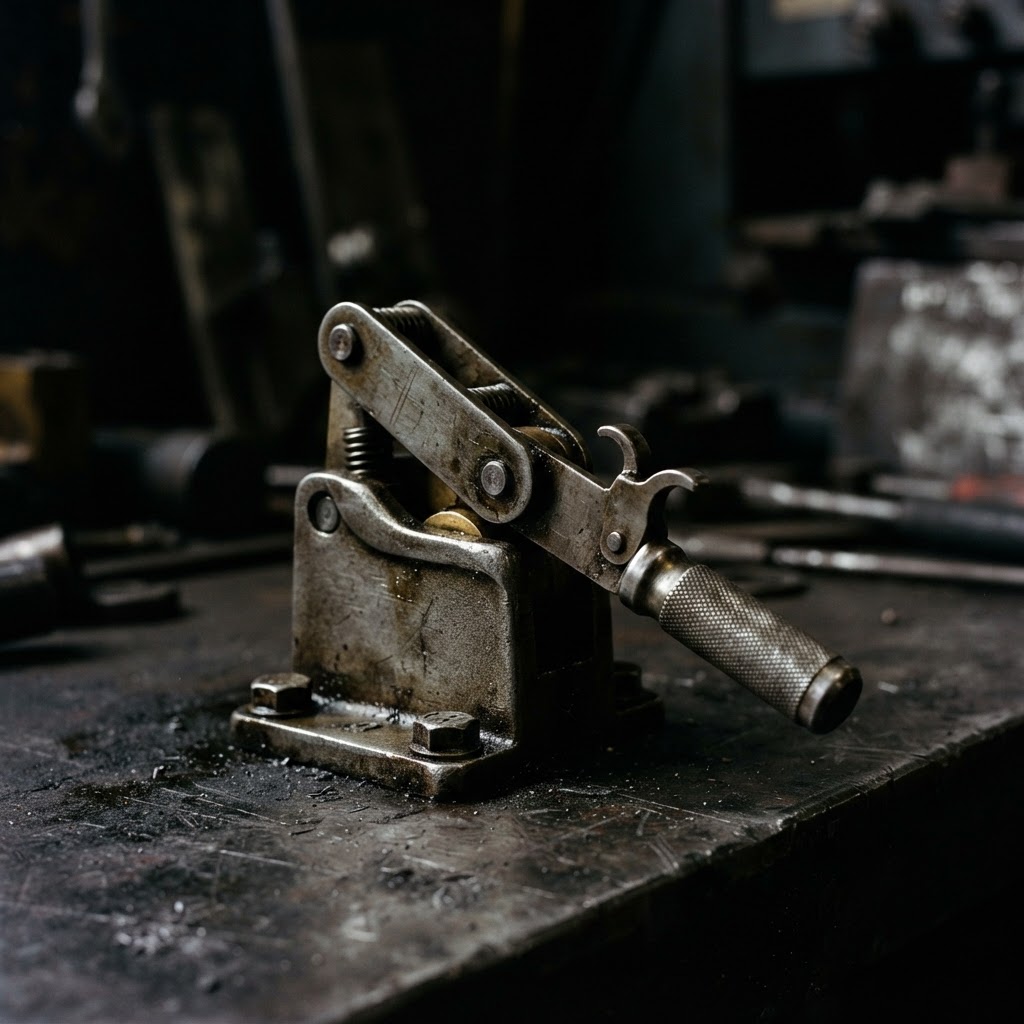
Blade Engagement Safety Switch
If the safety interlock is malfunctioning, the clutch will not receive power; replacing the switch bypasses the fault and restores the electrical signal to the PTO.

Replacement PTO Fuse
If your testing confirms the fuse has blown due to a power surge, this is the essential consumable required to allow current to reach the PTO clutch.
Affiliate Disclosure: Lil Engine may earn commissions from qualifying purchases.
Pro Tips from the Community
Real-world fixes from Reddit, YouTube & forums.
"Check for a stretched mower deck belt before replacing the PTO clutch, as a loose belt often feels like a faulty switch."
LawnSite.com Forum"If the blades won't engage, check the seat safety switch by manually bypassing it to see if the engine stays running under load."
Reddit r/lawncare"Tap the PTO clutch housing with a rubber mallet while someone pulls the engagement switch; if it engages, the clutch is likely corroded or worn out."
YouTube comments"Inspect the wiring harness under the deck for a broken ground wire; vibration often snaps the wire right at the connector near the PTO clutch."
TractorByNetPrevent This From Coming Back
Power wash the underside of the deck after every use to prevent link binding
Spray silicone lubricant on pivot points and tensioner linkages seasonally
Inspect belt condition every 50 hours for cracks, fraying, or loss of width
Periodically test the charging system to ensure the PTO receives full voltage
Prevent This From Happening Again
While you're fixing it, stock up on the maintenance essentials that keep your riding mowers running right.
Small Engine Oil
Change oil every 50 hours or once per season to prevent engine wear.
Get on AmazonAir Filter
A clogged air filter reduces power and fuel efficiency — replace annually.
Get on AmazonFuel Stabilizer
Keeps fuel fresh during storage, preventing carburetor gumming.
Get on AmazonAffiliate Disclosure: Lil Engine may earn commissions from qualifying purchases.
Frequently Asked Questions
While technically possible, you should never bypass safety switches. If the mower won't engage, it is likely a sign that the safety circuit is functioning correctly to prevent operation under unsafe conditions.
Video Help
Helpful videos showing these repairs in action.
Share Your Repair
Real-world fixes help everyone. Share what worked and your repair becomes part of Lil Engine's community database.
Related Problems
More Riding Mowers GuidesRelated Maintenance Articles
Related Symptoms
Related Searches
Riding Mowers Troubleshooting
Did this help?
Your feedback helps improve guides for everyone.