Riding Mower Clicks Once But Won't Crank
⚡ Quick Answer
A single click usually indicates that your battery lacks the power to engage the starter or there is a poor electrical connection. Start by checking your battery voltage and cleaning the cable connections before testing the starter solenoid.
What do you want to do?
Most Likely Cause
Faulty Starter Solenoid
A single click typically indicates that the starter solenoid is receiving the signal from the ignition switch but failing to bridge the high-amperage connection to the starter motor. Because solenoids are electro-mechanical components with internal contacts that wear out over time, they are the most frequent failure point when power is present but the starter will not engage.
Start here — this is the most common reason for this symptom.
Why This Problem Happens
When you turn the ignition key to 'start', you complete a low-amperage circuit that energizes the solenoid coil. This magnetic field pulls a heavy-duty copper contact disk against two high-amperage terminals, ideally bridging the gap between the battery and the starter motor. A single 'click' indicates that the solenoid has successfully moved this internal plunger, but the subsequent flow of massive electrical current—often over 100 amps—is failing to reach or turn the starter motor. This is almost exclusively an electrical delivery issue or a physical mechanical lockup. Either the copper contacts inside the solenoid are pitted and charred from years of arcing, preventing conductivity, or the massive cables supplying the power are too resistive due to oxidation. Alternatively, the starter motor's internal bushings may be seized or the engine itself has suffered a hydraulic lock, physically preventing the starter gear from rotating despite receiving full battery voltage.
Common Symptoms
- Single audible click from the solenoid
- No starter motor rotation
- Dimming dashboard lights when key is turned
- Battery terminals feel warm to the touch
- Engine crankshaft will not rotate by hand
Before You Buy Parts
Quick, free inspections — check these first. Most repairs don't actually need replacement parts.
Complete Resource Guide
Complete Riding Mowers Troubleshooting Guide
Repair Overview
30–60 minutes
$0–$100
First Checks — Start Here
- 1Ensure the mower is in neutral with the parking brake engaged
- 2Check that the battery terminals are tight and free of corrosion
- 3Verify the battery voltage with a multimeter
- 4Ensure the blades are disengaged (PTO off)
- 5Check the safety switch under the seat
Safety Warnings
- !Ensure the parking brake is set and the mower is in neutral to prevent accidental movement.
- !Always disconnect the negative terminal first to prevent shorting the wrench against the frame.
- !Disconnect the spark plug wire entirely to prevent the engine from firing during manual rotation.
- !Hold the starter housing firmly in a vice or with leather gloves, as it will torque violently upon activation.
- !This creates large sparks; ensure no fuel vapors are present in the immediate area.
- !Wear safety goggles, as lead-acid batteries can off-gas flammable hydrogen.
- !Replacing the starter motor when the battery cables were actually at fault
- !Ignoring the ground wire connection point on the engine block
- !Assuming a new battery is fully charged when it may only have surface charge
Always disconnect the spark plug, work in a well-ventilated area, and consult a professional if unsure.
Most Likely Causes
Ranked by likelihood — tap each to see diagnosis details.
The internal copper disk is worn or carbon-fouled, allowing the coil to pull the disk down, but preventing the high current from passing through. You can diagnose this by measuring voltage drop across the solenoid terminals during cranking.
Oxidation at the crimped cable lugs creates high resistance. Even if the cable looks fine externally, the wire strands under the insulation may be rotted, choking off the amperage needed for the starter motor.
🔧 Step-by-Step Fix Guide
Voltage Drop Test
Place a digital multimeter on the starter side terminal of the solenoid and the negative battery post. If you see high voltage but no starter movement, the solenoid is failing.
Ensure the parking brake is set and the mower is in neutral to prevent accidental movement.
Check Battery Connections
Remove the battery cables and wire-brush both the battery posts and the cable lugs until they are bright and clean. Reinstall and tighten firmly with a wrench, avoiding just hand-tightening.
Always disconnect the negative terminal first to prevent shorting the wrench against the frame.
Manual Crank Test
Remove the spark plug and attempt to turn the cooling fan or the flywheel screen by hand. If you cannot rotate the engine manually, the issue is internal, not electrical.
Disconnect the spark plug wire entirely to prevent the engine from firing during manual rotation.
Starter Bench Test
Remove the starter motor from the engine and connect it directly to a known good battery using jumper cables. If it spins freely, the motor is good and the issue is likely in the wiring or solenoid.
Hold the starter housing firmly in a vice or with leather gloves, as it will torque violently upon activation.
Solenoid Bypass Test
Carefully jump across the two large terminals of the solenoid using an insulated screwdriver. If the starter spins, the solenoid is faulty, provided the battery is fully charged.
This creates large sparks; ensure no fuel vapors are present in the immediate area.
Load Test the Battery
Use a dedicated carbon-pile battery load tester to verify the battery can maintain 9.6V under load for 15 seconds. A simple voltmeter check is often misleading for high-amperage components.
Wear safety goggles, as lead-acid batteries can off-gas flammable hydrogen.
What To Test Next
If the solenoid clicks but the starter motor does not turn, use a screwdriver to bridge the two large terminals on the solenoid to see if the starter spins independently.
Component Reference

Carburetor & Fuel Intake
The carburetor mixes air and fuel for combustion. A clogged jet or stuck float is the #1 cause of small engine starting and surging problems.

Spark Plug & Ignition System
The spark plug ignites the air-fuel mixture. A fouled plug, wrong gap, or failing ignition coil will prevent the engine from firing.

Oil & Lubrication System
Regular oil changes are critical. Low or dirty oil causes engine wear, overheating, and eventual seizure. Check the dipstick before every season.

Fuel System
Stale fuel is the most common cause of seasonal starting failures. Fuel breaks down in 30 days, leaving varnish that clogs carburetor jets and fuel filters.
Photos for educational reference. Actual parts may vary by make and model.
Common Mistakes to Avoid
Using a test light instead of a voltmeter, which misses high-resistance voltage drops
Replacing the starter motor when the battery cables were actually at fault
Ignoring the ground wire connection point on the engine block
Over-tightening solenoid terminals and snapping the plastic housing studs
Assuming a new battery is fully charged when it may only have surface charge
If This Didn't Fix It
Still having trouble? These are the next things to check:
Riding Mower Starting Problems
Not sure if this is the right guide? Here's how to find the exact fix for your symptom:
Get the Exact Parts for Your Machine
Tell us your equipment's year, make, and model — we'll search for parts that actually fit, not generic ones.
Finding parts for
riding mower
Required Gear
Matched to your riding mower — click to find the exact fit on Amazon.
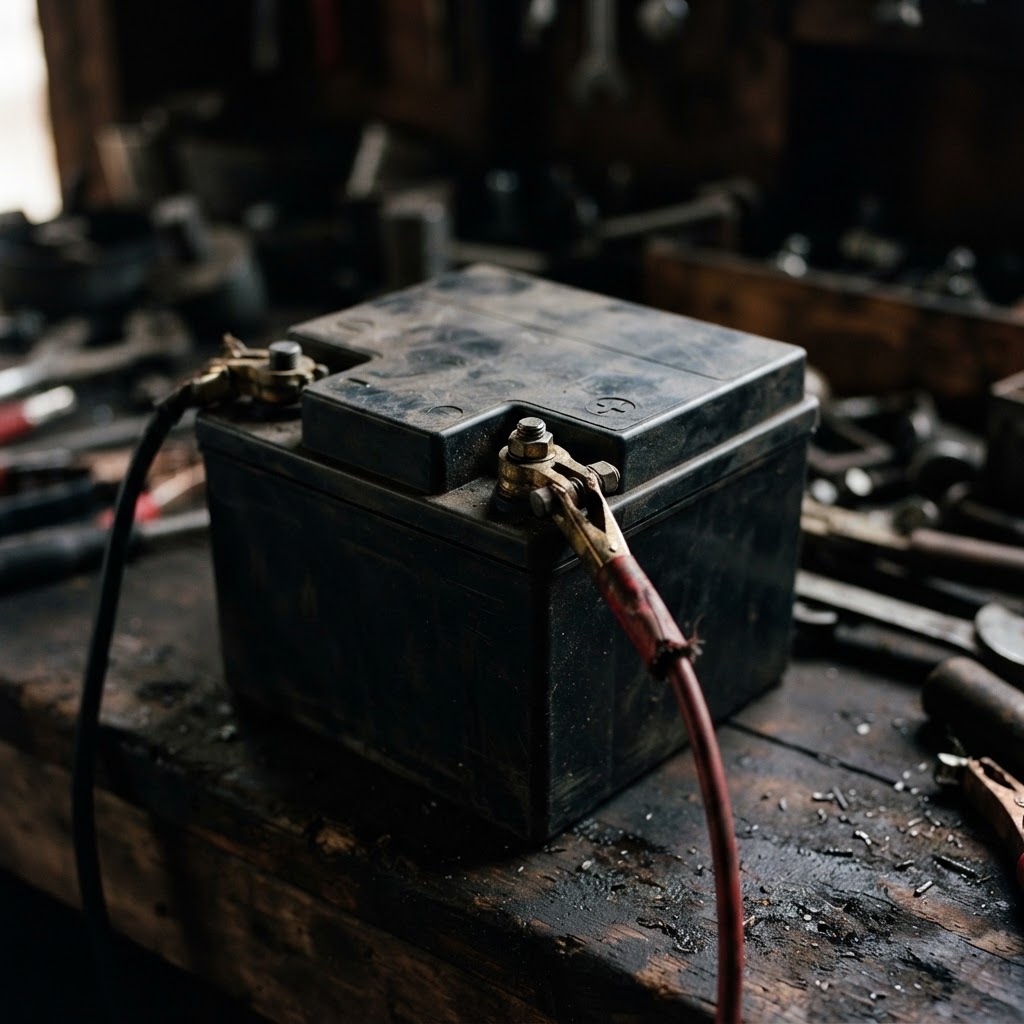
12V Lawn & Garden Battery
If your battery is more than 3-4 years old and failing the voltage test, it is time for a replacement.
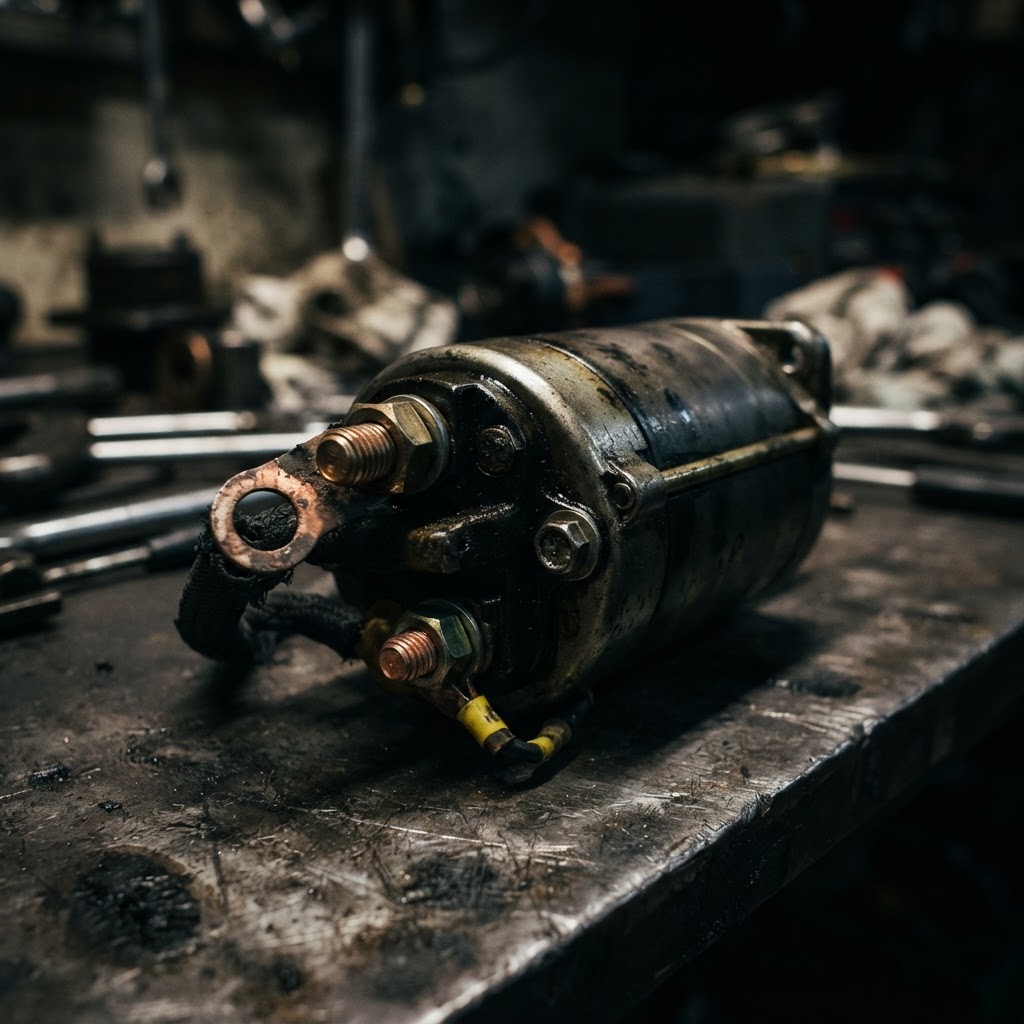
Starter Solenoid
A replacement solenoid is required if you confirmed the unit clicks but fails to transfer power to the starter.
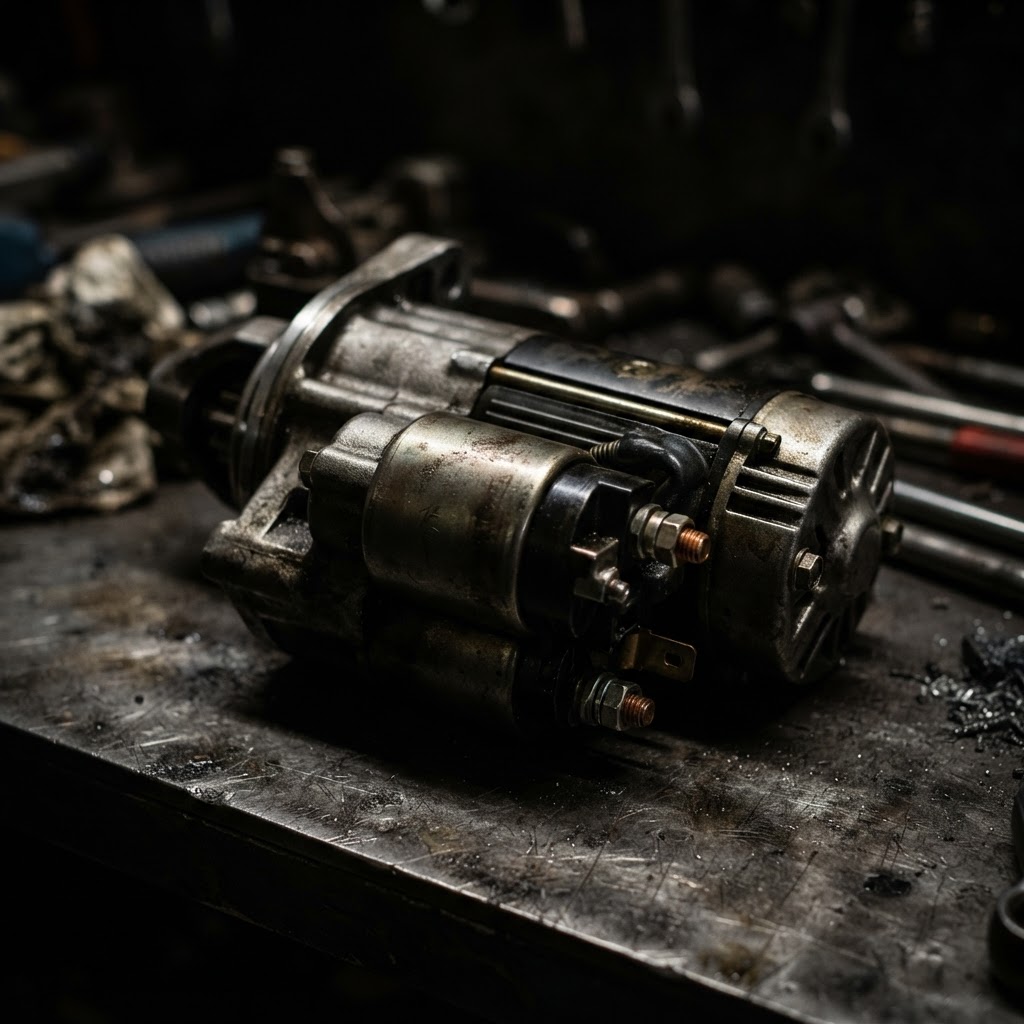
Starter Motor
If the motor is verified as dead or seized after confirming power reaches it, you must replace the unit.
Affiliate Disclosure: Lil Engine may earn commissions from qualifying purchases.
Prevent This From Coming Back
Apply dielectric grease to all electrical connections to prevent future oxidation
Inspect battery cable insulation for cracks or 'green crust' annually
Keep the battery on a smart-charger during the off-season to prevent sulfation
Clean the area around the spark plug before removal to prevent debris from entering the cylinder
Prevent This From Happening Again
While you're fixing it, stock up on the maintenance essentials that keep your riding mowers running right.
Small Engine Oil
Change oil every 50 hours or once per season to prevent engine wear.
Get on AmazonAir Filter
A clogged air filter reduces power and fuel efficiency — replace annually.
Get on AmazonFuel Stabilizer
Keeps fuel fresh during storage, preventing carburetor gumming.
Get on AmazonAffiliate Disclosure: Lil Engine may earn commissions from qualifying purchases.
Frequently Asked Questions
If it clicks and won't turn, jumping it might help if the battery is merely discharged. If the click persists even with a jump, you have a mechanical or solenoid failure that no amount of jumping will fix.
Video Help
Helpful videos showing these repairs in action.
Share Your Repair
Real-world fixes help everyone. Share what worked and your repair becomes part of Lil Engine's community database.
Related Problems
More Riding Mowers GuidesRelated Maintenance Articles
Did this help?
Your feedback helps improve guides for everyone.