Riding Mower Battery Keeps Dying
⚡ Quick Answer
A riding mower battery that won't hold a charge is usually caused by a bad battery, a failed charging system (alternator/regulator), or loose terminal connections. Start by cleaning the terminals and using a multimeter to test if the battery is being charged while the engine is running.
What do you want to do?
Most Likely Cause
Faulty charging system (stator or voltage regulator)
If a battery is fully charged but dies shortly after mowing, the engine is likely running solely on battery power rather than the alternator. The stator or voltage regulator is responsible for maintaining the battery's charge while in operation; if these components fail, the electrical system quickly drains the battery, leading to premature failure.
Start here — this is the most common reason for this symptom.
Why This Problem Happens
A riding mower electrical system operates on a closed-loop circuit centered on the battery, starter solenoid, and the charging stator. When a battery repeatedly fails to hold a charge, it is typically because the charging system fails to replenish the energy consumed during the engine starting cycle, or a parasitic draw is leaking current while the machine is at rest. In many modern Briggs & Stratton or Kohler engines, the stator produces AC voltage that is converted to DC via a rectifier-regulator. If the diode inside this regulator fails, the battery can actually discharge back through the stator windings when the engine is off, effectively turning the stator into a heating element that drains the battery to zero. Alternatively, internal sulfation of the lead-acid plates—often caused by leaving the battery in a discharged state during winter months—prevents the battery from reaching its rated amp-hour capacity. The physical mechanism of a dying battery is the hardening of lead sulfate crystals on the plates, which increases internal resistance and renders the chemical reaction that stores energy inefficient. This cycle is exacerbated by vibrations, which can shake plates loose or cause short circuits inside the casing.
Common Symptoms
- Slow, sluggish engine crank speed
- Clicking sound from the starter solenoid
- Battery casing is bloated or hot to the touch
- Mower engine dies immediately after disconnecting jumper cables
- Multimeter reading below 12.4 volts after full charge
Before You Buy Parts
Quick, free inspections — check these first. Most repairs don't actually need replacement parts.
Complete Resource Guide
Complete Riding Mowers Troubleshooting Guide
Repair Overview
45–90 minutes
$20–$150
First Checks — Start Here
- 1Check for loose or corroded battery terminals
- 2Ensure the battery is fully charged using a dedicated charger
- 3Look for visible damage or swelling on the battery case
- 4Verify the mower engine is actually running at full throttle during use
- 5Check the fuse near the battery for signs of blowing
Safety Warnings
- !Wear safety glasses as batteries produce hydrogen gas which is highly explosive.
- !Keep hands clear of the mower blades and engine pulleys while cranking.
- !Be mindful of hot engine components and moving cooling fans.
- !Ensure the mower is on a flat surface with the parking brake engaged.
- !Always disconnect the negative terminal first to prevent accidental arcing.
- !Disconnect the spark plug wire to prevent the engine from starting accidentally.
- !Replacing the battery without testing the charging system first
- !Using an automotive battery charger that is too high-amperage for a small mower battery
- !Ignoring the ground wire connection point on the chassis
- !Over-tightening battery bolts, which cracks the soft lead posts
Always disconnect the spark plug, work in a well-ventilated area, and consult a professional if unsure.
Most Likely Causes
Ranked by likelihood — tap each to see diagnosis details.
If the regulator fails, it stops converting stator AC current to DC charging voltage. Use a digital multimeter on the DC scale to check for 13.5-14.5 volts across battery terminals while the engine is running at wide-open throttle.
The stator produces the power for the charging system; if the internal insulation breaks down, it stops generating AC voltage. Disconnect the stator output wire and measure AC voltage while cranking; lack of output indicates a stator failure.
🔧 Step-by-Step Fix Guide
Load Test the Battery
Use a dedicated carbon-pile battery load tester to verify the battery's ability to hold a charge under stress. A resting voltage test is insufficient; you must simulate the current draw of the starter motor to see if the voltage plateaus or plummets.
Wear safety glasses as batteries produce hydrogen gas which is highly explosive.
Test AC Stator Output
Disconnect the stator harness from the regulator and set your multimeter to the AC voltage setting. Crank the engine; a healthy stator should produce 25-40 volts AC at full throttle.
Keep hands clear of the mower blades and engine pulleys while cranking.
Check Rectifier/Regulator Function
With the engine running at high idle, measure DC voltage across the battery terminals. If the voltage stays at 12.6V, the regulator is likely not passing charge back to the battery.
Be mindful of hot engine components and moving cooling fans.
Search for Parasitic Draw
Remove the negative battery cable and place a multimeter in series between the cable and the terminal. If you detect current flow with the key off, pull individual fuses one by one until the draw drops to zero to isolate the short.
Ensure the mower is on a flat surface with the parking brake engaged.
Clean and Tighten Battery Terminals
Use a wire brush to remove oxidation from the battery posts and cable ends. Apply a thin layer of dielectric grease to prevent future corrosion and ensure a tight mechanical connection.
Always disconnect the negative terminal first to prevent accidental arcing.
Inspect Solenoid Connections
Loose connections at the starter solenoid cause high resistance, which puts extra strain on the charging system. Tighten the nuts on both the battery and starter lugs using a properly sized wrench.
Disconnect the spark plug wire to prevent the engine from starting accidentally.
What To Test Next
If your charging system is producing the correct voltage output, the next logical step is to perform a load test on the battery to ensure it can still hold a charge under stress.
Component Reference

Carburetor & Fuel Intake
The carburetor mixes air and fuel for combustion. A clogged jet or stuck float is the #1 cause of small engine starting and surging problems.

Spark Plug & Ignition System
The spark plug ignites the air-fuel mixture. A fouled plug, wrong gap, or failing ignition coil will prevent the engine from firing.

Fuel System
Stale fuel is the most common cause of seasonal starting failures. Fuel breaks down in 30 days, leaving varnish that clogs carburetor jets and fuel filters.

Electrical & Starting System
The battery, solenoid, and starter motor work together to crank the engine. A weak battery or corroded connection is often mistaken for a fuel or spark problem.
Photos for educational reference. Actual parts may vary by make and model.
Common Mistakes to Avoid
Replacing the battery without testing the charging system first
Using an automotive battery charger that is too high-amperage for a small mower battery
Ignoring the ground wire connection point on the chassis
Over-tightening battery bolts, which cracks the soft lead posts
If This Didn't Fix It
Still having trouble? These are the next things to check:
Riding Mower Starting Problems
Not sure if this is the right guide? Here's how to find the exact fix for your symptom:
Get the Exact Parts for Your Machine
Tell us your equipment's year, make, and model — we'll search for parts that actually fit, not generic ones.
Finding parts for
Riding mower battery keeps dying
Required Gear
Matched to your Riding mower battery keeps dying — click to find the exact fit on Amazon.
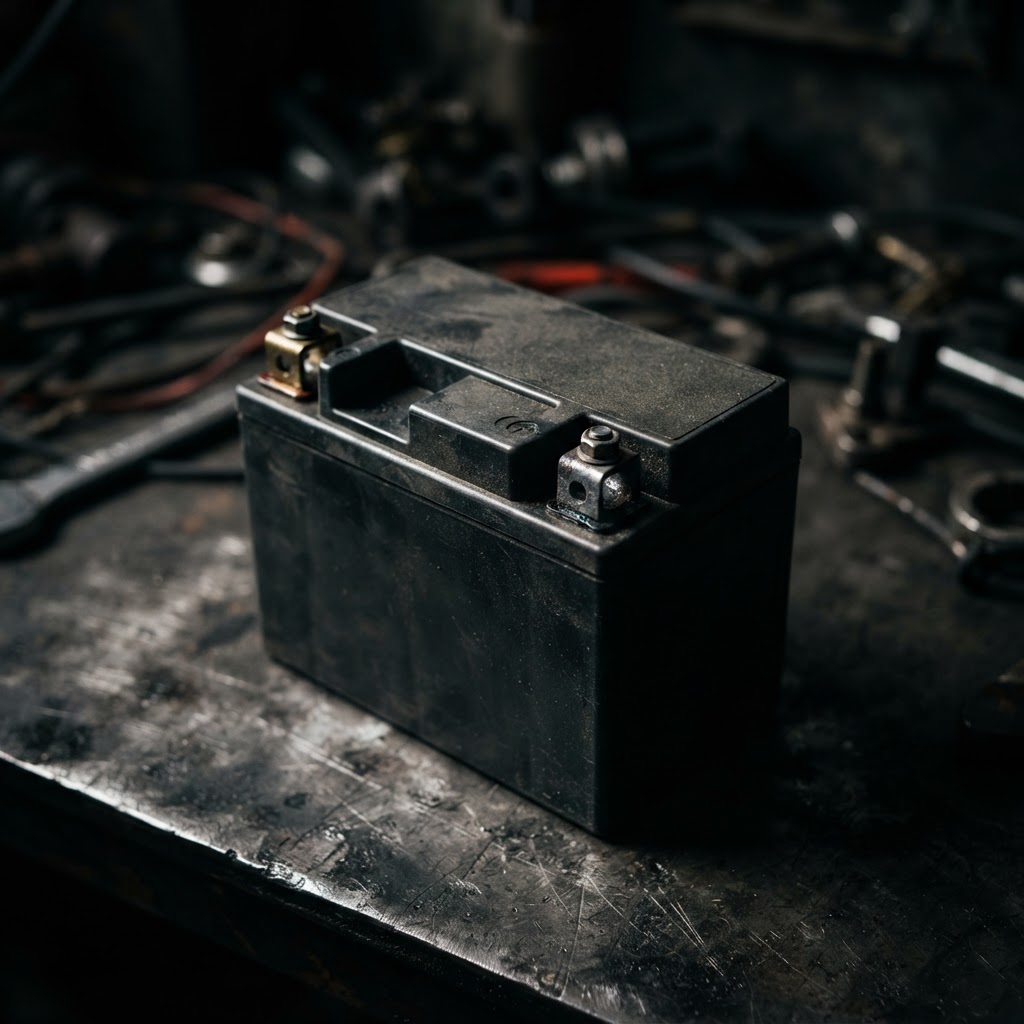
12V Sealed Lead-Acid Replacement Battery
If the battery fails a load test due to internal sulfated plates, it will no longer hold a charge and must be replaced to ensure the engine starts consistently.
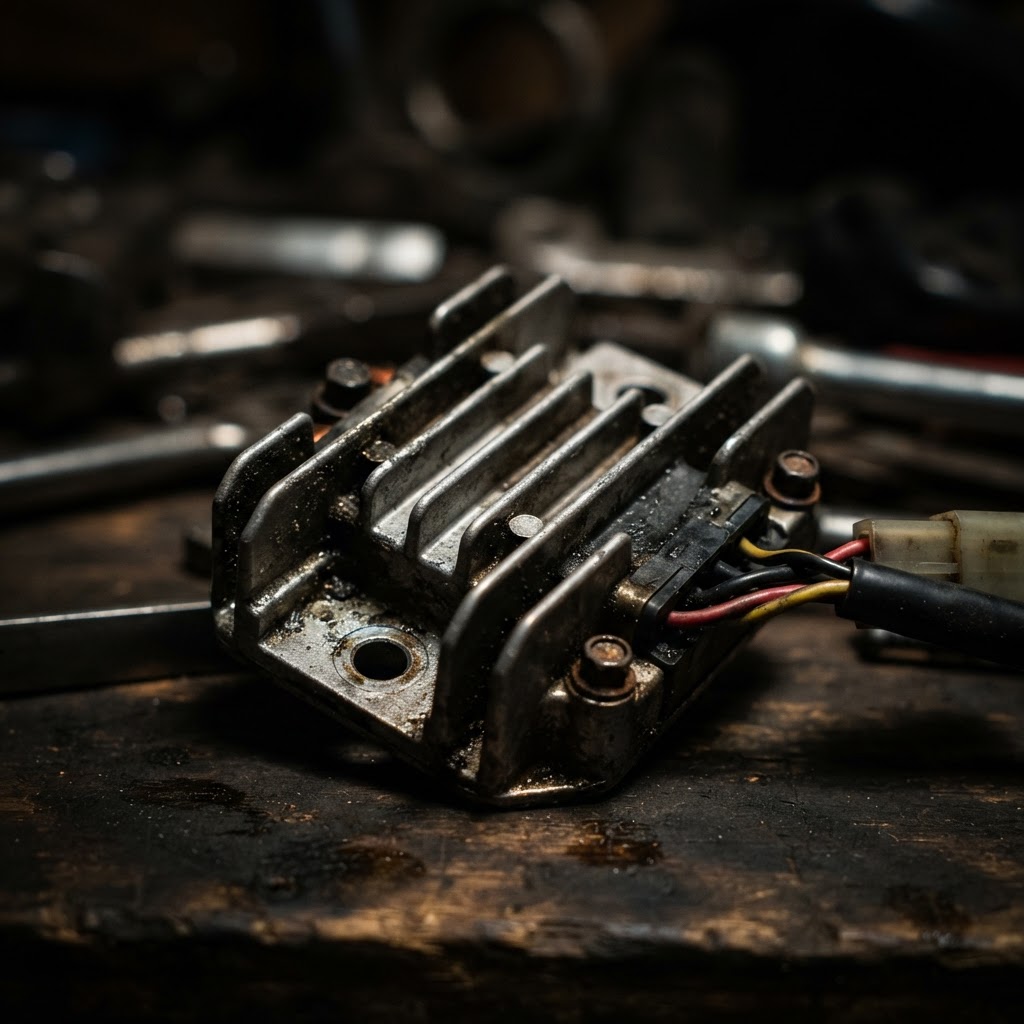
Voltage Regulator/Rectifier Assembly
If the charging system output is inconsistent or shows a failure in the rectification circuit, replacing this component is necessary to restore the proper DC voltage required to maintain battery charge while the engine is running.
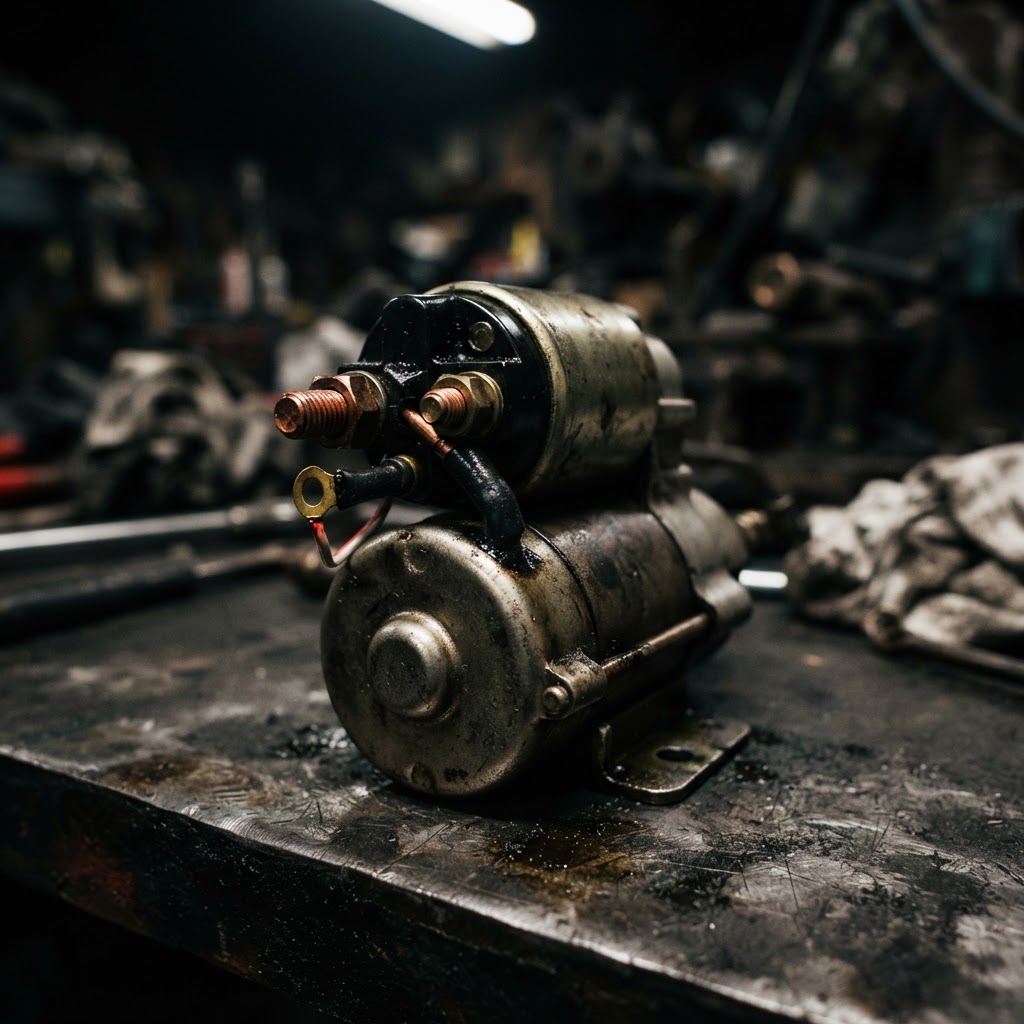
Starter Solenoid
A corroded or internally seized solenoid can cause intermittent electrical continuity issues or parasitic shorts that lead to battery drainage and starting failure.
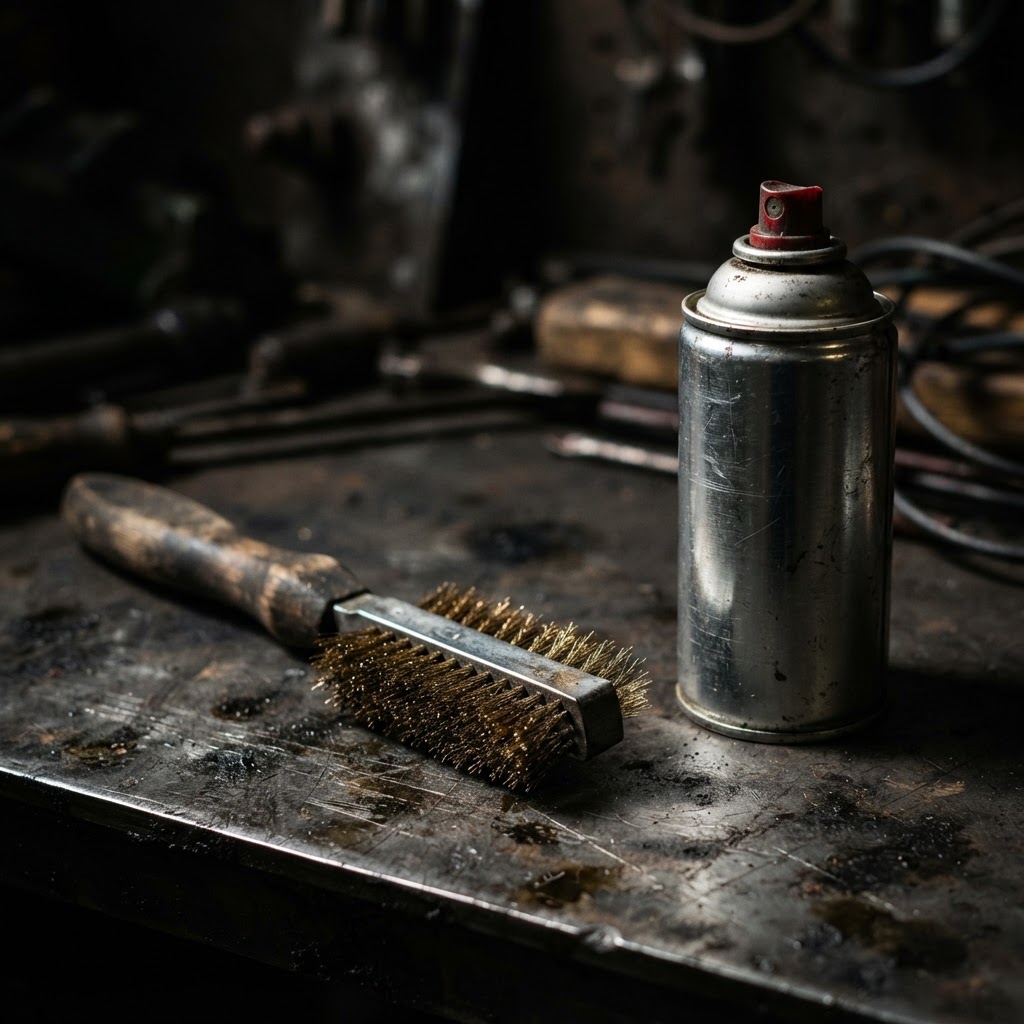
Battery Terminal Cleaning Brush and Anti-Corrosion Spray
These repair-specific consumables are essential for ensuring a clean, low-resistance connection at the battery posts, which is critical for solving charging and grounding issues.
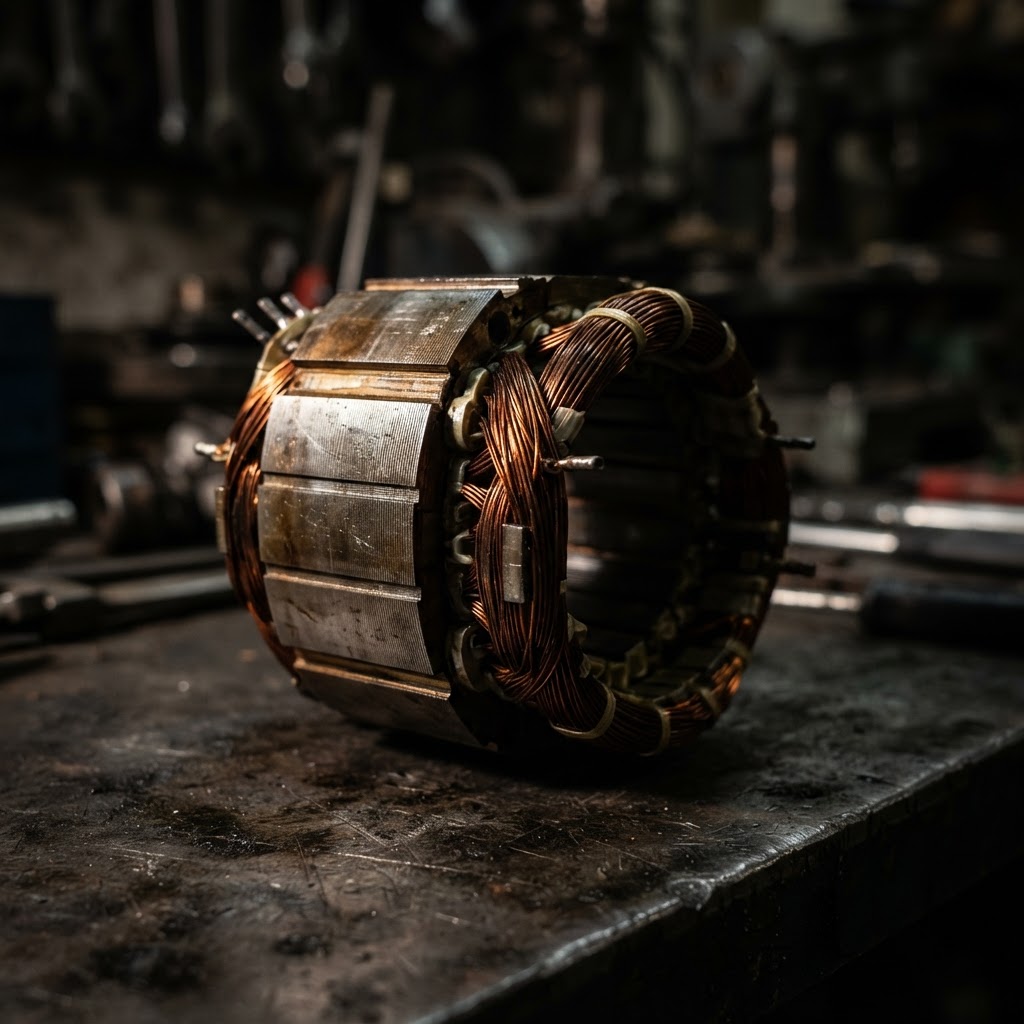
Stator Assembly
If testing reveals the stator windings have degraded or shorted to ground, the alternator can no longer provide the necessary AC voltage to charge the battery, requiring a full replacement of the stator unit.
Affiliate Disclosure: Lil Engine may earn commissions from qualifying purchases.
Pro Tips from the Community
Real-world fixes from Reddit, YouTube & forums.
"Check for a parasitic draw by disconnecting the negative terminal and placing a multimeter in series; if you see more than a few milliamps, your voltage regulator is likely shorted internally."
LawnSite.com Forum"If your stator is putting out AC voltage but the battery won't hold a charge, verify the ground wire at the engine block isn't corroded or loose before buying a new alternator."
TractorByNet"Always check the mower's safety switches; a faulty seat or deck engagement switch can sometimes prevent the charging system from completing its loop while the engine runs."
Reddit r/smallengines"Don't trust the alternator test alone; take the battery to an auto parts store for a load test because a battery with a bad internal cell will act like a dead alternator every single time."
YouTube commentsPrevent This From Coming Back
Use a smart-charging 'battery tender' during the off-season
Keep the battery top free of debris to prevent micro-discharges
Apply terminal spray protector to all electrical connections
Check battery electrolyte levels if it is a serviceable type battery
Prevent This From Happening Again
While you're fixing it, stock up on the maintenance essentials that keep your riding mowers running right.
Small Engine Oil
Change oil every 50 hours or once per season to prevent engine wear.
Get on AmazonAir Filter
A clogged air filter reduces power and fuel efficiency — replace annually.
Get on AmazonFuel Stabilizer
Keeps fuel fresh during storage, preventing carburetor gumming.
Get on AmazonAffiliate Disclosure: Lil Engine may earn commissions from qualifying purchases.
Frequently Asked Questions
A bad solenoid usually fails to engage the starter, but if the internal contacts are welded together, it can keep the starter motor engaged, which will drain a battery in minutes.
Video Help
Helpful videos showing these repairs in action.
Share Your Repair
Real-world fixes help everyone. Share what worked and your repair becomes part of Lil Engine's community database.
Related Problems
More Riding Mowers GuidesRelated Maintenance Articles
Related Symptoms
Related Searches
Riding Mowers Troubleshooting
Did this help?
Your feedback helps improve guides for everyone.