Riding Mower Ignition Switch Troubleshooting
⚡ Quick Answer
Most riding mower ignition issues are caused by a faulty switch, loose wire connections, or a blown fuse. Start by checking your battery and safety switches, then use a multimeter to test the ignition switch continuity to see if it is failing.
What do you want to do?
Most Likely Cause
Failed Ignition Switch Internal Contacts
Over time, the internal metal contacts inside the ignition switch wear down or develop carbon buildup, preventing the electrical circuit from completing when the key is turned. This is the most common failure point because the switch is exposed to vibration and environmental moisture, leading to internal mechanical fatigue.
Start here — this is the most common reason for this symptom.
Why This Problem Happens
Riding mower ignition switches are subjected to a harsh environment characterized by constant high-frequency vibration, significant thermal cycling, and chronic exposure to moisture and oxidation. Internally, the switch utilizes a series of spring-loaded copper or brass contact points that slide across a rotating phenolic or plastic cam. Over time, the dielectric grease inside dries out, leading to increased frictional wear and the inevitable accumulation of carbon arcing (pitting) on the contact faces. This pitting increases electrical resistance significantly, which generates localized heat, further melting the surrounding plastic housing and causing the internal spring tension to weaken. Once the spring pressure is insufficient to maintain a solid physical connection, the circuit becomes intermittent or fails entirely to close the starter solenoid control circuit (typically the 'S' or 'ST' terminal) or the ignition ground kill circuit. Moisture ingress only accelerates this failure by causing electrolytic corrosion, turning the contact points into a high-resistance bridge rather than a low-resistance path for the 12V DC signal. Because these switches are 'non-serviceable' sealed units, once the internal geometry is compromised by heat or corrosion, the only recourse is a complete replacement to restore the reliability of the starting circuit.
Common Symptoms
- Complete silence when turning the key
- Clicking sound from the solenoid but no engine crank
- Engine starts but fails to shut off when key is turned to Off
- Intermittent power to the dash lights or hour meter
- Engine dies when the steering wheel or seat is adjusted
Before You Buy Parts
Quick, free inspections — check these first. Most repairs don't actually need replacement parts.
Repair Overview
30–45 minutes
$15–$40
First Checks — Start Here
- 1Check that the battery terminals are clean and tight.
- 2Verify the fuse under the hood has not blown.
- 3Ensure all safety interlocks (seat, brake, deck) are engaged.
- 4Clean any debris from around the ignition switch area.
- 5Try jiggling the key while turning to see if it catches.
Safety Warnings
- !Ensure the parking brake is set to prevent accidental movement.
- !Disconnect the negative battery cable before removing or probing the switch to prevent accidental starter engagement and shorts.
- !Disconnect the negative battery terminal before cleaning to prevent shorting the harness.
- !Do not touch the plug wires while the engine is cranking.
- !Use caution to avoid cracking the plastic dashboard bezel.
- !Always verify that all safety interlock switches function after installation.
- !Forgetting to disconnect the battery, leading to blown fuses during diagnostic probing
Always disconnect the spark plug, work in a well-ventilated area, and consult a professional if unsure.
Most Likely Causes
Ranked by likelihood — tap each to see diagnosis details.
Continuous arcing during the high-amperage draw of the starter solenoid activation pits the copper contacts. Over time, this buildup of carbon debris creates enough resistance to prevent the solenoid from engaging.
Environmental moisture causes the external spade terminals to oxidize. This creates a high-resistance connection at the harness plug, often manifesting as flickering dashboard lights.
🔧 Step-by-Step Fix Guide
Test for Voltage at the Switch
Use a digital multimeter set to DC volts to probe the 'B' (Battery) terminal on the back of the switch. You should see steady battery voltage; if not, check the main fuse and battery cables.
Ensure the parking brake is set to prevent accidental movement.
Test Ignition Switch Continuity (B to S)
Remove the ignition switch from the dash and set a digital multimeter to the continuity (ohms) setting. Probe the 'B' (Battery) and 'S' (Starter) terminals while turning the key to the Start position. A healthy switch shows near-zero resistance only in Start; no continuity, or continuity in every position, confirms an internal failure and the switch must be replaced.
Disconnect the negative battery cable before removing or probing the switch to prevent accidental starter engagement and shorts.
Inspect Harness Connector
Pull the wiring harness off the back of the switch and check for green or white corrosion. Clean with electrical contact cleaner and a small wire brush to ensure a clean metal-to-metal connection.
Disconnect the negative battery terminal before cleaning to prevent shorting the harness.
Check Ignition Ground Circuit
Verify the 'M' (Magneto) terminals are not shorted when the key is in the 'Run' position. If the engine starts but dies immediately, the switch may be improperly grounding the kill circuit.
Do not touch the plug wires while the engine is cranking.
Remove the Retaining Nut
Remove the dashboard shroud to access the switch. Use a pair of locking pliers or a socket to loosen the large nut on the front of the dash that secures the switch body.
Use caution to avoid cracking the plastic dashboard bezel.
Install and Validate
Connect the new switch and test all positions before bolting it into the dash. Ensure the starter engages only in the 'Start' position and the engine shuts off immediately in the 'Off' position.
Always verify that all safety interlock switches function after installation.
What To Test Next
If the ignition switch tests functional with a multimeter, the next step is to test the starter solenoid for proper engagement when the key is turned to the start position.
Component Reference

Carburetor & Fuel Intake
The carburetor mixes air and fuel for combustion. A clogged jet or stuck float is the #1 cause of small engine starting and surging problems.

Spark Plug & Ignition System
The spark plug ignites the air-fuel mixture. A fouled plug, wrong gap, or failing ignition coil will prevent the engine from firing.

Oil & Lubrication System
Regular oil changes are critical. Low or dirty oil causes engine wear, overheating, and eventual seizure. Check the dipstick before every season.

Electrical & Starting System
The battery, solenoid, and starter motor work together to crank the engine. A weak battery or corroded connection is often mistaken for a fuel or spark problem.
Photos for educational reference. Actual parts may vary by make and model.
Common Mistakes to Avoid
Replacing the starter solenoid when the switch was the actual culprit
Forgetting to disconnect the battery, leading to blown fuses during diagnostic probing
Buying a cheap aftermarket switch that does not match the original terminal configuration
Over-tightening the retaining nut and cracking the plastic dash
Ignoring corroded harness plugs and plugging the new switch into a failing connector
If This Didn't Fix It
Still having trouble? These are the next things to check:
Riding Mower Starting Problems
Not sure if this is the right guide? Here's how to find the exact fix for your symptom:
Get the Exact Parts for Your Machine
Tell us your equipment's year, make, and model — we'll search for parts that actually fit, not generic ones.
Finding parts for
riding mower ignition switch
Required Gear
Matched to your riding mower ignition switch — click to find the exact fit on Amazon.
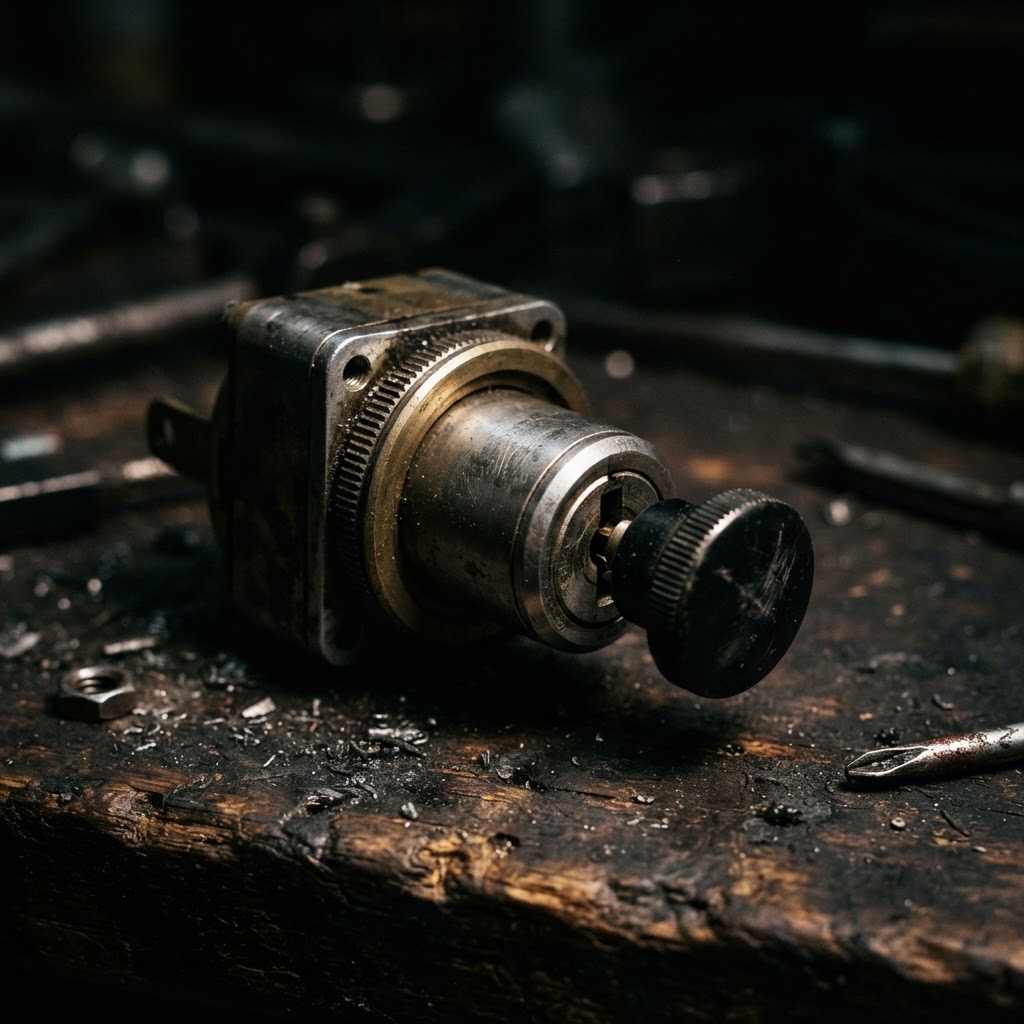
Ignition Switch
The primary component that routes power to the starter and ignition system.
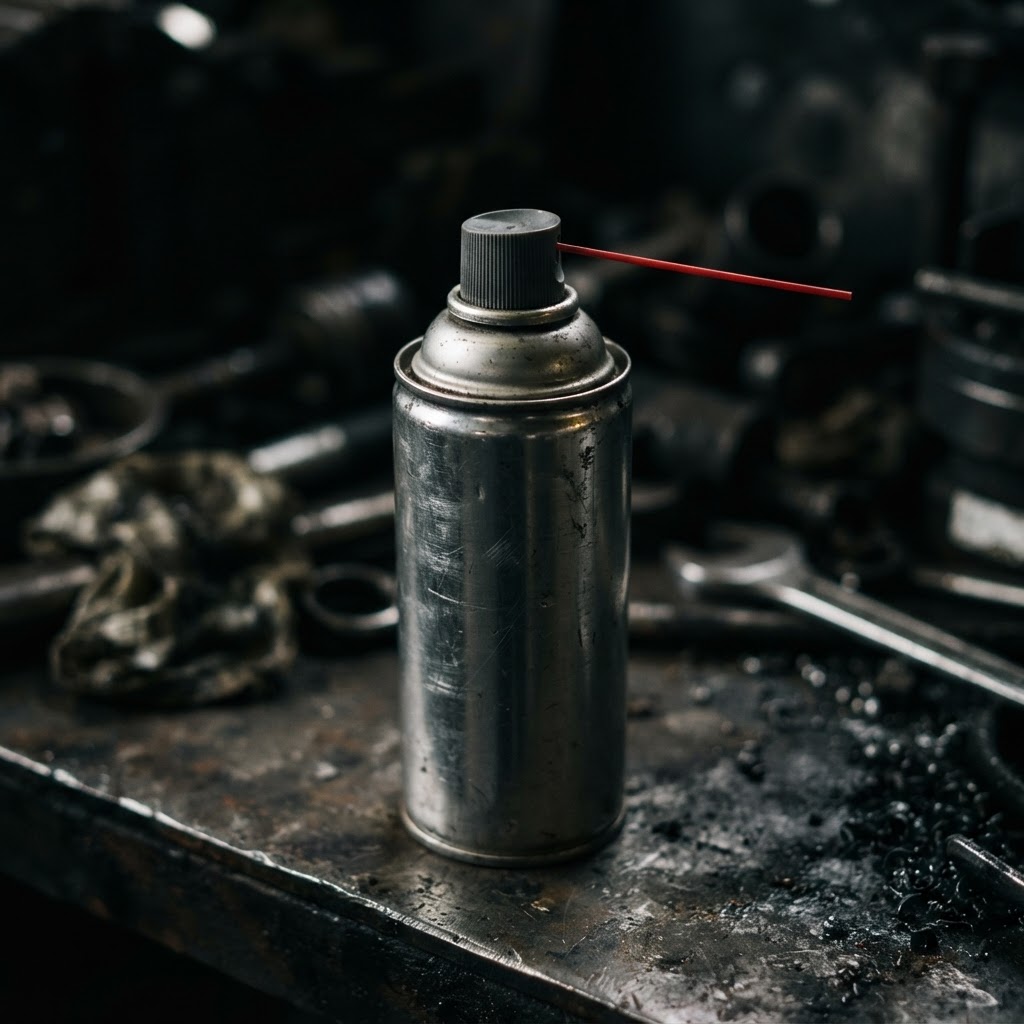
Electrical Contact Cleaner
Essential for cleaning corroded terminals before deciding to replace the switch entirely.

Replacement Fuse
Often a blown fuse is the actual culprit when the ignition switch appears to have failed.
Affiliate Disclosure: Lil Engine may earn commissions from qualifying purchases.
Prevent This From Coming Back
Apply dielectric grease to the spade terminals every season
Keep the mower stored in a dry, ventilated shed to prevent corrosion
Inspect wiring harness for signs of chafing near the steering column
Avoid leaving the key in the 'On' position for extended periods when the engine is not running
Prevent This From Happening Again
While you're fixing it, stock up on the maintenance essentials that keep your riding mowers running right.
Small Engine Oil
Change oil every 50 hours or once per season to prevent engine wear.
Get on AmazonAir Filter
A clogged air filter reduces power and fuel efficiency — replace annually.
Get on AmazonFuel Stabilizer
Keeps fuel fresh during storage, preventing carburetor gumming.
Get on AmazonAffiliate Disclosure: Lil Engine may earn commissions from qualifying purchases.
Frequently Asked Questions
No. WD-40 is a moisture displacer, but it is not a contact cleaner and can leave a residue that attracts dust. Use a dedicated electrical contact cleaner instead.
Video Help
Helpful videos showing these repairs in action.
Share Your Repair
Real-world fixes help everyone. Share what worked and your repair becomes part of Lil Engine's community database.
Related Problems
More Riding Mowers GuidesRelated Maintenance Articles
Did this help?
Your feedback helps improve guides for everyone.