Riding Mower Starter Solenoid Troubleshooting
⚡ Quick Answer
If you hear a clicking sound when turning the key, your solenoid is likely the issue. The solenoid acts as a bridge between the battery and starter, and if it fails to engage, the engine won't crank. Start by testing for power to confirm if the unit has failed or if it is a battery/connection issue.
What do you want to do?
Most Likely Cause
Failed starter solenoid contacts
Over time, the internal copper contact disc inside the solenoid can become pitted or carbonized from repeated high-amperage arcing. This prevents the solenoid from completing the circuit between the battery and the starter motor, resulting in an audible click but no engine turnover.
Start here — this is the most common reason for this symptom.
Why This Problem Happens
A starter solenoid acts as a high-amperage relay. When you turn the ignition key, a small 12-volt signal energizes the solenoid's internal electromagnetic coil, pulling a metal plunger forward. This plunger bridges two large copper or brass contact discs, allowing the heavy current from the battery to flow directly into the starter motor. Over time, constant arcing during this engagement creates microscopic craters on the contact surfaces, leading to carbon buildup and oxidation. Eventually, the electrical resistance becomes too high for the current to jump the gap, or the internal coil itself may develop an open circuit due to vibration-induced stress or heat soak from the engine block. In many riding mowers, these units are mounted in exposed locations, making them susceptible to moisture intrusion and internal corrosion that effectively welds the contacts together or prevents them from moving entirely. When the internal bridge fails to close the circuit, the starter receives no power, resulting in a silent or clicking ignition attempt.
Common Symptoms
- Rapid clicking noise during ignition
- Silent crank when key is turned
- Engine starts when shorting solenoid terminals
- Starter continues to crank after key is released
- Battery voltage drops significantly under load
Before You Buy Parts
Quick, free inspections — check these first. Most repairs don't actually need replacement parts.
Complete Resource Guide
Complete Riding Mowers Troubleshooting Guide
Repair Overview
30–45 minutes
$15–$40
First Checks — Start Here
- 1Ensure the battery terminals are tight and free of corrosion
- 2Check the battery charge level with a multimeter
- 3Verify the blade engagement lever is in the disengaged position
- 4Ensure the neutral safety switch is fully engaged
- 5Listen for a single 'click' when the ignition key is turned
Safety Warnings
- !Always wear safety glasses when working near lead-acid batteries.
- !Ensure the mower is in Neutral and the parking brake is set before shorting terminals.
- !Keep hands and tools away from moving belts and blades.
- !Disconnect the negative battery cable first to prevent shorting against the frame.
- !Label your wires before removal to avoid cross-connecting the main battery lead and the starter lead.
- !Keep your feet away from the mower deck during testing.
- !Replacing the solenoid without verifying the battery charge
- !Forgetting to disconnect the negative battery cable during the swap
Always disconnect the spark plug, work in a well-ventilated area, and consult a professional if unsure.
Most Likely Causes
Ranked by likelihood — tap each to see diagnosis details.
Repeated electrical arcing wears away the contact plates inside the casing. Use a digital multimeter to measure voltage drop across the large terminals; a high reading while the key is turned indicates internal resistance.
Loose or oxidized cable connections at the battery or solenoid terminals block current flow. Inspect for green or white powdery buildup and ensure all nuts are tightened to spec.
🔧 Step-by-Step Fix Guide
Verify Battery State
Before touching the solenoid, ensure the battery has at least 12.4 volts. Use a load tester to confirm the battery isn't failing under the stress of the starter motor draw.
Always wear safety glasses when working near lead-acid batteries.
Perform the Screwdriver Test
Using an insulated screwdriver, bridge the two large terminals on the solenoid. If the starter engages, the solenoid is likely faulty; if nothing happens, the issue is the starter motor or ground.
Ensure the mower is in Neutral and the parking brake is set before shorting terminals.
Inspect Activation Voltage
Connect a multimeter to the small 'S' terminal while someone turns the key to the start position. If you see 12 volts but no 'click', the solenoid is internally defective.
Keep hands and tools away from moving belts and blades.
Clean Terminal Studs
Remove the battery cables and scrub the solenoid studs with a wire brush. Clean connections reduce resistance and prevent future heat damage to the new unit.
Disconnect the negative battery cable first to prevent shorting against the frame.
Replace the Solenoid
Disconnect all wires, remove the mounting screws, and install the new solenoid. Ensure the metal mounting bracket is clean to maintain a proper chassis ground if required.
Label your wires before removal to avoid cross-connecting the main battery lead and the starter lead.
Test Final Engagement
Turn the ignition key and listen for a solid, singular 'clack' and engine rotation. If the starter engages crisply, the repair is successful.
Keep your feet away from the mower deck during testing.
What To Test Next
If the battery and connections are sound, the next logical step is to perform a voltage drop test across the solenoid terminals while attempting to crank the engine.
Component Reference

Spark Plug & Ignition System
The spark plug ignites the air-fuel mixture. A fouled plug, wrong gap, or failing ignition coil will prevent the engine from firing.

Oil & Lubrication System
Regular oil changes are critical. Low or dirty oil causes engine wear, overheating, and eventual seizure. Check the dipstick before every season.

Electrical & Starting System
The battery, solenoid, and starter motor work together to crank the engine. A weak battery or corroded connection is often mistaken for a fuel or spark problem.

Drive & Cutting System
Belts, pulleys, and clutches transfer engine power to the wheels and cutting deck. A worn or thrown belt is the most common drive-system failure.
Photos for educational reference. Actual parts may vary by make and model.
Common Mistakes to Avoid
Replacing the solenoid without verifying the battery charge
Forgetting to disconnect the negative battery cable during the swap
Over-tightening the terminal nuts and cracking the plastic housing
Installing a generic solenoid without confirming the ground path (chassis-ground vs isolated-ground)
If This Didn't Fix It
Still having trouble? These are the next things to check:
Riding Mower Starting Problems
Not sure if this is the right guide? Here's how to find the exact fix for your symptom:
Get the Exact Parts for Your Machine
Tell us your equipment's year, make, and model — we'll search for parts that actually fit, not generic ones.
Finding parts for
riding mower starter solenoid
Required Gear
Matched to your riding mower starter solenoid — click to find the exact fit on Amazon.
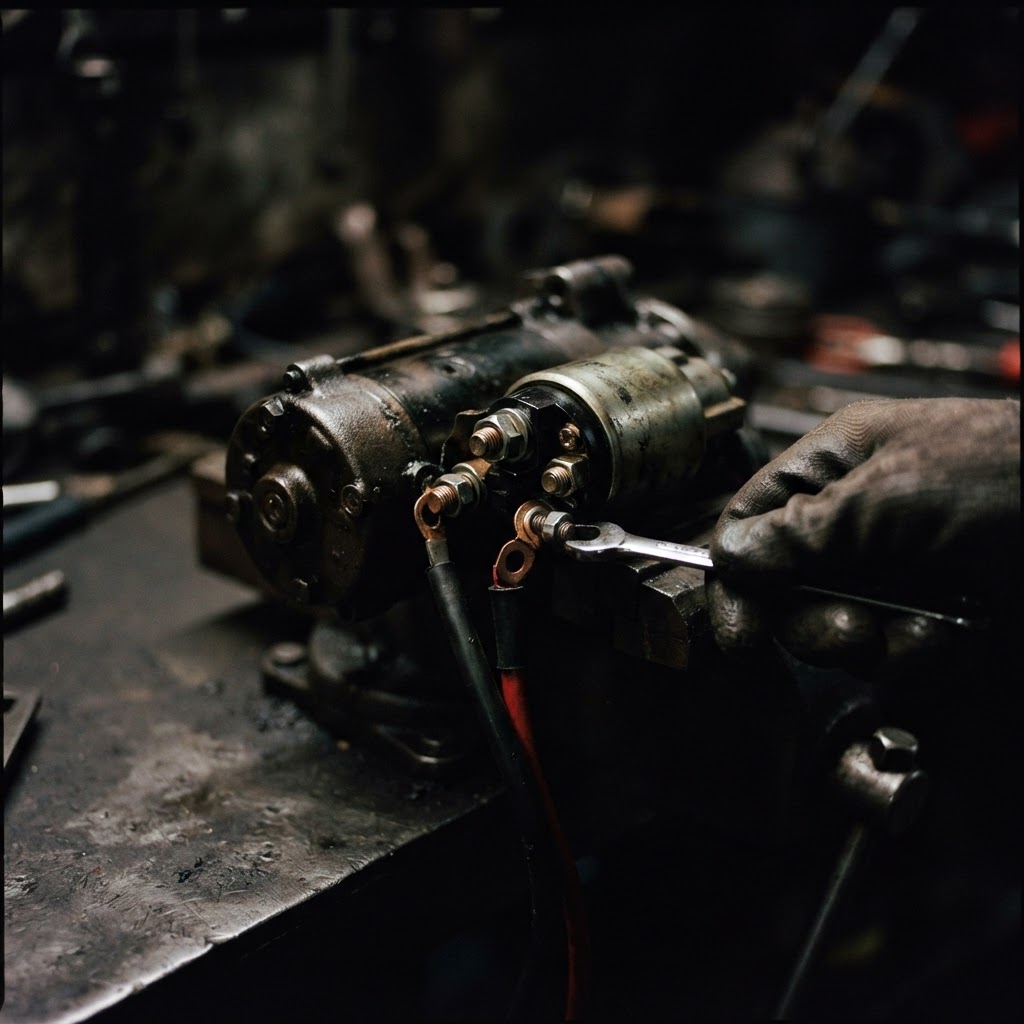
Starter Solenoid Replacement
This is the primary component required to restore electrical flow to the starter motor.

Battery Terminal Cleaner
Needed to ensure the new solenoid has a clean, conductive path to the battery.

Dielectric Grease
Helps prevent future moisture buildup and corrosion on the terminal connections.
Affiliate Disclosure: Lil Engine may earn commissions from qualifying purchases.
Prevent This From Coming Back
Apply dielectric grease to all terminal connections
Ensure the battery hold-down is tight to minimize vibration
Keep the mower stored in a dry, covered area to prevent moisture ingress
Periodically inspect and tighten battery cable connections
Prevent This From Happening Again
While you're fixing it, stock up on the maintenance essentials that keep your riding mowers running right.
Small Engine Oil
Change oil every 50 hours or once per season to prevent engine wear.
Get on AmazonAir Filter
A clogged air filter reduces power and fuel efficiency — replace annually.
Get on AmazonFuel Stabilizer
Keeps fuel fresh during storage, preventing carburetor gumming.
Get on AmazonAffiliate Disclosure: Lil Engine may earn commissions from qualifying purchases.
Frequently Asked Questions
No. Mower solenoids are designed for specific duty cycles and mounting configurations. Using an automotive solenoid can lead to melted wiring or mismatched electrical loads.
Video Help
Helpful videos showing these repairs in action.
Share Your Repair
Real-world fixes help everyone. Share what worked and your repair becomes part of Lil Engine's community database.
Related Problems
More Riding Mowers GuidesRelated Maintenance Articles
Related Searches
Riding Mowers Troubleshooting
Did this help?
Your feedback helps improve guides for everyone.