Briggs & Stratton Lawn Mower Cranks But Won't Start — Fuel & Spark Fix
⚡ Quick Answer
If your Briggs & Stratton engine cranks but won't fire, you are likely dealing with a fuel delivery failure or a lack of spark. First, verify spark by testing the plug against the engine block, then check for fuel flow by inspecting the carburetor bowl and main jet. If the engine has been sitting, stale fuel has likely gummed the internal passages, requiring a thorough carburetor cleaning or rebuild.
What do you want to do?
Most Likely Cause
Clogged Carburetor Jets
The main and pilot jets are extremely small and easily blocked by varnish from old fuel. This prevents fuel from atomizing, causing a crank-no-start condition. You must remove the carburetor bowl and clean the jets with a fine wire and aerosol carburetor cleaner.
Start here — this is the most common reason for this symptom.
Before You Buy Parts
Quick, free inspections — check these first. Most repairs don't actually need replacement parts.
Complete Resource Guide
Complete Riding Mowers Troubleshooting Guide
Brand Resource Hub
Briggs & Stratton Engine Repair & Service Guide
Repair Overview
1–2 hours
$10–$40
First Checks — Start Here
- 1Check for spark by grounding the spark plug against the engine block while cranking
- 2Verify fuel is reaching the carburetor by loosening the bowl drain screw
- 3Inspect the air filter for heavy debris or oil saturation
- 4Check the flywheel key for shearing if the mower hit a solid object
- 5Test for compression by pulling the recoil slowly to feel for resistance
- 6Spray a small amount of starting fluid into the intake to test for fuel starvation
Safety Warnings
- !Wear insulated gloves to avoid electrical shock and ensure the area is free of spilled fuel.
- !Catch any spilled fuel in a shop rag and dispose of it properly.
- !Do not use metal wires that are too thick, as they can damage the precision-drilled jet orifices.
- !Keep hands and clothing away from the rotating flywheel and blade area.
- !Ensure the ignition wire is disconnected during this test to prevent accidental starting.
- !Forgetting to disconnect the spark plug wire before working on the carburetor
- !Ignoring the fuel filter, which may be clogged and starving the engine
Always disconnect the spark plug, work in a well-ventilated area, and consult a professional if unsure.
Most Likely Causes
Ranked by likelihood — tap each to see diagnosis details.
The main and pilot jets are extremely small and easily blocked by varnish from old fuel. This prevents fuel from atomizing, causing a crank-no-start condition. You must remove the carburetor bowl and clean the jets with a fine wire and aerosol carburetor cleaner.
A carbon-fouled or wet spark plug will not produce a strong enough arc to ignite the fuel mixture. Remove the plug and inspect the electrode for heavy deposits or a cracked ceramic insulator. Replace with the exact OEM-specified plug for your engine model.
🔧 Step-by-Step Fix Guide
Spark Test
Remove the spark plug and reconnect it to the ignition wire. Hold the threaded portion of the plug firmly against a clean, unpainted metal part of the engine block. Crank the engine and observe the spark; it should be a bright, crisp blue. A weak yellow or orange spark indicates a failing ignition coil.
Wear insulated gloves to avoid electrical shock and ensure the area is free of spilled fuel.
Fuel System Inspection
Ensure the fuel shut-off valve is open and fuel is flowing from the tank. Loosen the carburetor bowl drain screw to see if fuel flows out; if it doesn't, the fuel line or filter is blocked. If fuel flows but the engine won't start, the internal carburetor passages are likely restricted.
Catch any spilled fuel in a shop rag and dispose of it properly.
Carburetor Cleaning
Remove the carburetor bowl and float assembly. Use a dedicated carburetor cleaner to flush all passages, specifically the main jet located in the center of the emulsion tube. Ensure the float moves freely and the needle valve is not stuck in the closed position.
Do not use metal wires that are too thick, as they can damage the precision-drilled jet orifices.
Air Intake Check
Remove the air filter element and attempt to start the engine briefly. If the engine fires, the air filter is severely restricted and must be replaced. Never run the engine for more than a few seconds without the filter to avoid ingesting debris.
Keep hands and clothing away from the rotating flywheel and blade area.
Compression Verification
If spark and fuel are present, check compression. A simple thumb-over-the-spark-plug-hole test should provide enough pressure to push your thumb off during the compression stroke. If there is no resistance, you likely have a valve train issue or a blown head gasket.
Ensure the ignition wire is disconnected during this test to prevent accidental starting.
What To Test Next
If fuel delivery checks out, the next thing to inspect is spark — remove the spark plug, ground its threads to the engine block, and crank the engine to look for a visible blue spark.
Component Reference

Carburetor & Fuel Intake
The carburetor mixes air and fuel for combustion. A clogged jet or stuck float is the #1 cause of small engine starting and surging problems.

Spark Plug & Ignition System
The spark plug ignites the air-fuel mixture. A fouled plug, wrong gap, or failing ignition coil will prevent the engine from firing.

Oil & Lubrication System
Regular oil changes are critical. Low or dirty oil causes engine wear, overheating, and eventual seizure. Check the dipstick before every season.

Air Filter & Intake
A clogged air filter starves the engine of air, causing rich running, power loss, and hard starting. Inspect and clean or replace it each season.
Photos for educational reference. Actual parts may vary by make and model.
Common Mistakes to Avoid
Using starting fluid excessively, which can wash oil off cylinder walls and cause damage
Forgetting to disconnect the spark plug wire before working on the carburetor
Over-tightening carburetor mounting bolts, which can crack the plastic intake manifold
Ignoring the fuel filter, which may be clogged and starving the engine
If This Didn't Fix It
Still having trouble? These are the next things to check:
Get the Exact Parts for Your Machine
Tell us your equipment's year, make, and model — we'll search for parts that actually fit, not generic ones.
Finding parts for
Briggs and Stratton lawn mower
Required Gear
Matched to your Briggs and Stratton lawn mower — click to find the exact fit on Amazon.
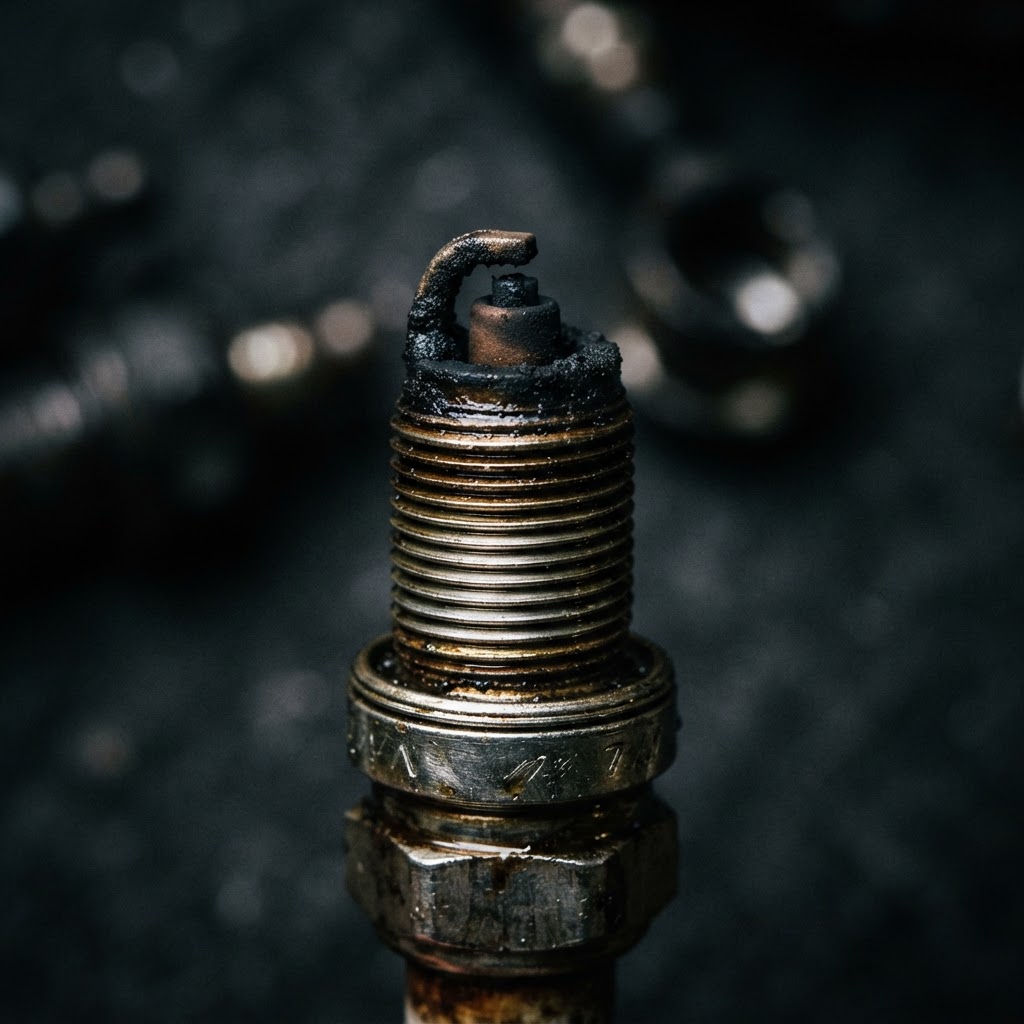
Spark Plug
Essential for ignition; look for the specific heat range and reach required by your Briggs engine model.
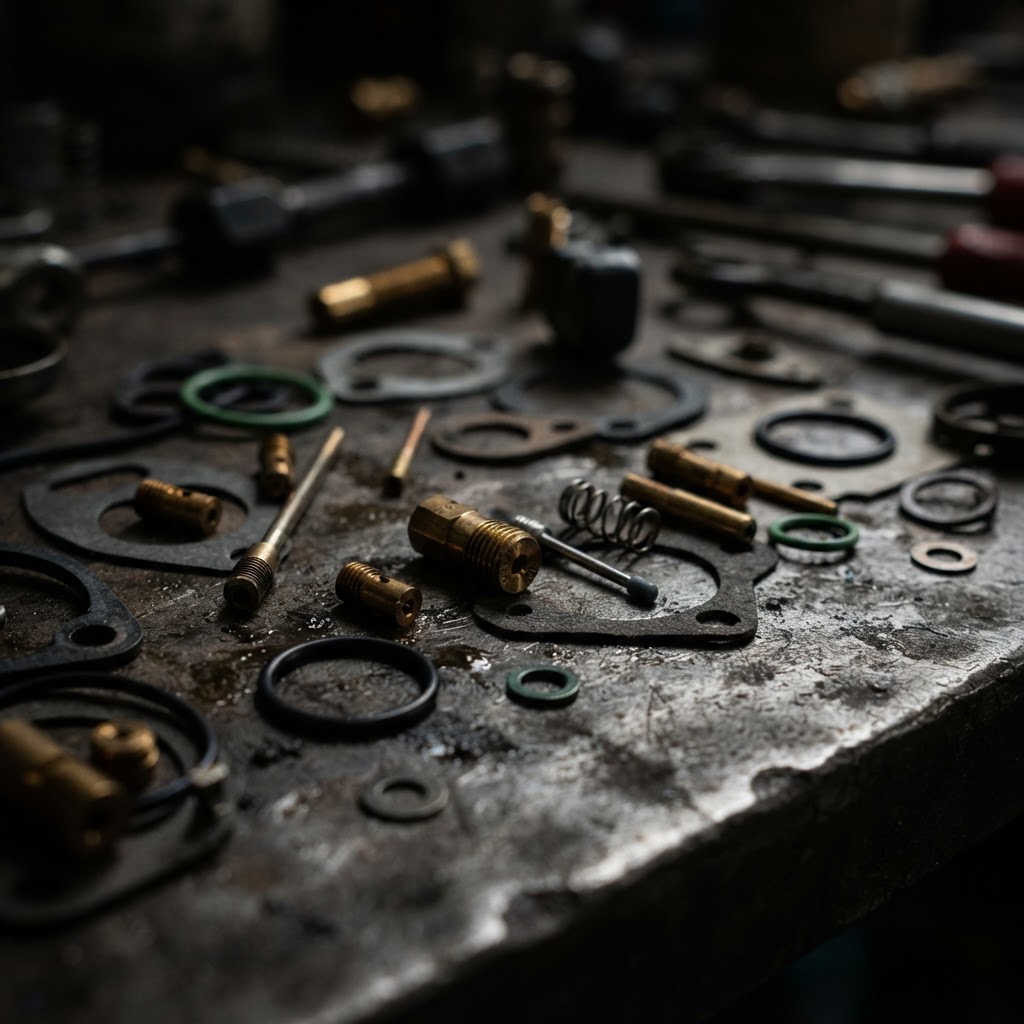
Carburetor Rebuild Kit
Contains new gaskets, needle, and seat to restore fuel delivery; ensure it matches your specific carburetor part number.
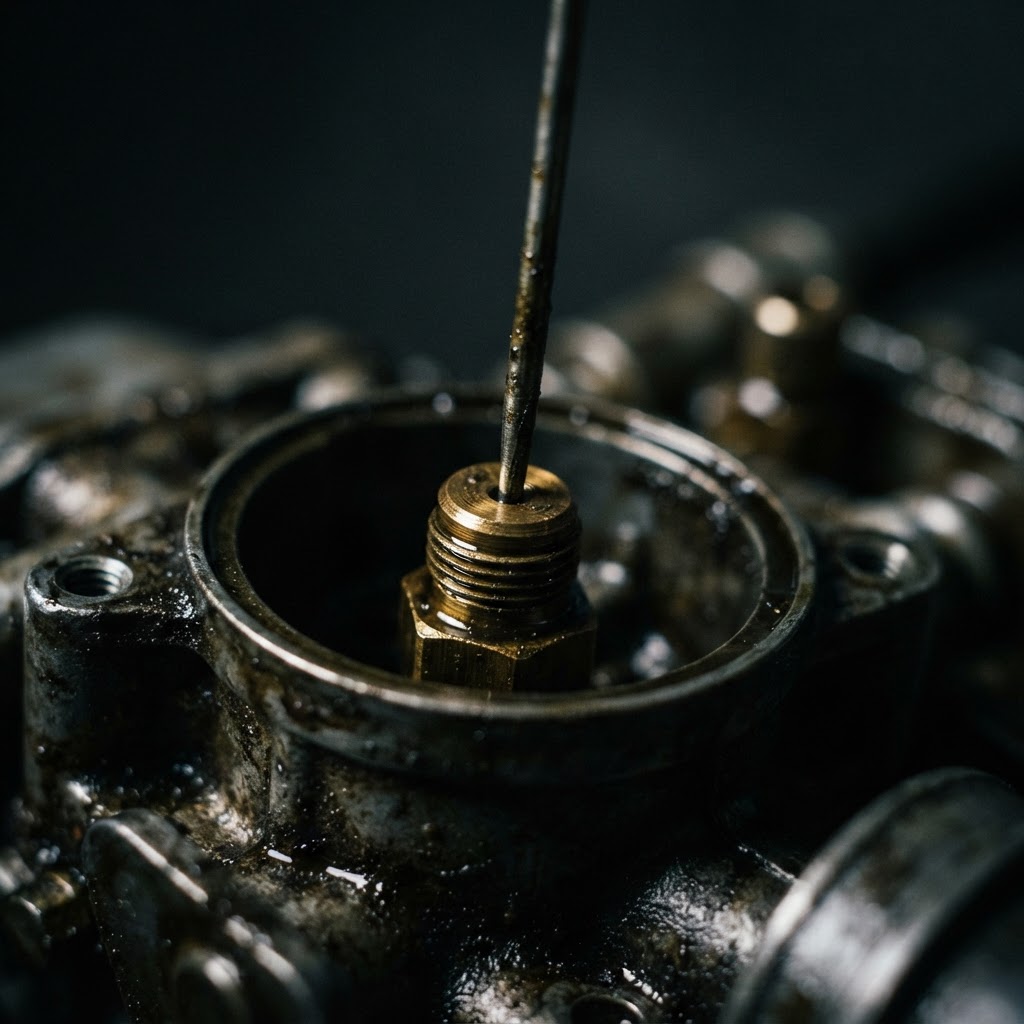
Carburetor Cleaner
High-pressure solvent needed to dissolve varnish in small jets; choose a brand with a straw attachment for precision.
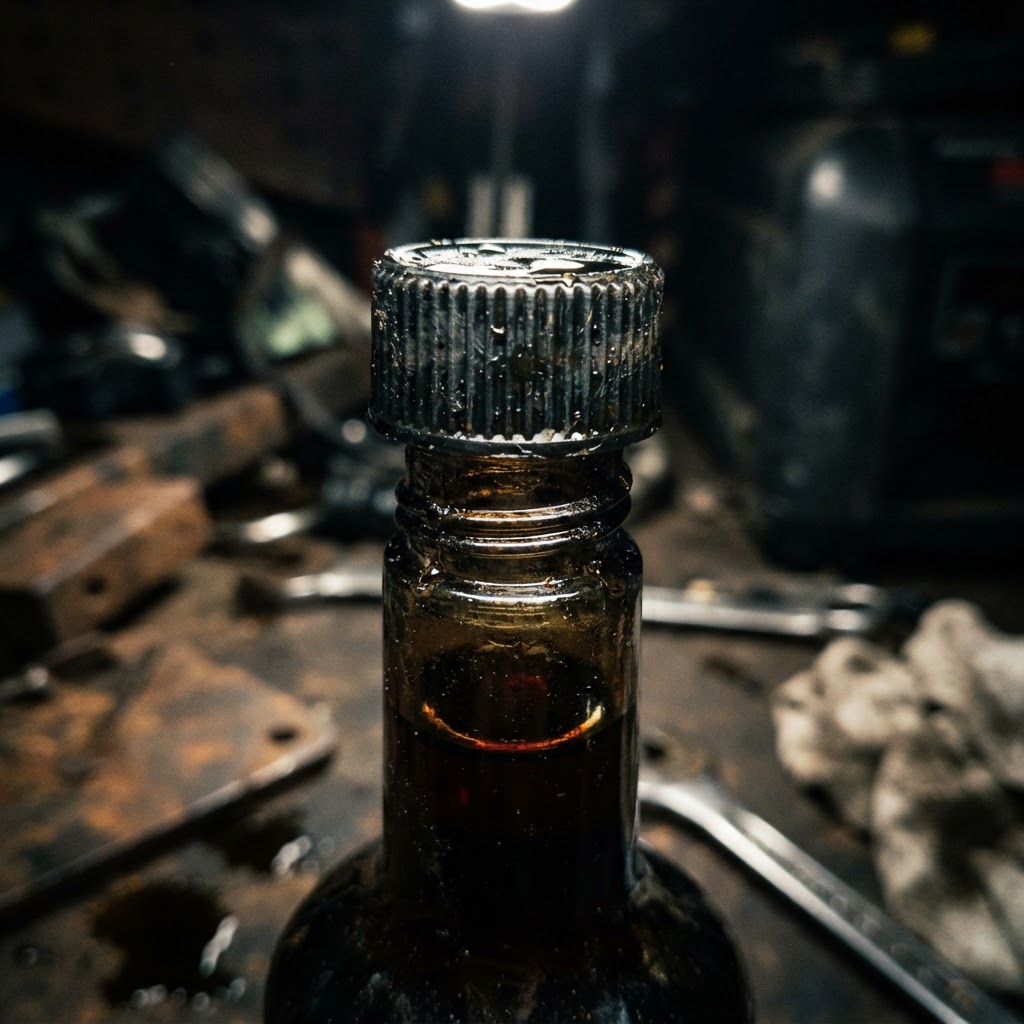
Fuel Stabilizer
Prevents fuel degradation during storage; use this in every tank to avoid future carburetor clogging.
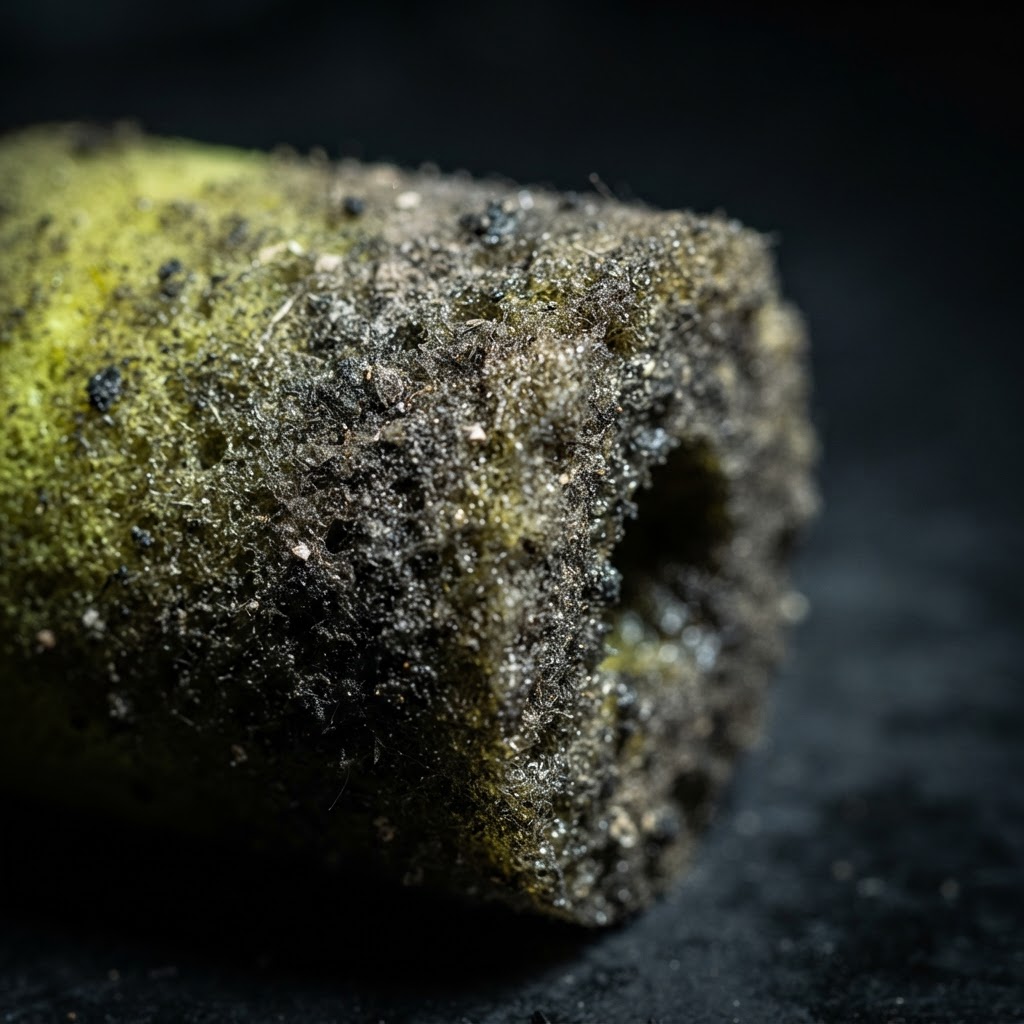
Air Filter
Ensures proper air-to-fuel ratio; replace annually to prevent engine bogging and poor performance.
Affiliate Disclosure: Lil Engine may earn commissions from qualifying purchases.
Pro Tips from the Community
Real-world fixes from Reddit, YouTube & forums.
"If it fires on starting fluid but dies immediately, your carburetor is definitely the problem."
Reddit r/smallengines"Always check the oil level; some Briggs engines have a low-oil sensor that will prevent starting."
LawnSite.com Forum"If the engine kicks back when pulling the cord, check the flywheel key immediately."
YouTube commentsPrevent This From Coming Back
Use ethanol-free fuel whenever possible to prevent fuel system varnish
Add fuel stabilizer to every gas can at the time of purchase
Change the air filter and spark plug at the start of every mowing season
Clean grass debris from around the engine cooling fins to prevent overheating
Prevent This From Happening Again
While you're fixing it, stock up on the maintenance essentials that keep your riding mowers running right.
Small Engine Oil
Change oil every 50 hours or once per season to prevent engine wear.
Get on AmazonAir Filter
A clogged air filter reduces power and fuel efficiency — replace annually.
Get on AmazonFuel Stabilizer
Keeps fuel fresh during storage, preventing carburetor gumming.
Get on AmazonAffiliate Disclosure: Lil Engine may earn commissions from qualifying purchases.
Frequently Asked Questions
It is recommended to replace the spark plug once per season or every 100 hours of operation.
Video Help
Helpful videos showing these repairs in action.
Share Your Repair
Real-world fixes help everyone. Share what worked and your repair becomes part of Lil Engine's community database.
Related Problems
More Riding Mowers GuidesRelated Maintenance Articles
Related Symptoms
Won’t Start
Carburetor / Fuel Issues
Related Searches
Briggs & Stratton riding mower Guides
Did this help?
Your feedback helps improve guides for everyone.