Craftsman Weed Eater Cranks But Won't Fire — Fuel & Spark Diagnosis
⚡ Quick Answer
Most Craftsman trimmers fail to start due to degraded Tygon fuel lines or a carbon-clogged spark arrestor screen in the muffler. First, verify spark by grounding the plug against the engine block while pulling the cord. If spark is present, inspect the fuel lines for cracks and the primer bulb for suction; if those are intact, clean the spark arrestor screen to allow the engine to breathe.
What do you want to do?
Most Likely Cause
Degraded Carburetor Diaphragms
Ethanol in gasoline stiffens the internal pumping diaphragms, preventing them from oscillating and pumping fuel. Check this by removing the carburetor cover; if the diaphragm feels brittle or lacks elasticity, the fuel circuit is compromised.
Start here — this is the most common reason for this symptom.
Why This Problem Happens
When a Craftsman weed eater cranks but refuses to fire, you are dealing with a breakdown in the combustion triangle: compression, spark, and fuel. Most modern Craftsman 2-cycle engines use a simple Walbro or Zama carburetor that relies on precise atmospheric pressure and internal diaphragms to pump fuel. Over time, ethanol-blended fuel degrades these rubber diaphragms, causing them to stiffen or tear, which stops the fuel flow to the combustion chamber despite the engine turning over. Simultaneously, the ignition system—comprised of a flywheel-mounted magnet and an ignition coil—must generate enough voltage to jump the gap at the spark plug. If the air gap between the coil and the flywheel magnet is too wide due to vibration, or if the spark plug is fouled by carbon deposits or improper oil-to-fuel ratio, the 'fire' aspect of the combustion process fails. Essentially, the engine is physically moving, but it lacks the volatile mixture or the electrical catalyst required to initiate the controlled explosion necessary for power. You are stuck in a loop of mechanical motion without energy production.
Common Symptoms
- Engine turns over but shows no signs of ignition
- Spark plug tip is bone-dry after repeated cranking
- Spark plug tip is excessively wet with raw fuel
- Noticeable loss of resistance when pulling the starter rope
- The primer bulb fails to fill completely or stays collapsed
Before You Buy Parts
Quick, free inspections — check these first. Most repairs don't actually need replacement parts.
Complete Resource Guide
Complete Weed Eaters Troubleshooting & Repair Guide
Brand Resource Hub
Craftsman Small Engine Repair & Maintenance Guide
Repair Overview
45–90 minutes
$15–$40
First Checks — Start Here
- 1Verify the 'Stop' switch is in the 'Run' or 'On' position.
- 2Check fuel age; if gas is older than 30 days, drain and replace with fresh non-ethanol mix.
- 3Inspect the primer bulb—it should fill with fuel and not have visible cracks.
- 4Check the spark arrestor screen in the muffler for heavy carbon blockage.
- 5Remove the spark plug and check for wetness (flooding) or heavy carbon deposits.
- 6Ensure the air filter isn't soaked in fuel or oil, which restricts airflow.
Safety Warnings
- !Ensure the air filter housing is clear of debris before pouring to prevent foreign objects from entering the cylinder.
- !Hold the plug by the thick rubber boot to avoid an electrical shock while performing this test.
- !Always disconnect the spark plug wire before working on the ignition system to prevent accidental start-up.
- !Wear safety goggles, as carburetor cleaner is highly caustic and can spray back when using compressed air.
- !Drain all fuel from the tank before attempting to remove the fuel line grommet.
- !Do not over-tighten the primer base screws, as the plastic is prone to cracking.
- !Using standard automotive gasoline that contains high ethanol levels
- !Replacing the carburetor without replacing the intake gasket
- !Assuming a 'spark' exists just because the engine isn't firing, without visual confirmation
- !Attempting to adjust the carburetor needles before clearing the internal fuel passages
Always disconnect the spark plug, work in a well-ventilated area, and consult a professional if unsure.
Most Likely Causes
Ranked by likelihood — tap each to see diagnosis details.
Ethanol in gasoline stiffens the internal pumping diaphragms, preventing them from oscillating and pumping fuel. Check this by removing the carburetor cover; if the diaphragm feels brittle or lacks elasticity, the fuel circuit is compromised.
Tiny internal passages, specifically the high-speed and idle circuits, clog easily with varnish left behind by evaporated fuel. Use a piece of copper wire to gently clear the fixed orifices after dismantling the carburetor body.
🔧 Step-by-Step Fix Guide
Perform a 'Squirt' Test
Remove the air filter and squirt a small amount of mixed fuel directly into the carburetor throat. If the engine fires momentarily, your issue is definitively a fuel delivery problem rather than an electrical one.
Ensure the air filter housing is clear of debris before pouring to prevent foreign objects from entering the cylinder.
Spark Plug Verification
Remove the plug with a 5/8-inch spark plug socket and ground the electrode against the engine block while pulling the recoil. You should see a bright blue, crisp spark; a weak yellow spark indicates a bad coil or a failing kill switch wire.
Hold the plug by the thick rubber boot to avoid an electrical shock while performing this test.
Reset the Ignition Coil Gap
Loosen the two screws holding the ignition coil and insert a business card between the coil and the flywheel magnet. Push the coil toward the flywheel until it grips the card, then tighten the mounting screws and remove the card.
Always disconnect the spark plug wire before working on the ignition system to prevent accidental start-up.
Carburetor Internal Cleaning
Disassemble the carburetor and soak the metal body in a dedicated carburetor cleaner, then blow out all passages with compressed air. Do not poke steel needles into the jets, as this can change their factory calibration.
Wear safety goggles, as carburetor cleaner is highly caustic and can spray back when using compressed air.
Replace the Fuel Lines
Old fuel lines often crack inside the tank, preventing the fuel filter from picking up fluid. If your fuel lines are yellowed or stiff, replace them with high-quality Tygon fuel line cut to the exact length of the original.
Drain all fuel from the tank before attempting to remove the fuel line grommet.
Inspect the Primer Bulb Circuit
Ensure the primer bulb is not cracked and the check valves inside the carburetor are seating properly. If the bulb does not return to shape immediately when pressed, it is not creating the vacuum necessary to prime the engine.
Do not over-tighten the primer base screws, as the plastic is prone to cracking.
What To Test Next
If fuel delivery checks out, the next thing to inspect is spark — remove the spark plug, ground its threads to the engine block, and crank the engine to look for a visible blue spark.
Component Reference

Carburetor & Fuel Intake
The carburetor mixes air and fuel for combustion. A clogged jet or stuck float is the #1 cause of small engine starting and surging problems.

Spark Plug & Ignition System
The spark plug ignites the air-fuel mixture. A fouled plug, wrong gap, or failing ignition coil will prevent the engine from firing.

Oil & Lubrication System
Regular oil changes are critical. Low or dirty oil causes engine wear, overheating, and eventual seizure. Check the dipstick before every season.

Air Filter & Intake
A clogged air filter starves the engine of air, causing rich running, power loss, and hard starting. Inspect and clean or replace it each season.
Photos for educational reference. Actual parts may vary by make and model.
Common Mistakes to Avoid
Using standard automotive gasoline that contains high ethanol levels
Replacing the carburetor without replacing the intake gasket
Over-tightening the carburetor mounting bolts which warps the plastic flange
Assuming a 'spark' exists just because the engine isn't firing, without visual confirmation
Attempting to adjust the carburetor needles before clearing the internal fuel passages
If This Didn't Fix It
Still having trouble? These are the next things to check:
Get the Exact Parts for Your Machine
Tell us your equipment's year, make, and model — we'll search for parts that actually fit, not generic ones.
Finding parts for
Craftsman weed eater
Required Gear
Matched to your Craftsman weed eater — click to find the exact fit on Amazon.
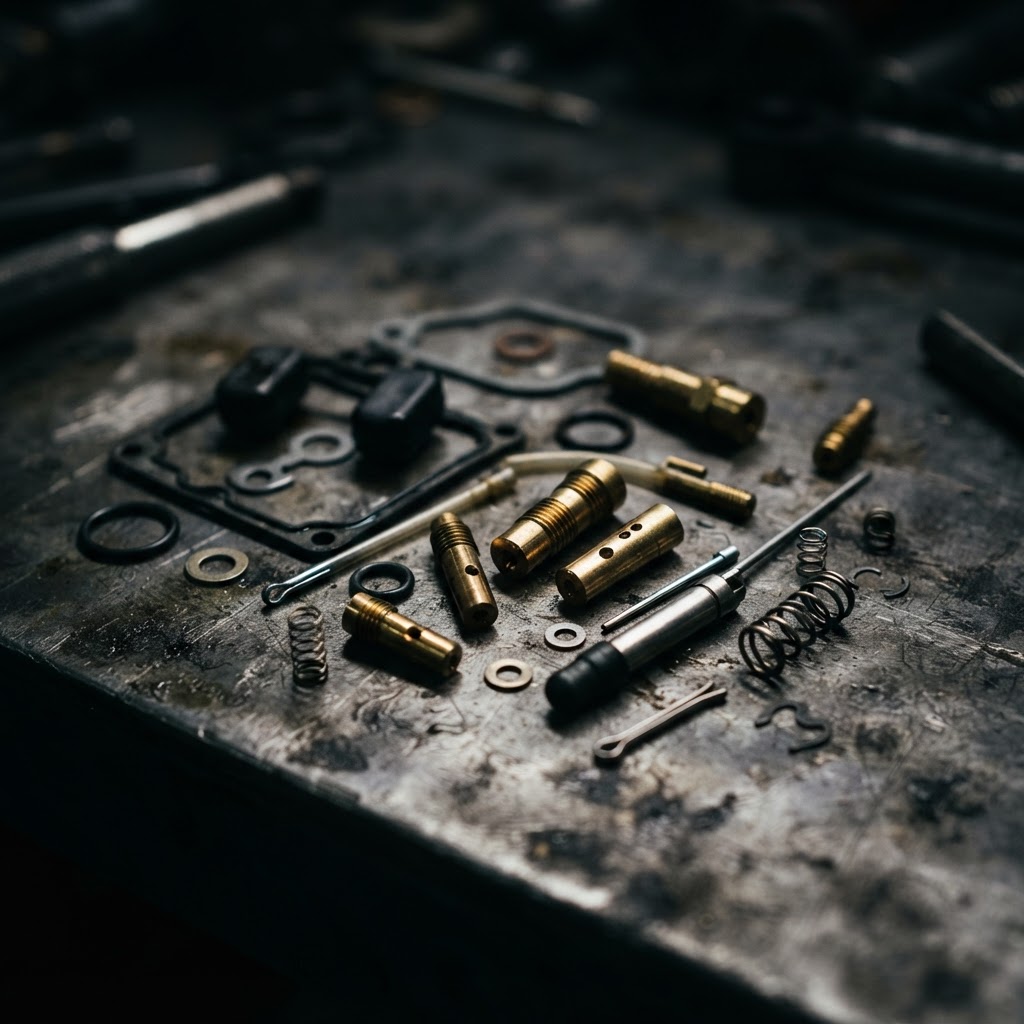
Carburetor Rebuild Kit
This kit contains the essential diaphragms, gaskets, and needle valve required to restore proper fuel metering and resolve internal jetting clogs.
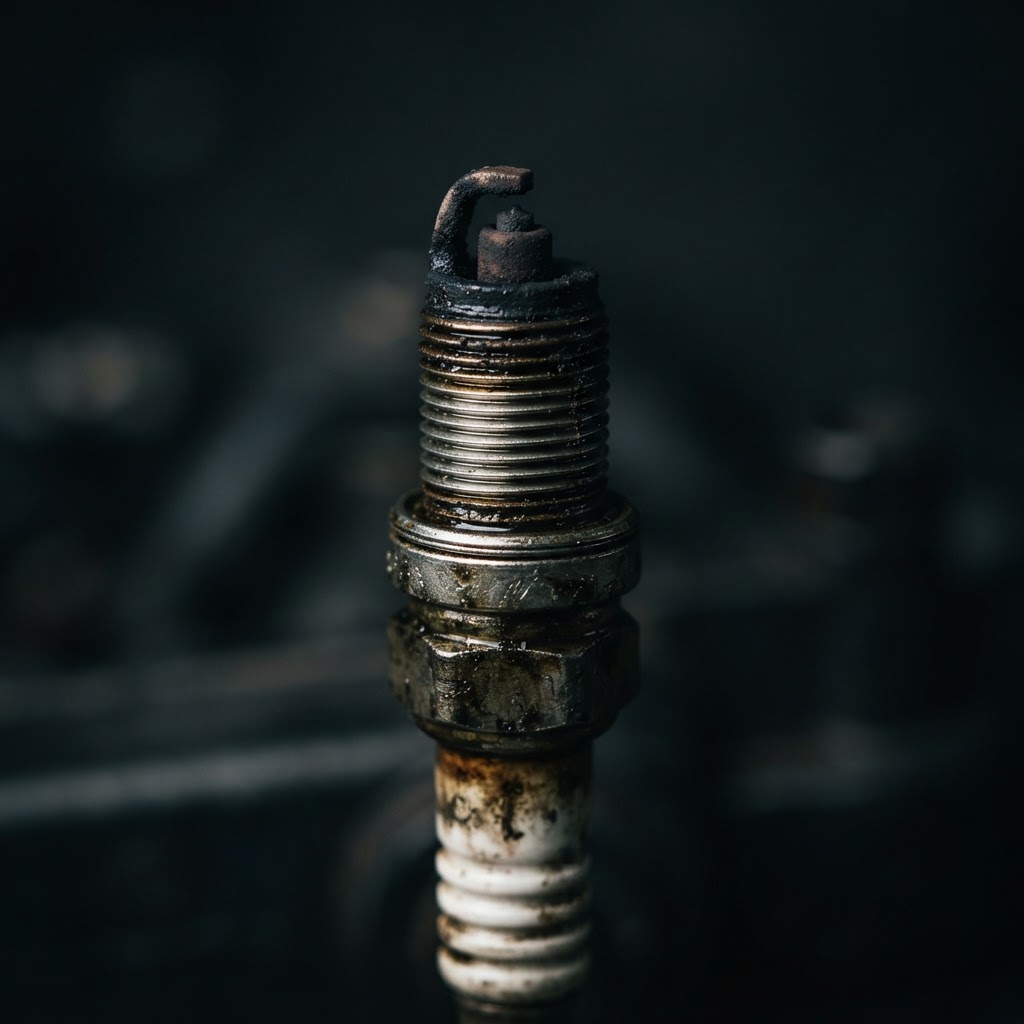
Spark Plug
A fresh plug ensures a strong, consistent arc across the electrode, bypassing potential issues caused by carbon fouling or improper gap specifications.
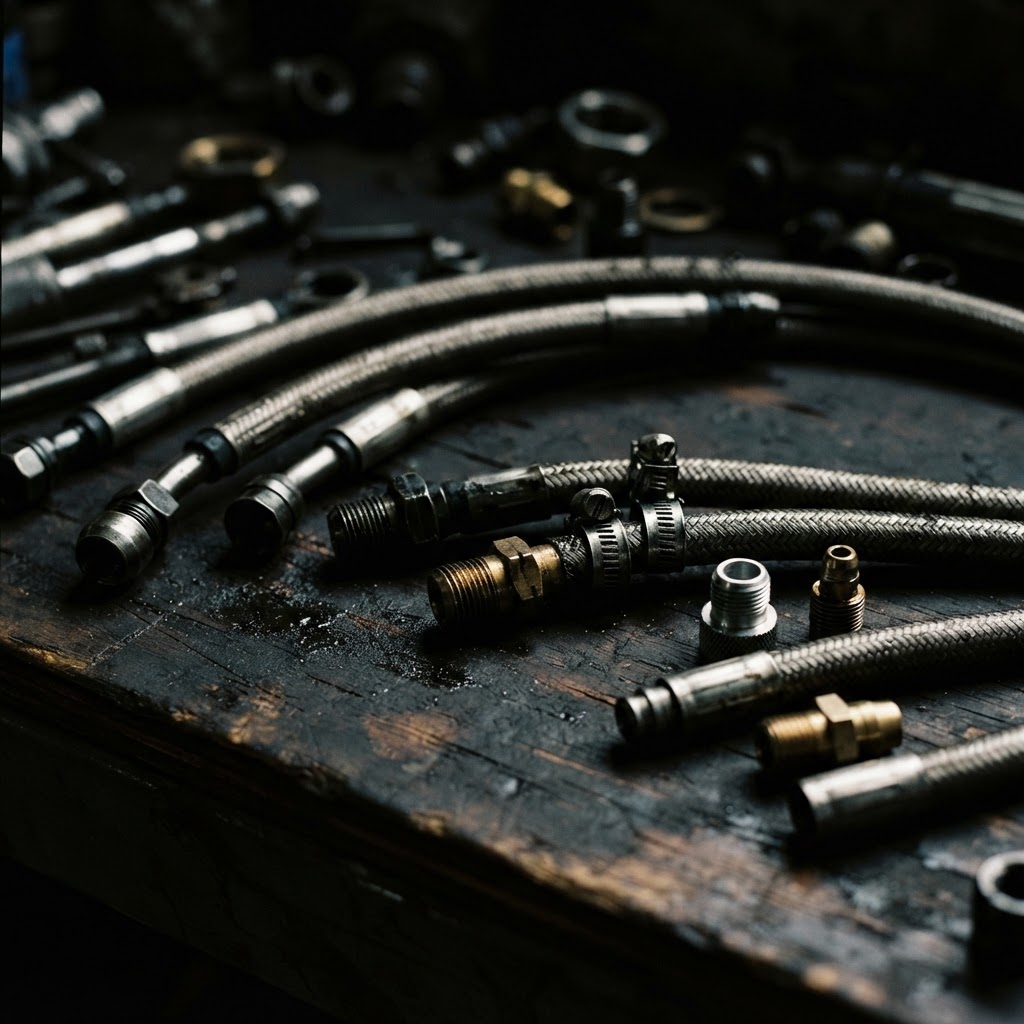
Fuel Line Replacement Kit
Old fuel lines often crack or harden, causing air leaks and fuel delivery issues that prevent the carburetor from priming correctly.
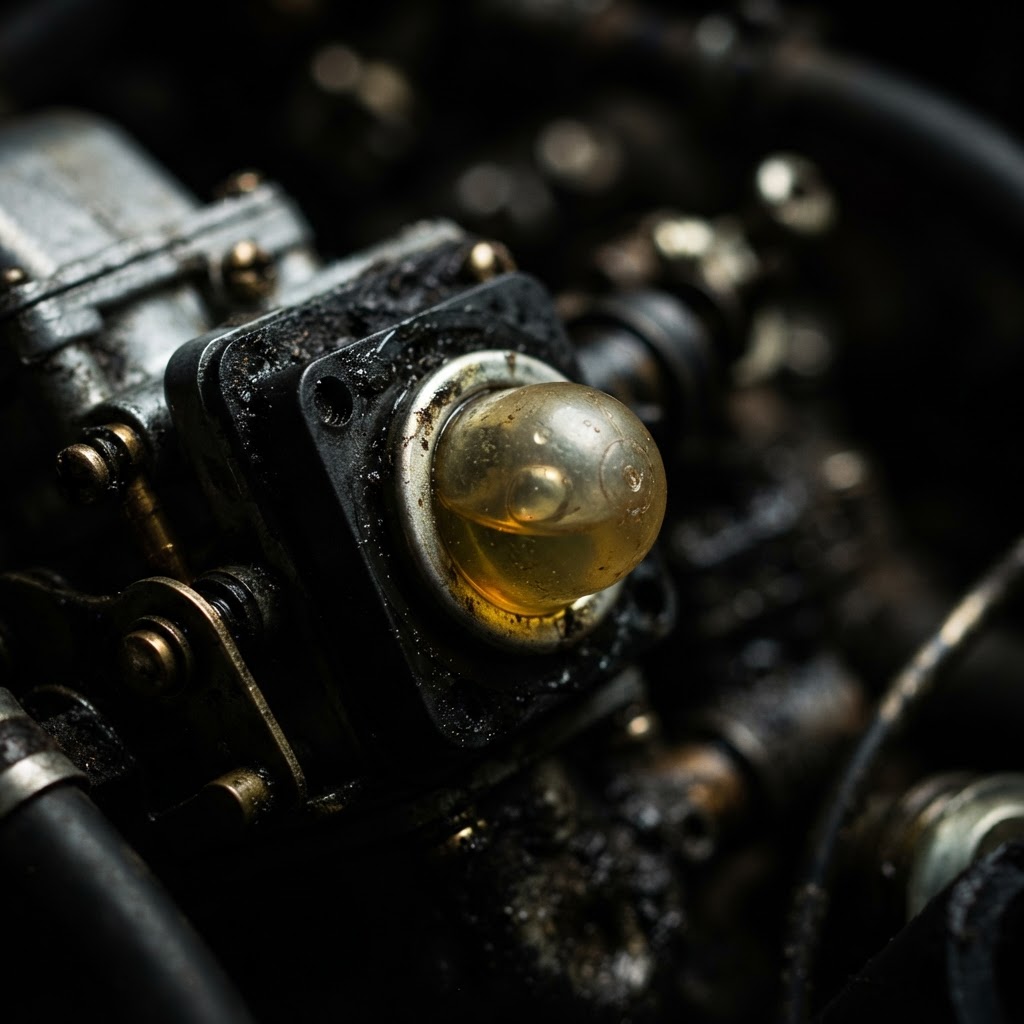
Primer Bulb
Replacing the bulb is necessary if the existing one has lost its elasticity or developed micro-cracks, ensuring the carburetor is adequately primed with fuel for startup.
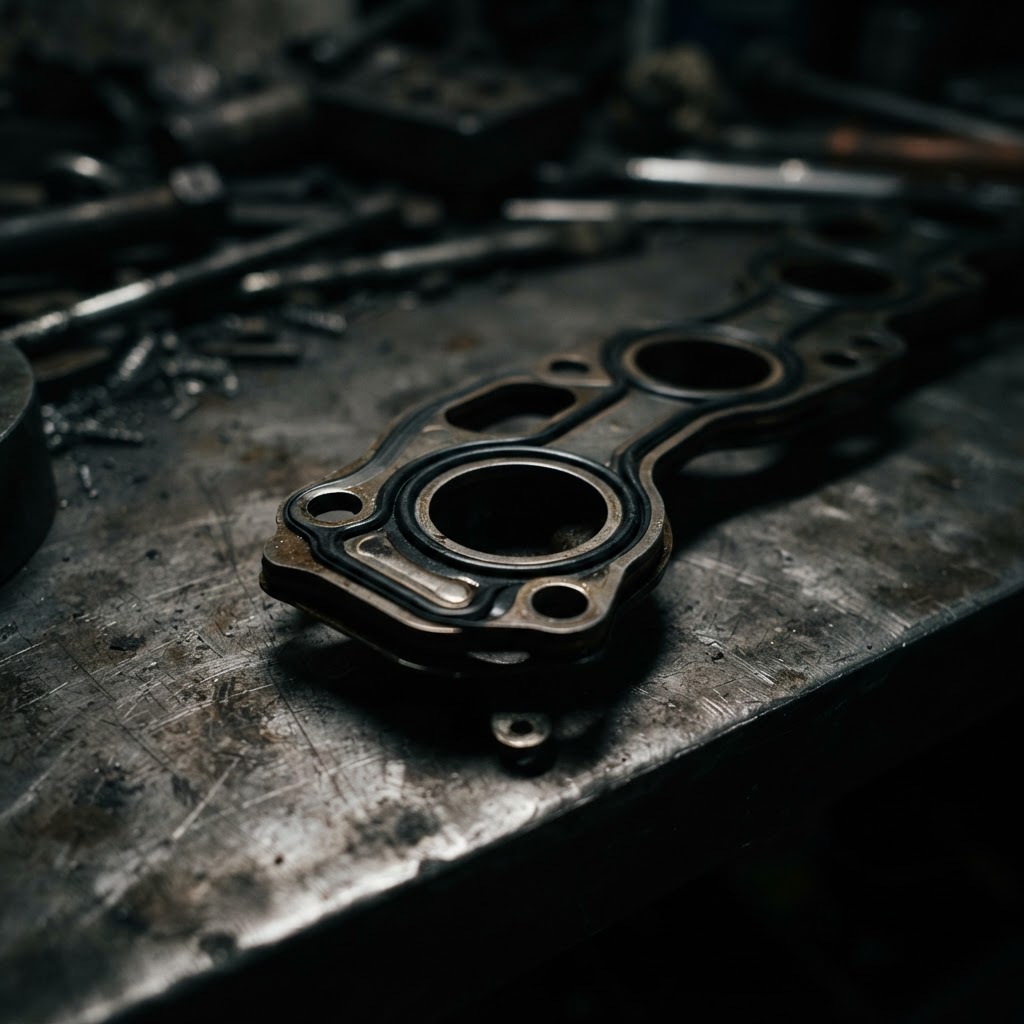
Intake Manifold Gasket
Installing a new gasket ensures an airtight seal at the intake mount, which is critical for maintaining the crankcase compression needed for the engine to fire.
Affiliate Disclosure: Lil Engine may earn commissions from qualifying purchases.
Pro Tips from the Community
Real-world fixes from Reddit, YouTube & forums.
"If it won't start after sitting all winter, the fuel lines are almost certainly the culprit. They rot from the inside out due to the ethanol in the gas."
Reddit r/lawncare"Check the muffler screen first! I've seen hundreds of these 'broken' trimmers that just needed the carbon burned off the arrestor screen to run like new."
YouTube comments"The primer bulb on these units often develops microscopic pinholes. If it doesn't stay full of gas while you're pumping it, it's sucking air and won't prime the carb."
DoItYourself.com ForumPrevent This From Coming Back
Always use non-ethanol fuel treated with a quality fuel stabilizer
Clean the air filter every 5 hours of operation to prevent engine choking
Store the unit with an empty fuel tank or fuel system flushed with stabilizer
Replace the spark plug once every two seasons regardless of how it looks
Inspect the fuel lines for signs of dry-rot or cracks at the start of every season
Prevent This From Happening Again
While you're fixing it, stock up on the maintenance essentials that keep your weed eaters running right.
Trimmer Line/String
Quality trimmer line breaks less and cuts cleaner.
Get on Amazon2-Cycle Oil
Fresh fuel mix prevents carb diaphragm hardening and starting issues.
Get on AmazonSpark Arrestor Screen
A clogged spark arrestor causes power loss — clean or replace it.
Get on AmazonAffiliate Disclosure: Lil Engine may earn commissions from qualifying purchases.
Frequently Asked Questions
Absolutely not. E85 will dissolve the rubber components in the fuel system and cause the engine to run excessively lean, likely resulting in a seized piston.
Video Help
Helpful videos showing these repairs in action.
Share Your Repair
Real-world fixes help everyone. Share what worked and your repair becomes part of Lil Engine's community database.
Related Problems
More Weed Eaters GuidesRelated Maintenance Articles
Related Symptoms
Won’t Start
Carburetor / Fuel Issues
Related Searches
Craftsman weed eater Guides
Did this help?
Your feedback helps improve guides for everyone.