Toro Snow Blower Won't Start After Summer
⚡ Quick Answer
Most snow blower starting issues after long-term storage are caused by stale fuel clogging the carburetor or a fouled spark plug. Start by draining the old gas and replacing it with fresh fuel mixed with a stabilizer, then inspect your spark plug for corrosion.
What do you want to do?
Most Likely Cause
Clogged Pilot Jet
The pilot jet has an extremely narrow orifice that clogs easily with fuel varnish. If the engine requires starting fluid to pop but dies immediately, the jet is restricted.
Start here — this is the most common reason for this symptom.
Why This Problem Happens
Modern pump gas containing ethanol is the primary culprit behind spring-to-winter no-start conditions. Ethanol is hygroscopic, meaning it absorbs atmospheric moisture over the long summer months, leading to phase separation where water settles at the bottom of the fuel tank and carburetor bowl. This corrosive mixture wreaks havoc on the fine-metering passages of the carburetor, specifically the pilot jet and the main jet orifice, creating a varnish-like buildup that restricts fuel flow. Furthermore, the light ends of the gasoline evaporate over months of storage, leaving behind a sludge that gums up the needle valve and seat assembly. When you attempt to start the engine, the carburetor cannot deliver the correct air-fuel ratio, or the needle is stuck in the closed position, preventing the engine from drawing fuel from the tank, effectively starving the combustion chamber despite the presence of spark.
Common Symptoms
- Engine sputters and dies after one or two firing cycles
- Persistent resistance when pulling the recoil starter
- Presence of strong varnish odor in the gas tank
- Dry spark plug despite repeated starting attempts
- Fuel leaking from the carburetor vent or bottom drain bolt
Before You Buy Parts
Quick, free inspections — check these first. Most repairs don't actually need replacement parts.
Complete Resource Guide
Complete Leaf Blower Troubleshooting & Repair Guide
Brand Resource Hub
Toro Troubleshooting & Repair Guide
Repair Overview
1–2 hours
$15–$50
First Checks — Start Here
- 1Check that the fuel tank is filled with fresh gasoline
- 2Ensure the fuel shut-off valve is in the 'ON' position
- 3Verify the safety key or ignition switch is fully inserted
- 4Check that the choke is set correctly for a cold start
- 5Test the spark plug wire connection
Safety Warnings
- !Ensure you are working in a well-ventilated area away from any ignition sources or open flames.
- !Always disconnect the spark plug wire before inspecting the engine to prevent accidental starts.
- !Wear safety glasses, as solvent can easily splash back toward your eyes during the spray.
- !Have a shop rag ready, as fuel will drain rapidly once the bowl nut is removed.
- !Use a pair of needle-nose pliers to carefully slide the clamps; do not yank the hose, or you may crack the plastic fuel tank fitting.
- !Ensure the bulb is dry before installation to ensure a proper seal.
- !Replacing the spark plug but failing to clear the old fuel first
Always disconnect the spark plug, work in a well-ventilated area, and consult a professional if unsure.
Most Likely Causes
Ranked by likelihood — tap each to see diagnosis details.
The pilot jet has an extremely narrow orifice that clogs easily with fuel varnish. If the engine requires starting fluid to pop but dies immediately, the jet is restricted.
Gummed fuel causes the rubber-tipped needle to fuse to its seat. This prevents the bowl from filling with fuel, leaving the engine effectively starved of any supply.
🔧 Step-by-Step Fix Guide
Drain and Replace Fuel
Completely remove all old fuel from the tank using a siphon. Refill with fresh, non-ethanol gasoline or an alkylate-based fuel like TruFuel to ensure maximum stability.
Ensure you are working in a well-ventilated area away from any ignition sources or open flames.
Check Spark Plug Condition
Remove the plug using a 5/8-inch socket and inspect for gap size and fouling. If the center electrode is rounded or carbon-heavy, replace it with a new NGK or Champion equivalent as specified in your manual.
Always disconnect the spark plug wire before inspecting the engine to prevent accidental starts.
Attempt a Carburetor Cleaner Flush
Remove the air cleaner cover and spray a high-quality aerosol carburetor cleaner directly into the intake throat while pulling the recoil. This can sometimes dissolve minor blockages without a full tear-down.
Wear safety glasses, as solvent can easily splash back toward your eyes during the spray.
Clear the Main Jet/Bowl Nut
Use a 10mm or 1/2-inch wrench to remove the nut at the bottom of the float bowl. Use a thin wire or compressed air to ensure the tiny holes on the side of the nut are completely clear of debris.
Have a shop rag ready, as fuel will drain rapidly once the bowl nut is removed.
Inspect Fuel Line Integrity
Check the rubber hose running from the tank to the carburetor. If it feels brittle or shows signs of 'dry rot' or cracks, replace it immediately to prevent future air leaks.
Use a pair of needle-nose pliers to carefully slide the clamps; do not yank the hose, or you may crack the plastic fuel tank fitting.
Verify Primer Bulb Operation
If your Toro model uses a primer bulb, press it several times. If it does not snap back or lacks resistance, it has a leak and must be replaced to effectively prime the carburetor.
Ensure the bulb is dry before installation to ensure a proper seal.
What To Test Next
If fuel delivery checks out, the next thing to inspect is spark — remove the spark plug, ground its threads to the engine block, and crank the engine to look for a visible blue spark.
Component Reference

Carburetor & Fuel Intake
The carburetor mixes air and fuel for combustion. A clogged jet or stuck float is the #1 cause of small engine starting and surging problems.

Spark Plug & Ignition System
The spark plug ignites the air-fuel mixture. A fouled plug, wrong gap, or failing ignition coil will prevent the engine from firing.

Oil & Lubrication System
Regular oil changes are critical. Low or dirty oil causes engine wear, overheating, and eventual seizure. Check the dipstick before every season.

Air Filter & Intake
A clogged air filter starves the engine of air, causing rich running, power loss, and hard starting. Inspect and clean or replace it each season.
Photos for educational reference. Actual parts may vary by make and model.
Common Mistakes to Avoid
Using starting fluid excessively, which can wash oil off cylinder walls
Replacing the spark plug but failing to clear the old fuel first
Over-tightening the bowl nut and stripping the soft brass threads
Skipping the cleaning of the internal holes in the main jet bolt
If This Didn't Fix It
Still having trouble? These are the next things to check:
Get the Exact Parts for Your Machine
Tell us your equipment's year, make, and model — we'll search for parts that actually fit, not generic ones.
Finding parts for
Toro snow blower
Required Gear
Matched to your Toro snow blower — click to find the exact fit on Amazon.
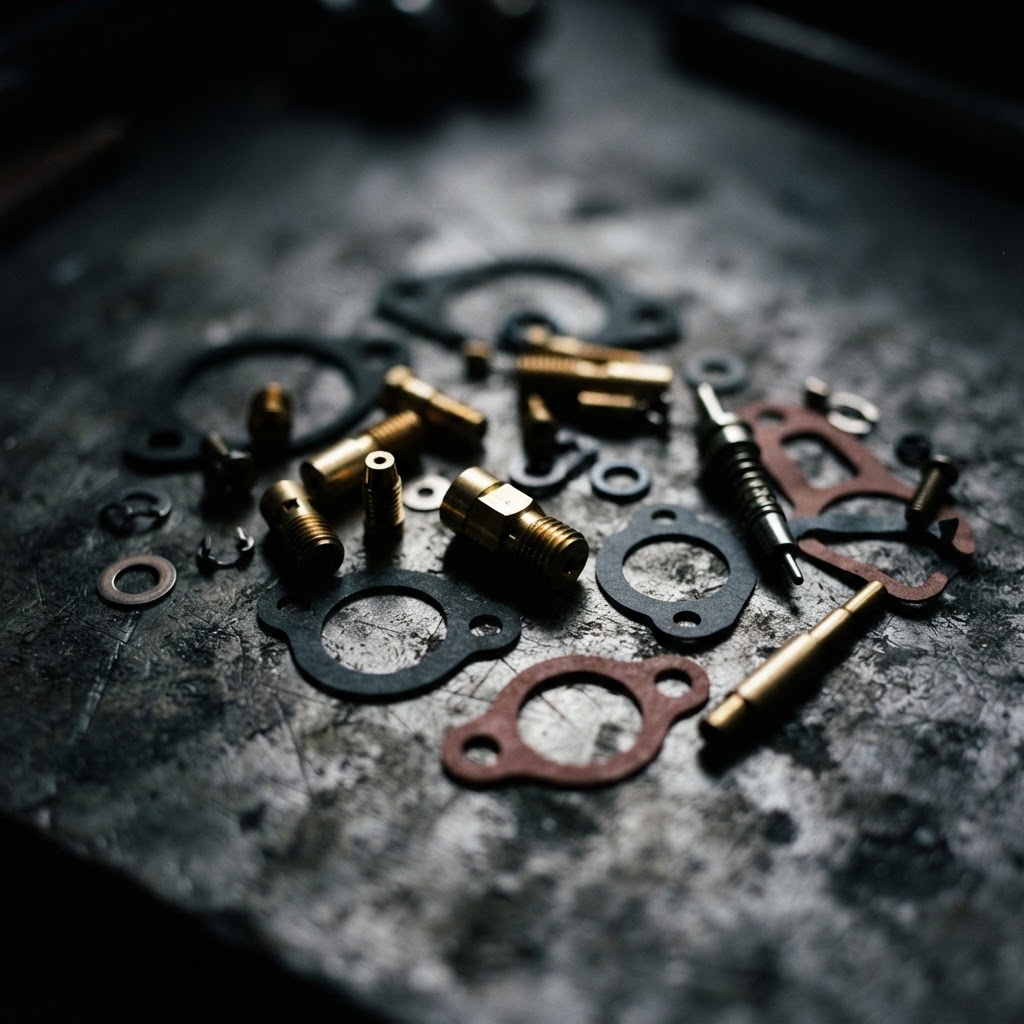
Carburetor Rebuild Kit
This kit provides essential gaskets, a new needle valve, and a seat to address internal fuel leaks and sticking floats caused by sitting with old fuel.
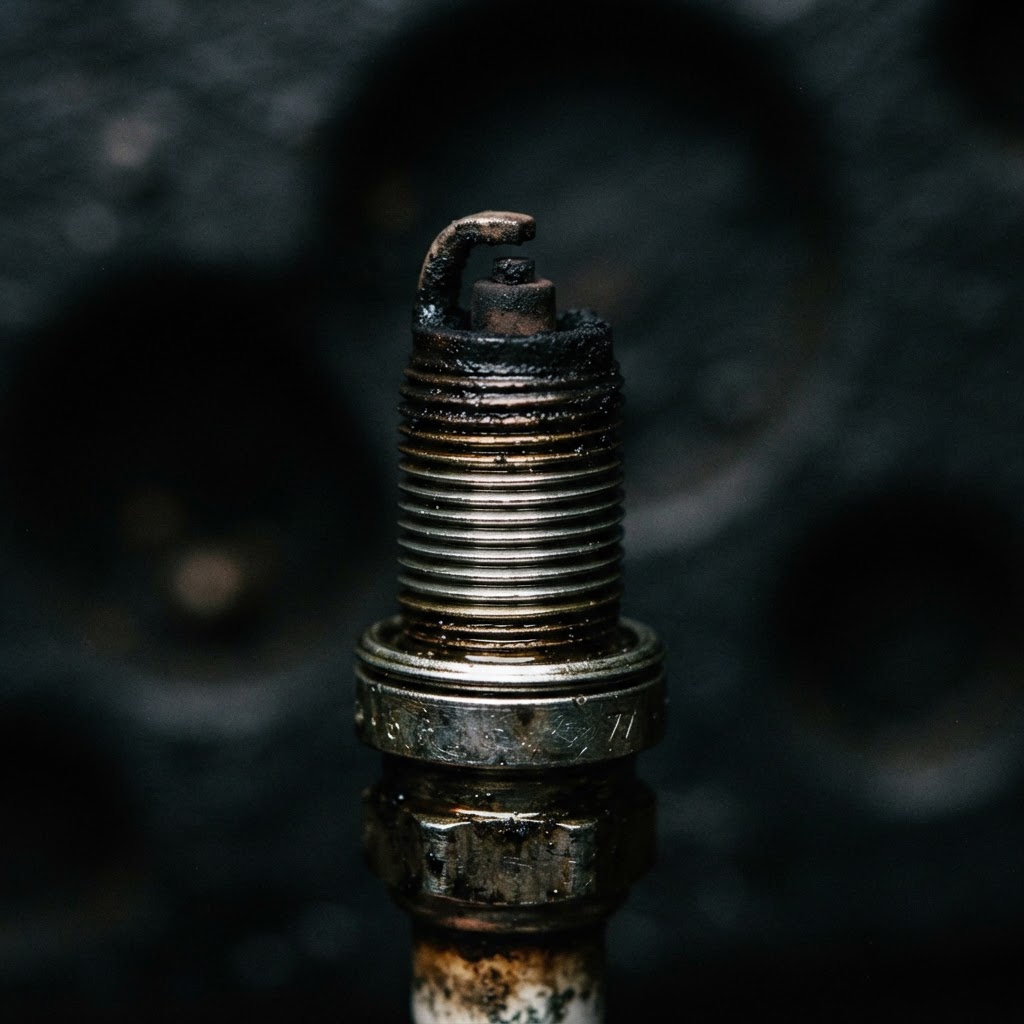
Spark Plug
Replacing the spark plug is necessary because old fuel often fouls the electrode, preventing the engine from generating the consistent spark needed for a cold start.
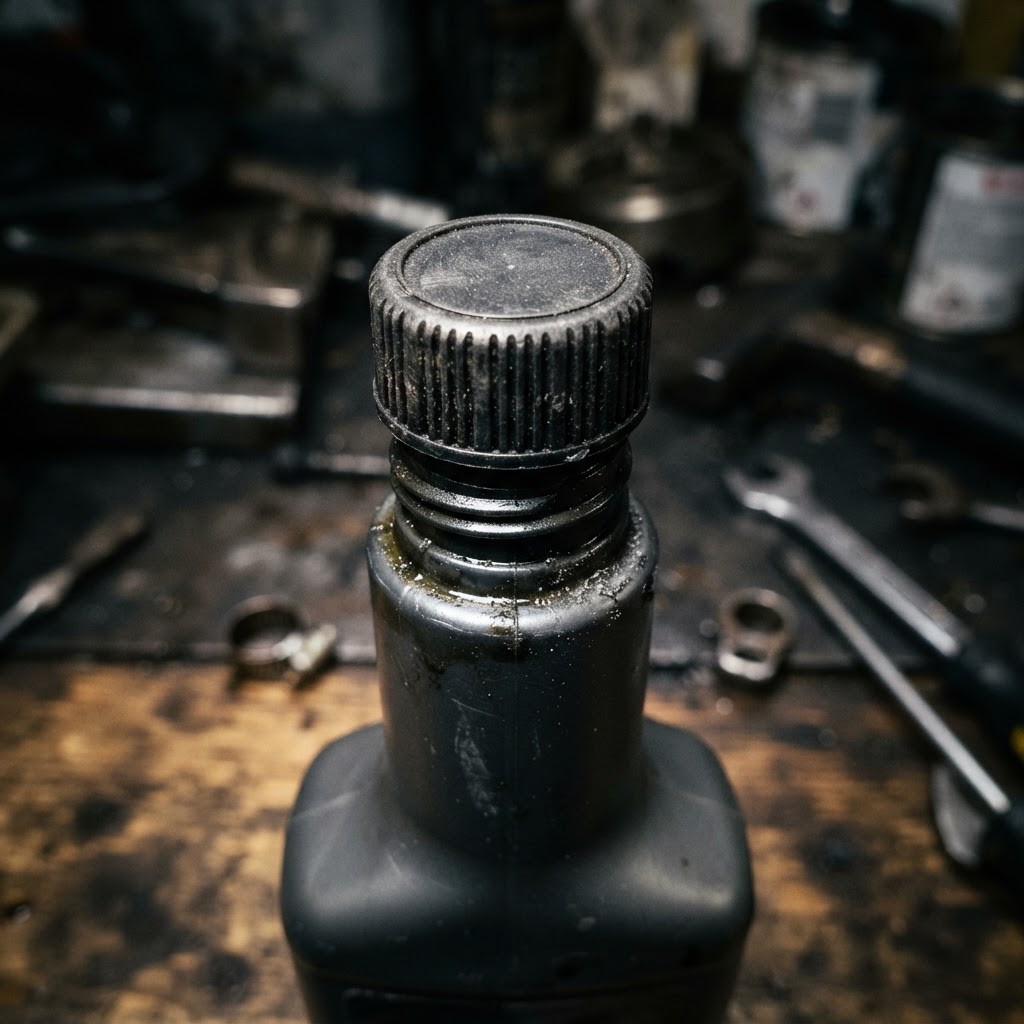
Fuel Stabilizer
Adding this to your fresh fuel ensures that future periods of storage do not result in the same degradation and gumming issues currently causing your starting problems.
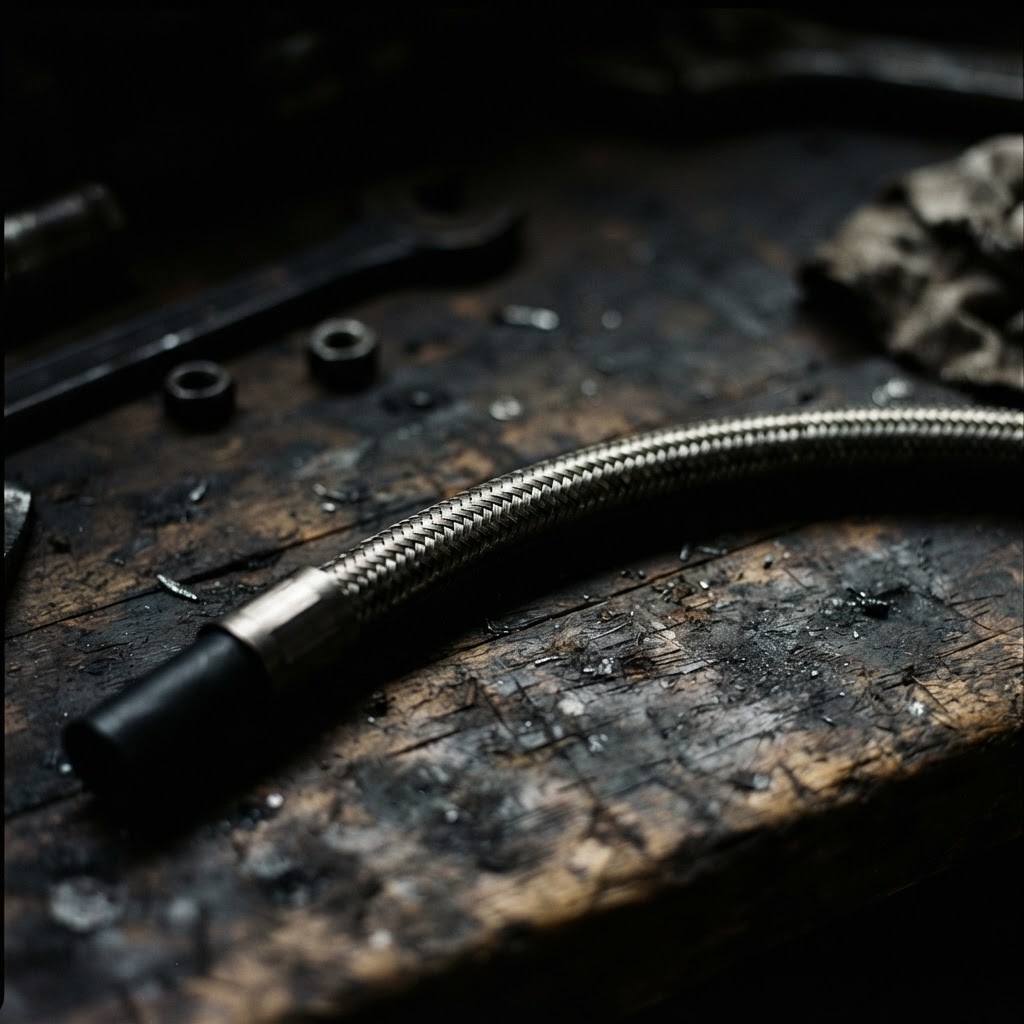
Fuel Line Tubing
Small engine fuel lines frequently crack or harden over time, leading to air leaks that prevent the carburetor from drawing fuel correctly.
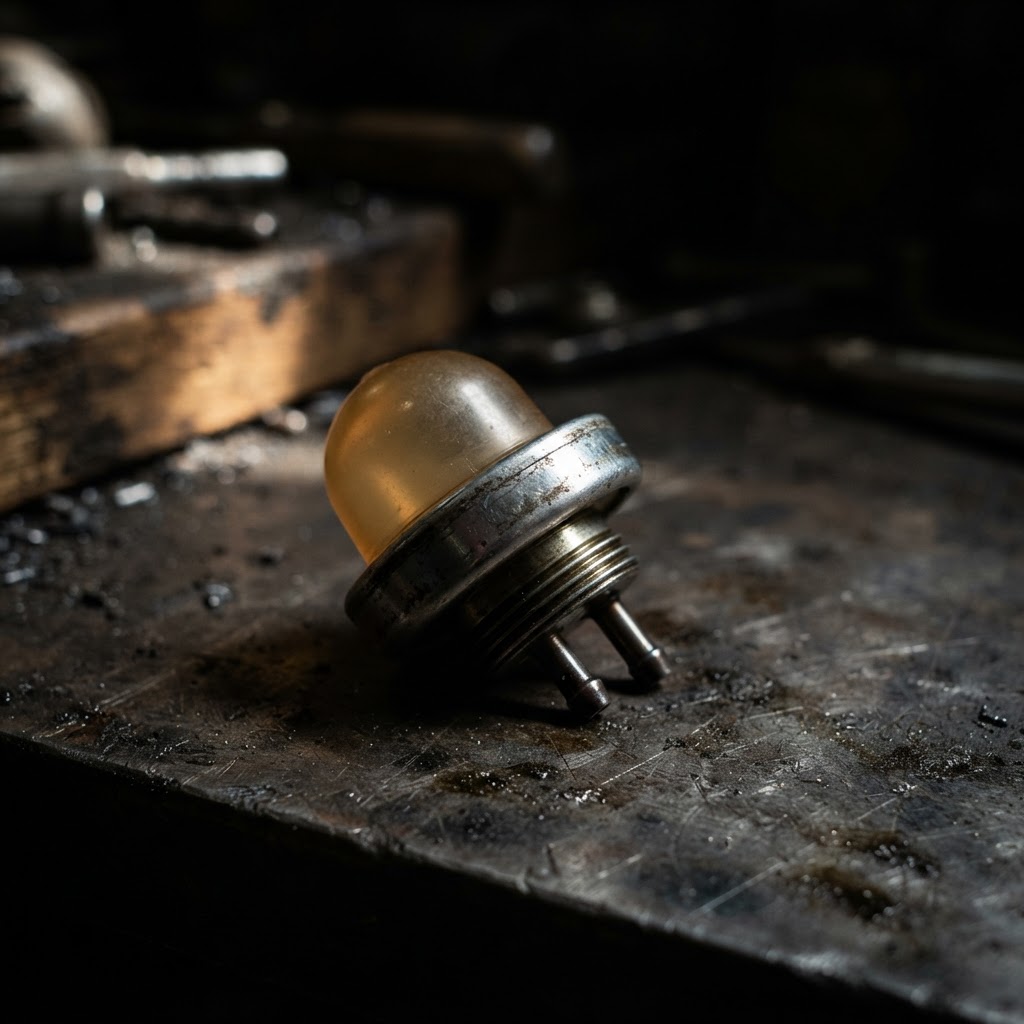
Replacement Primer Bulb
If the original bulb has become brittle or cracked during the off-season, it will fail to pull fuel into the carburetor, making the engine impossible to prime.
Affiliate Disclosure: Lil Engine may earn commissions from qualifying purchases.
Pro Tips from the Community
Real-world fixes from Reddit, YouTube & forums.
"If the engine fires briefly with starter fluid but dies, pull the carb bowl and clean the main jet—ethanol gas clogs it every single summer."
Reddit r/smallengines"Always replace the spark plug first because cheap plugs often fail over the off-season even if they look clean."
LawnSite.com Forum"Check that your safety key is fully seated; those plastic tabs get brittle or loose and fail to engage the ignition circuit."
YouTube comments"If it has been sitting, drain the tank and put in fresh high-octane fuel because today's pump gas degrades in as little as three months."
TractorByNetPrevent This From Coming Back
Add a high-quality fuel stabilizer to your gas can during the last fill of the season
Run the engine until it dies completely at the end of winter to drain the bowl
Store the machine in a dry, covered area to prevent moisture buildup in the tank
Use non-ethanol gasoline whenever possible for better storage life
Prevent This From Happening Again
While you're fixing it, stock up on the maintenance essentials that keep your leaf blowers running right.
2-Cycle Oil
Correct mix ratio prevents engine damage and starting problems.
Get on AmazonSpark Plug
A fouled plug is the #1 cause of hard starting in leaf blowers.
Get on AmazonFuel Stabilizer
Prevents fuel breakdown during off-season storage.
Get on AmazonAffiliate Disclosure: Lil Engine may earn commissions from qualifying purchases.
Frequently Asked Questions
No, gas begins to degrade within a few weeks. It is best practice to drain the tank or add a stabilizer immediately after the final snow clearing of the season.
Video Help
Helpful videos showing these repairs in action.
Share Your Repair
Real-world fixes help everyone. Share what worked and your repair becomes part of Lil Engine's community database.
Related Problems
More Leaf Blowers GuidesRelated Maintenance Articles
Related Symptoms
Won’t Start
Carburetor / Fuel Issues
Related Searches
Toro leaf blower Guides
Did this help?
Your feedback helps improve guides for everyone.