Weed Eater Bogs Down Under Load
⚡ Quick Answer
A weed eater that bogs down when it hits grass usually suffers from fuel delivery issues, a dirty air filter, or an old spark plug. Start by checking your air filter and trying fresh fuel, as these are the most common culprits for performance loss.
What do you want to do?
Most Likely Cause
Clogged Spark Arrestor Screen
Carbon buildup on the muffler screen creates extreme backpressure, preventing the engine from clearing exhaust gases during high-load cycles. Remove the muffler cover and inspect the mesh screen; if it is plugged with black, crusty soot, the engine cannot breathe.
Start here — this is the most common reason for this symptom.
Why This Problem Happens
When a weed eater bogs down under load, the engine is failing to maintain its target RPM when subjected to the physical resistance of cutting vegetation. In a two-stroke engine, this is almost always a volumetric efficiency issue or a fuel-to-air ratio imbalance that manifests only when the governor or operator demands more power. At idle, an engine requires minimal fuel and torque, but cutting heavy brush increases cylinder pressure and crankshaft load significantly. If the carburetor's high-speed circuit is lean, the engine lacks the combustible mass to sustain that torque, causing an immediate drop in revs. Alternatively, excessive backpressure from a carbon-fouled spark arrestor prevents the engine from evacuating exhaust gases efficiently, effectively choking it during high-load combustion cycles. This 'four-stroking' or 'bogging' is the mechanical system signaling that it cannot reach the torque peak required to overcome the cutting force. The underlying failure is usually the inability of the ignition or fuel delivery systems to ramp up in lockstep with the mechanical load, resulting in a stall or a 'searching' sensation in the engine speed.
Common Symptoms
- Engine loses RPM immediately upon string contact with tall grass
- Audible 'four-stroking' or sputtering at full throttle
- Engine stalls when transitioning from idle to high-speed load
- Excessive white or blue smoke under load
- Sluggish acceleration when the throttle trigger is pulled
Before You Buy Parts
Quick, free inspections — check these first. Most repairs don't actually need replacement parts.
Complete Resource Guide
Complete Weed Eaters Troubleshooting & Repair Guide
Repair Overview
45–90 minutes
$10–$40
First Checks — Start Here
- 1Check the fuel tank for old or stale gasoline.
- 2Inspect the air filter for heavy dirt and debris.
- 3Ensure the spark plug wire is pushed on tightly.
- 4Verify the exhaust screen is not clogged with carbon buildup.
- 5Check for tangled weeds wrapped around the trimmer head.
Safety Warnings
- !Ensure the muffler is completely cool before attempting removal to prevent thermal burns.
- !Handle gasoline with extreme care; perform this task in a well-ventilated area away from open flames.
- !Do not over-adjust; a mixture that is too rich can cause plug fouling and excessive smoke.
- !Wear safety glasses, as debris may fall from the exhaust port when removing the muffler.
- !Ensure the intake surface is clean of old gasket material to prevent a poor seal.
- !Never attempt to clean a fouled plug with sandblasting, as grit may enter the cylinder.
- !Replacing the entire carburetor before checking the simple spark arrestor screen
- !Using old gas that has undergone phase separation, which destroys fuel system components
- !Ignoring air leaks caused by cracked fuel primer bulb lines
Always disconnect the spark plug, work in a well-ventilated area, and consult a professional if unsure.
Most Likely Causes
Ranked by likelihood — tap each to see diagnosis details.
Carbon buildup on the muffler screen creates extreme backpressure, preventing the engine from clearing exhaust gases during high-load cycles. Remove the muffler cover and inspect the mesh screen; if it is plugged with black, crusty soot, the engine cannot breathe.
If the 'H' screw on the carburetor is turned too far in (lean), the engine will starve for fuel when the throttle is fully opened. A lean condition causes the engine to heat up rapidly and lose power under load rather than producing maximum torque.
🔧 Step-by-Step Fix Guide
Inspect and Clean Spark Arrestor
Remove the muffler cover and extract the metal mesh spark arrestor screen. Use a torch to burn off the carbon or a wire brush to scrub it clean before reinstalling.
Ensure the muffler is completely cool before attempting removal to prevent thermal burns.
Check Fuel Delivery Path
Pull the fuel line from the tank and inspect the pickup filter for discoloration or debris. Replace the fuel line and filter assembly if the lines feel brittle or the filter is caked with varnish.
Handle gasoline with extreme care; perform this task in a well-ventilated area away from open flames.
Adjust High-Speed Carburetor Mixture
With the engine warm, slowly turn the 'H' screw counter-clockwise to richen the mixture while the engine is at full throttle. Listen for the engine to 'clear out' and stop sputtering under a light load.
Do not over-adjust; a mixture that is too rich can cause plug fouling and excessive smoke.
Inspect Piston and Cylinder
Use a flashlight to look through the exhaust port while rotating the flywheel. If the piston surface shows deep vertical scratches, the engine has suffered a 'cold seizure' and requires a rebuild.
Wear safety glasses, as debris may fall from the exhaust port when removing the muffler.
Replace Intake Gaskets
Remove the carburetor assembly and inspect the paper gaskets between the block and the carb. Replace any that are torn or flattened, as these are common sources of vacuum leaks.
Ensure the intake surface is clean of old gasket material to prevent a poor seal.
Test Spark Plug
Remove the spark plug and inspect the electrode for tan or light gray color. If it is black and oily, replace it with the exact heat-range equivalent to ensure a strong, consistent spark under compression.
Never attempt to clean a fouled plug with sandblasting, as grit may enter the cylinder.
What To Test Next
If the air filter and fuel are good, the next thing to inspect is the carburetor — a partially clogged main jet or a leaking intake gasket is the leading cause of steady surging.
Component Reference

Carburetor & Fuel Intake
The carburetor mixes air and fuel for combustion. A clogged jet or stuck float is the #1 cause of small engine starting and surging problems.

Spark Plug & Ignition System
The spark plug ignites the air-fuel mixture. A fouled plug, wrong gap, or failing ignition coil will prevent the engine from firing.

Oil & Lubrication System
Regular oil changes are critical. Low or dirty oil causes engine wear, overheating, and eventual seizure. Check the dipstick before every season.

Air Filter & Intake
A clogged air filter starves the engine of air, causing rich running, power loss, and hard starting. Inspect and clean or replace it each season.
Photos for educational reference. Actual parts may vary by make and model.
Common Mistakes to Avoid
Replacing the entire carburetor before checking the simple spark arrestor screen
Adjusting the carburetor while the engine is cold, leading to an incorrect mixture
Using old gas that has undergone phase separation, which destroys fuel system components
Ignoring air leaks caused by cracked fuel primer bulb lines
Get the Exact Parts for Your Machine
Tell us your equipment's year, make, and model — we'll search for parts that actually fit, not generic ones.
Finding parts for
Weed eater
Required Gear
Matched to your Weed eater — click to find the exact fit on Amazon.

Carburetor Rebuild Kit
Contains new diaphragms, gaskets, and internal needles necessary to fix lean fuel conditions and seal air leaks at the intake.
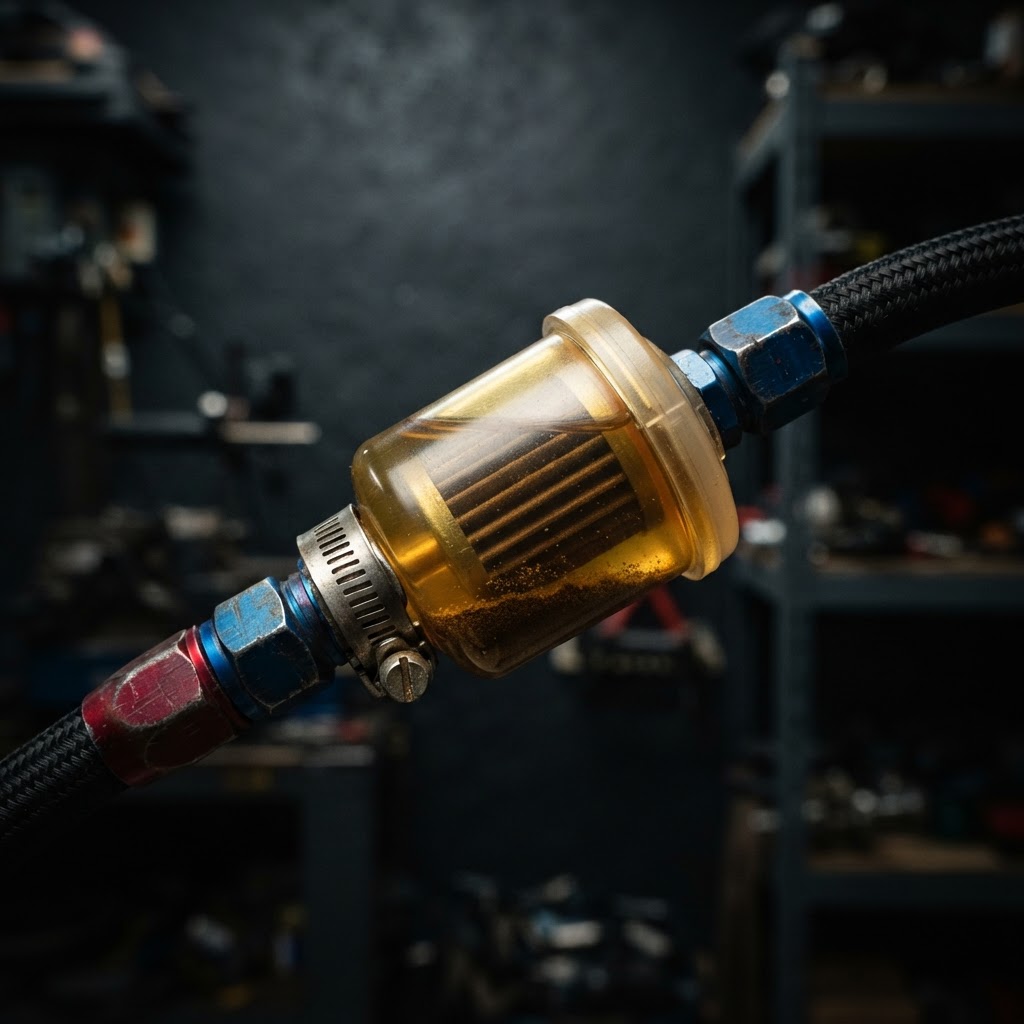
Fuel Filter
Replaces the clogged fuel pickup filter, which is a common restriction that causes engines to starve for fuel when under heavy load.
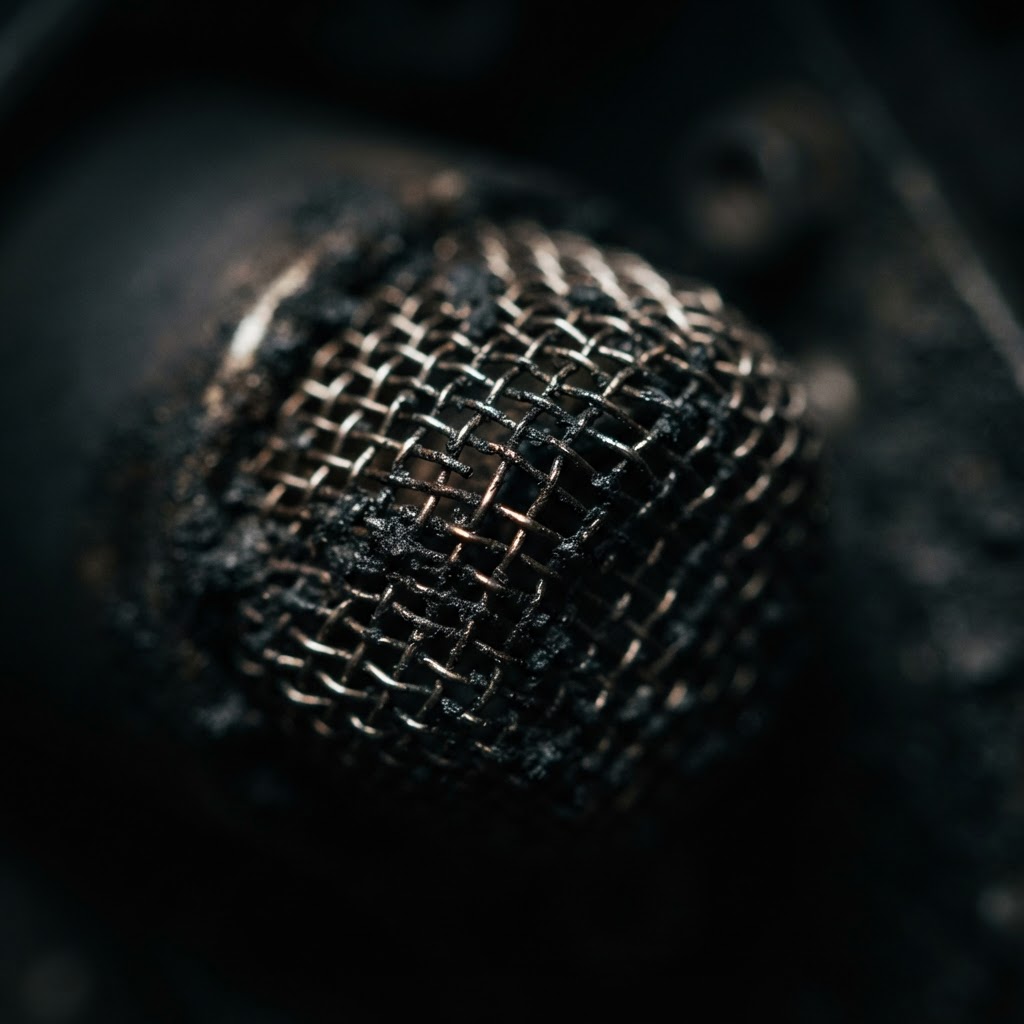
Spark Arrestor Screen
Replacing a carbon-fouled screen clears the exhaust path, allowing the engine to reach full RPMs under load without backpressure issues.
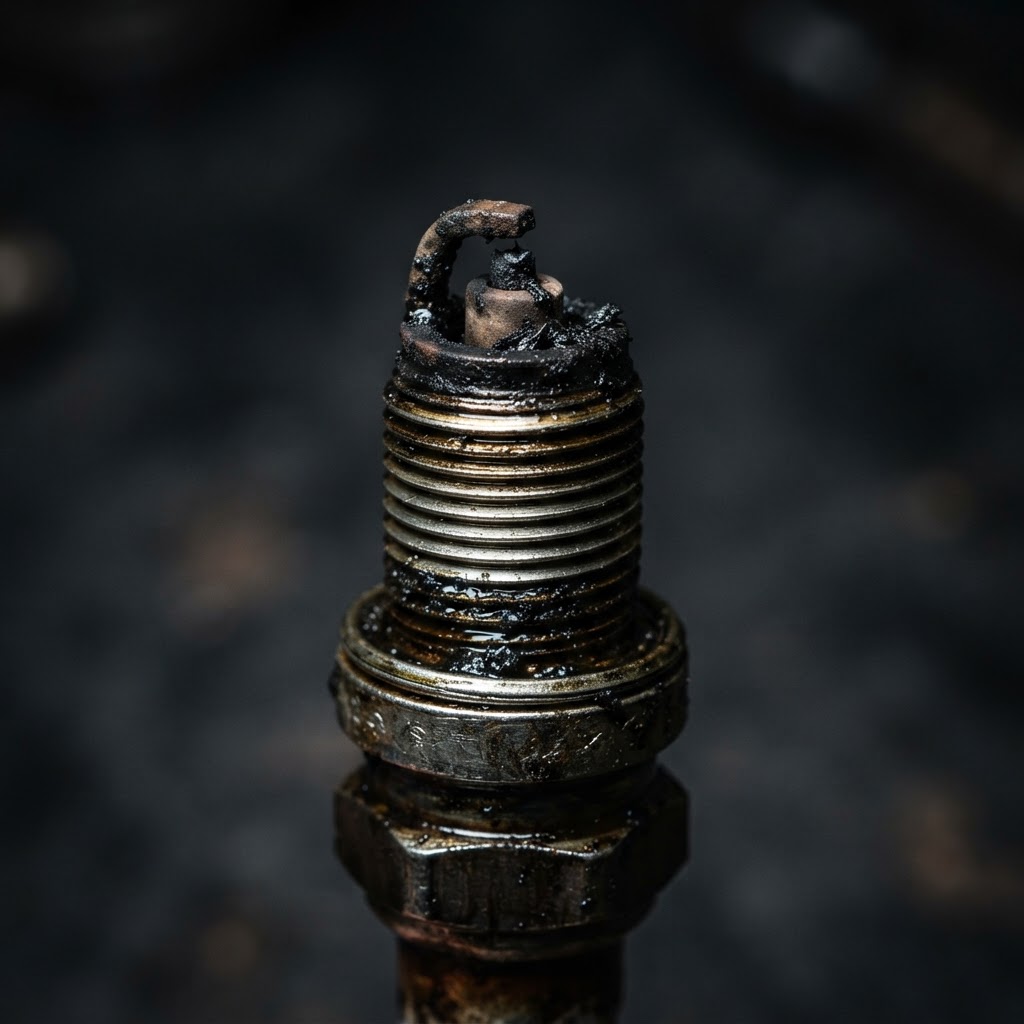
Spark Plug
Replacing a fouled or worn plug ensures a consistent, strong ignition spark, which is critical for maintaining power when the engine is put under strain.
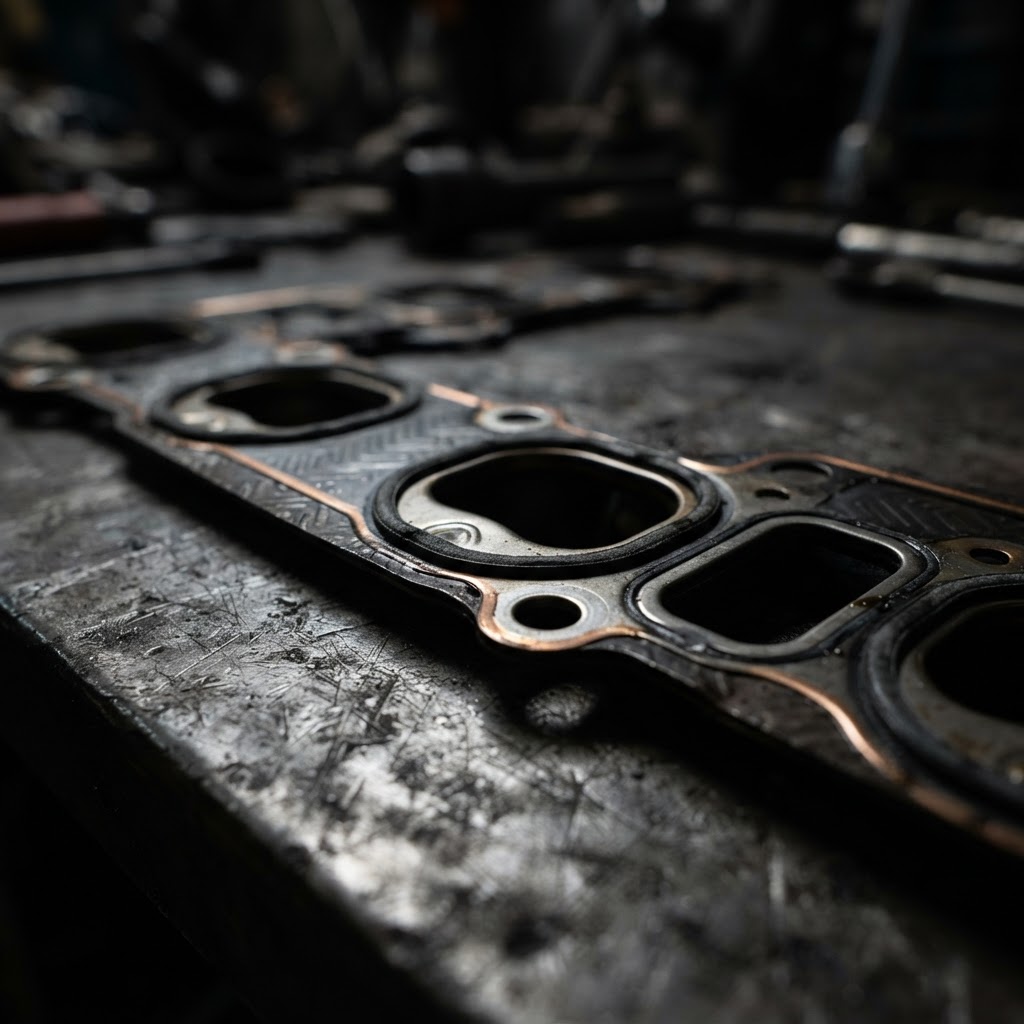
Intake Gasket Set
Provides a fresh seal between the carburetor and cylinder block to eliminate air leaks that create a lean-run condition, causing the bogging.
Affiliate Disclosure: Lil Engine may earn commissions from qualifying purchases.
Pro Tips from the Community
Real-world fixes from Reddit, YouTube & forums.
"Check the fuel tank vent first because if the tank can't breathe, a vacuum forms and the engine will starve for fuel under load."
Reddit r/smallengines"Pull the spark arrestor screen out of the muffler and torch it clean with a lighter; a carbon-clogged screen is the #1 silent killer of power under load."
LawnSite.com Forum"If it bogs, check the fuel pickup line inside the tank for pinhole cracks that let the engine suck air instead of gas once it starts vibrating hard."
YouTube comments"Always check your carburetor 'H' needle adjustment, as running too lean will cause an engine to scream when idling but die the second you hit tall grass."
DoItYourself.comPrevent This From Coming Back
Always use fresh, ethanol-free gasoline mixed with a high-quality synthetic 2-cycle oil
Clean or replace the air filter every 25 hours of operation to maintain proper airflow
Drain the fuel tank and run the engine dry if storing for more than 30 days
Inspect the spark arrestor annually to prevent permanent carbon buildup
Prevent This From Happening Again
While you're fixing it, stock up on the maintenance essentials that keep your weed eaters running right.
Trimmer Line/String
Quality trimmer line breaks less and cuts cleaner.
Get on Amazon2-Cycle Oil
Fresh fuel mix prevents carb diaphragm hardening and starting issues.
Get on AmazonSpark Arrestor Screen
A clogged spark arrestor causes power loss — clean or replace it.
Get on AmazonAffiliate Disclosure: Lil Engine may earn commissions from qualifying purchases.
Frequently Asked Questions
This is a classic symptom of an engine that lacks sufficient torque, which is usually caused by an overly lean carburetor setting or a restricted exhaust system. When the load increases, the engine needs more fuel than the current setup is providing.
Video Help
Helpful videos showing these repairs in action.
Share Your Repair
Real-world fixes help everyone. Share what worked and your repair becomes part of Lil Engine's community database.
Related Problems
More Weed Eaters GuidesRelated Maintenance Articles
Did this help?
Your feedback helps improve guides for everyone.