Kawasaki Mule Pro FXT Cranks But Won't Start — Fuel & Ignition Diagnosis
⚡ Quick Answer
On the Kawasaki Mule Pro FXT (812cc engine), first verify the fuel pump is priming by listening for a 2-second hum from the fuel tank when the key is turned to 'ON.' If silent, check the 'Main' and 'EFI' relays in the fuse box under the front hood. If the pump primes but it won't fire, the most common failure point is fouled NGK BKR6E spark plugs or a failed crankshaft position sensor (CKP).
What do you want to do?
Most Likely Cause
Failed Fuel Pump Relay
The relay located in the fuse box under the hood often corrodes due to moisture exposure. If the relay fails to close, the pump won't pressurize the rail, leaving the system without fuel.
Start here — this is the most common reason for this symptom.
Why This Problem Happens
The Kawasaki Mule Pro-FXT utilizes a sophisticated electronic fuel injection (EFI) system paired with a high-compression, three-cylinder engine. A 'crank but no start' condition usually indicates a breakdown in the triad of combustion: compression, spark, or fuel delivery. Because this machine employs a pressurized fuel pump located inside the plastic fuel tank, any voltage drop to the ECU or the pump itself will result in a lack of rail pressure, effectively starving the injectors. Furthermore, the Pro-FXT's ignition system relies on a crank position sensor (CPS) to signal timing for the spark plugs. If the CPS provides an erratic or missing signal, the ECU prevents the spark coils from firing to protect the engine, resulting in a healthy crank speed but zero combustion. These systems are highly sensitive to the low voltage often caused by parasitic battery drain or corroded ground straps common in heavy-duty utility applications. When the ECU doesn't detect the correct parameters from these sensors, the engine remains in a locked-out state, refusing to initiate the injection cycle or spark sequence.
Common Symptoms
- Engine rotates at normal cranking speed
- No audible priming click from the fuel pump
- Presence of strong fuel odor at the exhaust
- Intermittent check engine light on dash
- Spark plugs remain dry despite cranking
Before You Buy Parts
Quick, free inspections — check these first. Most repairs don't actually need replacement parts.
Complete Resource Guide
Complete Small Engines Troubleshooting Guide
Brand Resource Hub
Kawasaki Small Engine Troubleshooting & Repair Guide
Repair Overview
1–3 hours
$20–$150
First Checks — Start Here
- 1Listen for the fuel pump priming hum when key is turned to ON
- 2Verify battery voltage is 12.4V+ (ECU requires high voltage to trigger)
- 3Check the 10A EFI and 30A Main fuses in the front fuse block
- 4Inspect the three NGK BKR6E spark plugs for carbon fouling or fuel wetness
- 5Swap the 'Fan' relay with the 'Main' relay to test for relay failure
- 6Ensure the seatbelt is buckled (some model years integrate this into the start circuit)
Safety Warnings
- !Keep a Class B fire extinguisher nearby and ensure you are working in a well-ventilated area to avoid gasoline vapor ignition.
- !Do not probe the back of the harness with sharp leads, as this can pierce the weather-sealed gaskets and lead to future terminal corrosion.
- !Ensure the fuel pump fuse is pulled while testing spark to prevent raw fuel from being pumped into the cylinders during the test.
- !Allow the engine to cool completely before touching the sensor area to avoid burns from the cylinder head.
- !Only bridge the terminals for a few seconds to test; leaving it jumped permanently will cause the pump to run without the safety of the ECU control.
- !Disconnect the battery negative terminal before working on ground connections to avoid accidental shorting.
- !Replacing the spark plugs before checking for fuel pressure
- !Assuming the fuel pump is fine because they hear a click, ignoring that the pump motor might be dead
- !Forgetting to check the battery load test, as low CCA can spin the starter but fail to power the ECU
Always disconnect the spark plug, work in a well-ventilated area, and consult a professional if unsure.
Most Likely Causes
Ranked by likelihood — tap each to see diagnosis details.
The relay located in the fuse box under the hood often corrodes due to moisture exposure. If the relay fails to close, the pump won't pressurize the rail, leaving the system without fuel.
Over time, fuel varnish from ethanol-blended gasoline can clog the integrated filter assembly inside the pump housing. This starves the engine of high-pressure fuel even if the pump motor runs.
🔧 Step-by-Step Fix Guide
Verify Fuel Rail Pressure
Attach a fuel pressure gauge to the service port on the fuel rail. With the key turned to the ON position, you should see pressure hit approximately 40-45 PSI immediately.
Keep a Class B fire extinguisher nearby and ensure you are working in a well-ventilated area to avoid gasoline vapor ignition.
Check ECU Voltage Integrity
Use a digital multimeter to check for 12.6V at the ECU connector terminals while the key is in the ON position. Compare this to the battery voltage to identify voltage drops across the harness.
Do not probe the back of the harness with sharp leads, as this can pierce the weather-sealed gaskets and lead to future terminal corrosion.
Test Ignition Coil Spark
Remove one ignition coil and insert a spark tester, grounding the tester to the engine valve cover. Crank the engine and observe for a crisp, blue spark.
Ensure the fuel pump fuse is pulled while testing spark to prevent raw fuel from being pumped into the cylinders during the test.
Inspect Crank Position Sensor Resistance
Unplug the CPS connector and use a multimeter to check the resistance between the pins. Refer to your Kawasaki service manual for the specific Ohm range; an 'open' or 'infinite' reading confirms a bad sensor.
Allow the engine to cool completely before touching the sensor area to avoid burns from the cylinder head.
Jump the Fuel Pump Relay
Temporarily bridge the load terminals on the fuel pump relay socket with a jumper wire. If the pump runs and the engine starts, the relay is verified as the point of failure.
Only bridge the terminals for a few seconds to test; leaving it jumped permanently will cause the pump to run without the safety of the ECU control.
Clean Main Engine Ground
Locate the thick negative ground cable bolted to the transmission or engine case. Remove the bolt, use a wire brush to clean the metal contact surface, and reattach with dielectric grease.
Disconnect the battery negative terminal before working on ground connections to avoid accidental shorting.
What To Test Next
If fuel delivery checks out, the next thing to inspect is spark — remove the spark plug, ground its threads to the engine block, and crank the engine to look for a visible blue spark.
Component Reference

Carburetor & Fuel Intake
The carburetor mixes air and fuel for combustion. A clogged jet or stuck float is the #1 cause of small engine starting and surging problems.

Spark Plug & Ignition System
The spark plug ignites the air-fuel mixture. A fouled plug, wrong gap, or failing ignition coil will prevent the engine from firing.

Oil & Lubrication System
Regular oil changes are critical. Low or dirty oil causes engine wear, overheating, and eventual seizure. Check the dipstick before every season.

Air Filter & Intake
A clogged air filter starves the engine of air, causing rich running, power loss, and hard starting. Inspect and clean or replace it each season.
Photos for educational reference. Actual parts may vary by make and model.
Common Mistakes to Avoid
Replacing the spark plugs before checking for fuel pressure
Using a generic OBD2 scanner that cannot read Kawasaki-specific proprietary ECU codes
Assuming the fuel pump is fine because they hear a click, ignoring that the pump motor might be dead
Forgetting to check the battery load test, as low CCA can spin the starter but fail to power the ECU
If This Didn't Fix It
Still having trouble? These are the next things to check:
Get the Exact Parts for Your Machine
Tell us your equipment's year, make, and model — we'll search for parts that actually fit, not generic ones.
Finding parts for
Kawasaki Mule Pro FXT
Required Gear
Matched to your Kawasaki Mule Pro FXT — click to find the exact fit on Amazon.
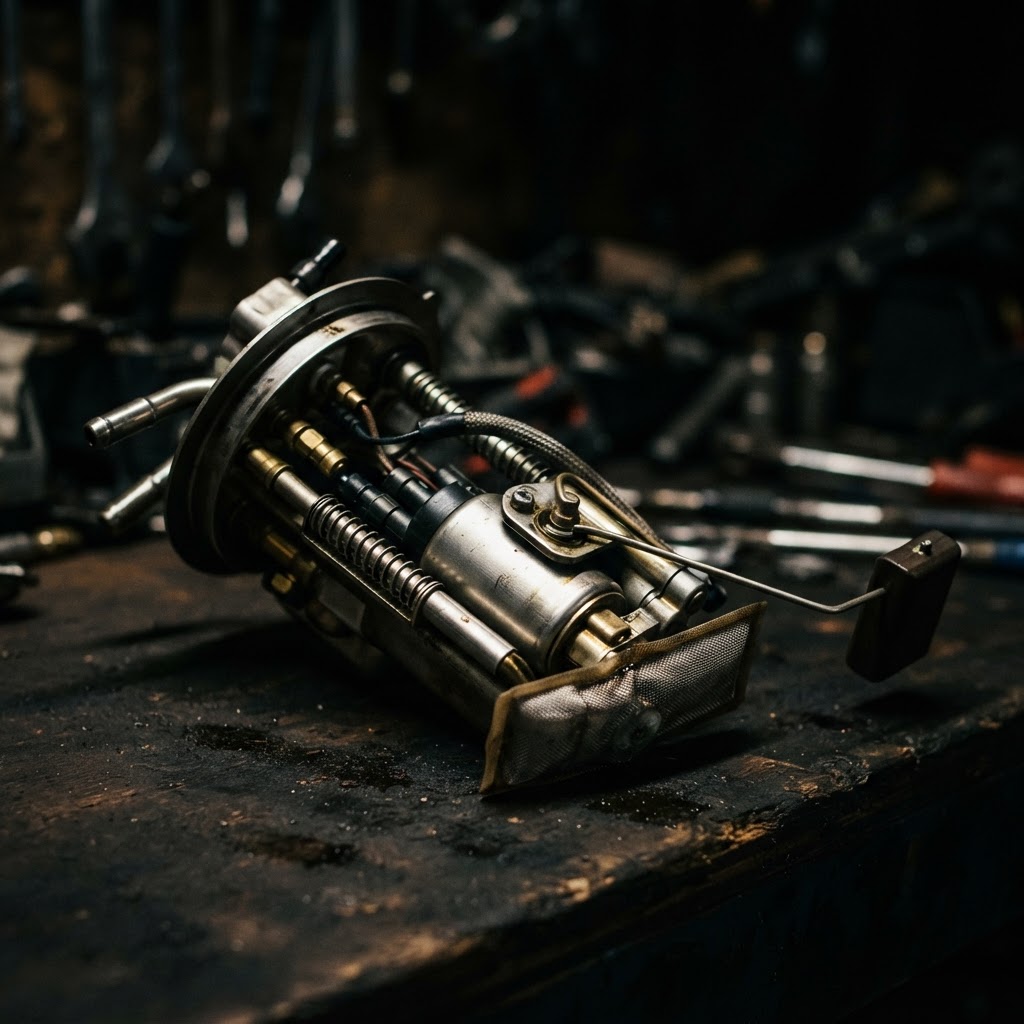
In-Tank Fuel Pump Assembly
If the fuel rail pressure test confirms a lack of flow, the internal pump or integrated filter is likely blocked or failed and requires a full unit replacement.
Crankshaft Position Sensor
When the sensor fails to read the engine rotation, the ECU cannot trigger the ignition coils or fuel injectors, requiring a new sensor to restore the startup signal.
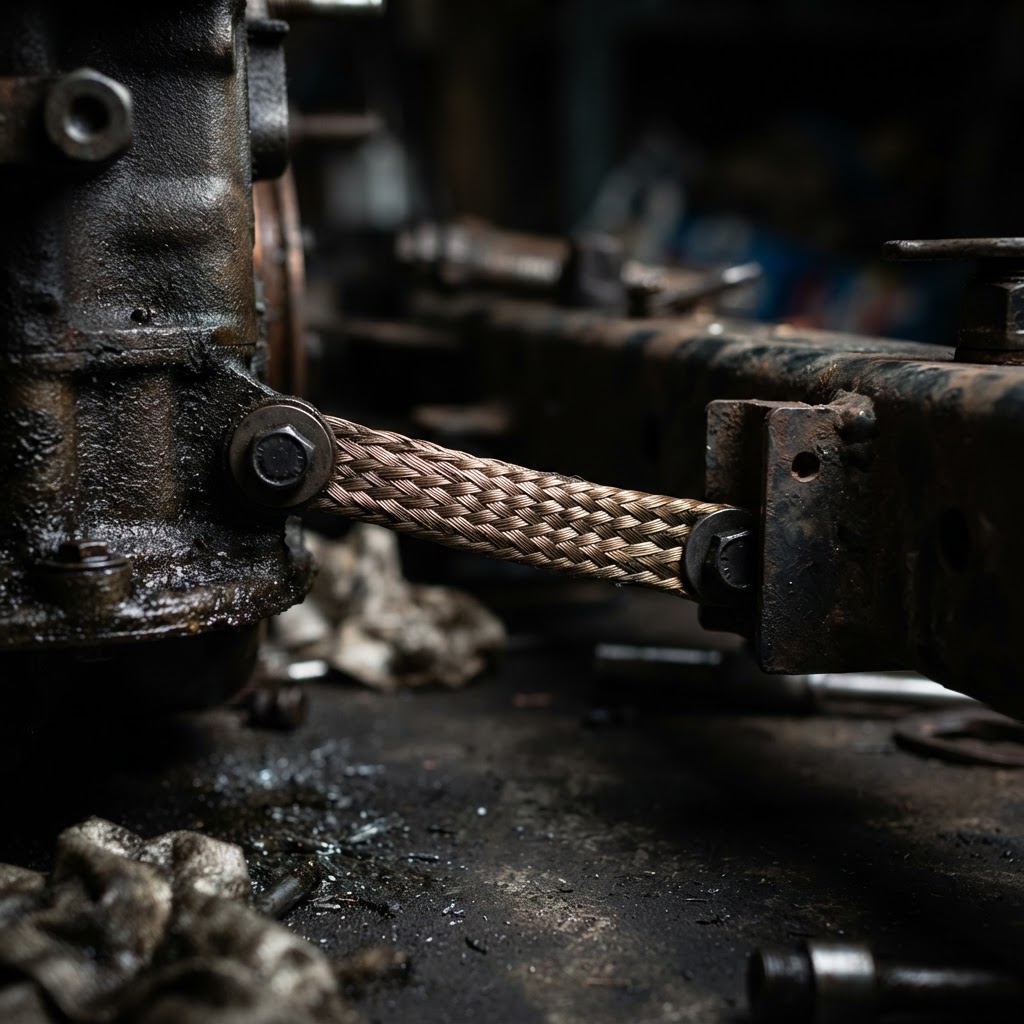
Engine Chassis Ground Strap
Corrosion on the ground strap disrupts the return path for the ECU and fuel pump, necessitating a new high-amperage cable to ensure reliable electrical integrity.
EFI Main Fuse and Relay Kit
Replacing the specific fuel pump relay and fuse ensures the fuel system receives consistent voltage after initial testing reveals electrical supply intermittency.
Affiliate Disclosure: Lil Engine may earn commissions from qualifying purchases.
Pro Tips from the Community
Real-world fixes from Reddit, YouTube & forums.
"If the Mule has been sitting, the fuel pump can 'stick.' Tap the bottom of the fuel tank with a rubber mallet while someone cycles the key; this often jars the pump back to life."
TractorByNet Forum"Check the wiring harness near the throttle body for 'rub through' spots. The vibration of the 3-cylinder engine can cause wires to fray against the frame, shorting out the fuel injector signals."
Reddit r/UTV"Always check the 'Seatbelt Limiter'—on some FXT models, if the driver's belt isn't clicked, the EFI will allow cranking but will cut fuel delivery to prevent driving unbuckled."
YouTube commentsPrevent This From Coming Back
Use a high-quality fuel stabilizer during every fill-up to prevent ethanol degradation
Apply dielectric grease to all accessible electrical connectors in the engine bay annually
Perform a battery load test every spring to ensure the ECU receives consistent voltage
Replace the fuel pump filter assembly if the vehicle has sat for more than six months
Prevent This From Happening Again
While you're fixing it, stock up on the maintenance essentials that keep your small engines running right.
Spark Plug
The cheapest, fastest fix for most small engine starting problems.
Get on AmazonCarburetor Cleaner
Cleaning the carb is the #1 fix for surging and stalling engines.
Get on AmazonFuel Stabilizer
Prevents the stale fuel problems that cause most seasonal no-starts.
Get on AmazonAffiliate Disclosure: Lil Engine may earn commissions from qualifying purchases.
Frequently Asked Questions
Standard OBD2 scanners will not work because the Kawasaki EFI system uses a proprietary diagnostic protocol. You need the Kawasaki Diagnostic Tool or a compatible aftermarket scanner designed for powersports.
Video Help
Helpful videos showing these repairs in action.
Share Your Repair
Real-world fixes help everyone. Share what worked and your repair becomes part of Lil Engine's community database.
Related Problems
More Small Engines GuidesRelated Maintenance Articles
Related Symptoms
Won’t Start
No Spark / Ignition
Related Searches
Kawasaki small engine Guides
Did this help?
Your feedback helps improve guides for everyone.