Powerhorse Generator Cranks But Won't Start — Fuel & Spark Fix
⚡ Quick Answer
If your Powerhorse generator cranks but won't fire, first verify the oil level, as the low-oil sensor will kill ignition even if the engine turns over. Next, check for spark by pulling the plug and grounding it against the block, and ensure fresh fuel is reaching the carburetor. If the engine has been sitting, the pilot jet in the carburetor is likely clogged and requires cleaning.
What do you want to do?
Most Likely Cause
Low Oil Level Sensor
Powerhorse engines feature a low-oil shutdown sensor that grounds the ignition circuit. Even if the engine cranks, it will not produce spark if the oil is below the threshold. Always check the dipstick on level ground before assuming an ignition failure.
Start here — this is the most common reason for this symptom.
Before You Buy Parts
Quick, free inspections — check these first. Most repairs don't actually need replacement parts.
Complete Resource Guide
Complete Small Engines Troubleshooting Guide
Repair Overview
45–90 minutes
$10–$30
First Checks — Start Here
- 1Check engine oil level — add oil if low, as the sensor prevents ignition
- 2Verify fuel valve is in the ON position and fuel is fresh
- 3Perform a spark test — ground the plug to the engine block and pull the recoil
- 4Spray a small amount of starting fluid into the air intake — if it fires, you have a fuel delivery issue
- 5Drain the carburetor bowl using the drain screw to check for water or debris
Safety Warnings
- !Never attempt to bypass the oil sensor permanently; it is a critical safety feature to prevent engine seizure.
- !Hold the plug wire by the insulated boot only to avoid a high-voltage shock.
- !Do not over-spray starting fluid, as it can cause internal engine damage if used excessively.
- !Work in a well-ventilated area and keep a fire extinguisher nearby when handling fuel systems.
- !Do not run the engine without an air filter, as dust ingestion will cause rapid cylinder wear.
- !Forgetting to turn the fuel valve back to the ON position after maintenance.
- !Assuming the spark plug is good just because it looks clean; always perform a spark test.
Always disconnect the spark plug, work in a well-ventilated area, and consult a professional if unsure.
Most Likely Causes
Ranked by likelihood — tap each to see diagnosis details.
Powerhorse engines feature a low-oil shutdown sensor that grounds the ignition circuit. Even if the engine cranks, it will not produce spark if the oil is below the threshold. Always check the dipstick on level ground before assuming an ignition failure.
Small engines are highly sensitive to stale fuel, which leaves varnish deposits in the tiny pilot jet. This prevents the engine from drawing fuel at idle or starting speeds. You must remove the carburetor bowl and clean the jet with a thin wire or compressed air.
🔧 Step-by-Step Fix Guide
Verify Oil Level and Sensor
Ensure the generator is on level ground and the oil is filled to the top of the threads. If the oil is full but the engine still won't fire, disconnect the single wire leading from the oil sensor to the engine block to rule out a faulty sensor grounding the ignition.
Never attempt to bypass the oil sensor permanently; it is a critical safety feature to prevent engine seizure.
Perform Spark Test
Remove the spark plug using a 13/16" or 5/8" socket. Reconnect the plug wire, hold the metal base of the plug firmly against a clean, unpainted metal part of the engine block, and pull the recoil. You should see a bright blue, crisp spark; a weak yellow or orange spark indicates a failing ignition coil.
Hold the plug wire by the insulated boot only to avoid a high-voltage shock.
Test Fuel Delivery
Remove the air filter and spray a 2-second burst of starting fluid into the intake. If the engine fires briefly, the issue is confirmed as fuel starvation. If it does not fire, re-verify your spark and compression.
Do not over-spray starting fluid, as it can cause internal engine damage if used excessively.
Clean Carburetor Jets
Remove the carburetor bowl (usually held by a 10mm bolt). Use a small wire to clear the center brass jet and the pilot jet located in the center tower. Ensure the float moves freely and the needle valve is not stuck in the closed position.
Work in a well-ventilated area and keep a fire extinguisher nearby when handling fuel systems.
Check Air Intake
Inspect the air filter for heavy oil saturation or debris. A restricted filter will cause an overly rich mixture that prevents starting. Replace the filter if it is dirty or damaged.
Do not run the engine without an air filter, as dust ingestion will cause rapid cylinder wear.
What To Test Next
If fuel delivery checks out, the next thing to inspect is spark — remove the spark plug, ground its threads to the engine block, and crank the engine to look for a visible blue spark.
Component Reference

Carburetor & Fuel Intake
The carburetor mixes air and fuel for combustion. A clogged jet or stuck float is the #1 cause of small engine starting and surging problems.

Spark Plug & Ignition System
The spark plug ignites the air-fuel mixture. A fouled plug, wrong gap, or failing ignition coil will prevent the engine from firing.

Oil & Lubrication System
Regular oil changes are critical. Low or dirty oil causes engine wear, overheating, and eventual seizure. Check the dipstick before every season.

Air Filter & Intake
A clogged air filter starves the engine of air, causing rich running, power loss, and hard starting. Inspect and clean or replace it each season.
Photos for educational reference. Actual parts may vary by make and model.
Common Mistakes to Avoid
Using starting fluid while the air filter is still installed (it can soak the filter and restrict air).
Forgetting to turn the fuel valve back to the ON position after maintenance.
Over-tightening the carburetor bowl bolt, which can crack the bowl or strip the threads.
Assuming the spark plug is good just because it looks clean; always perform a spark test.
If This Didn't Fix It
Still having trouble? These are the next things to check:
Get the Exact Parts for Your Machine
Tell us your equipment's year, make, and model — we'll search for parts that actually fit, not generic ones.
Finding parts for
powerhorse
Required Gear
Matched to your powerhorse — click to find the exact fit on Amazon.
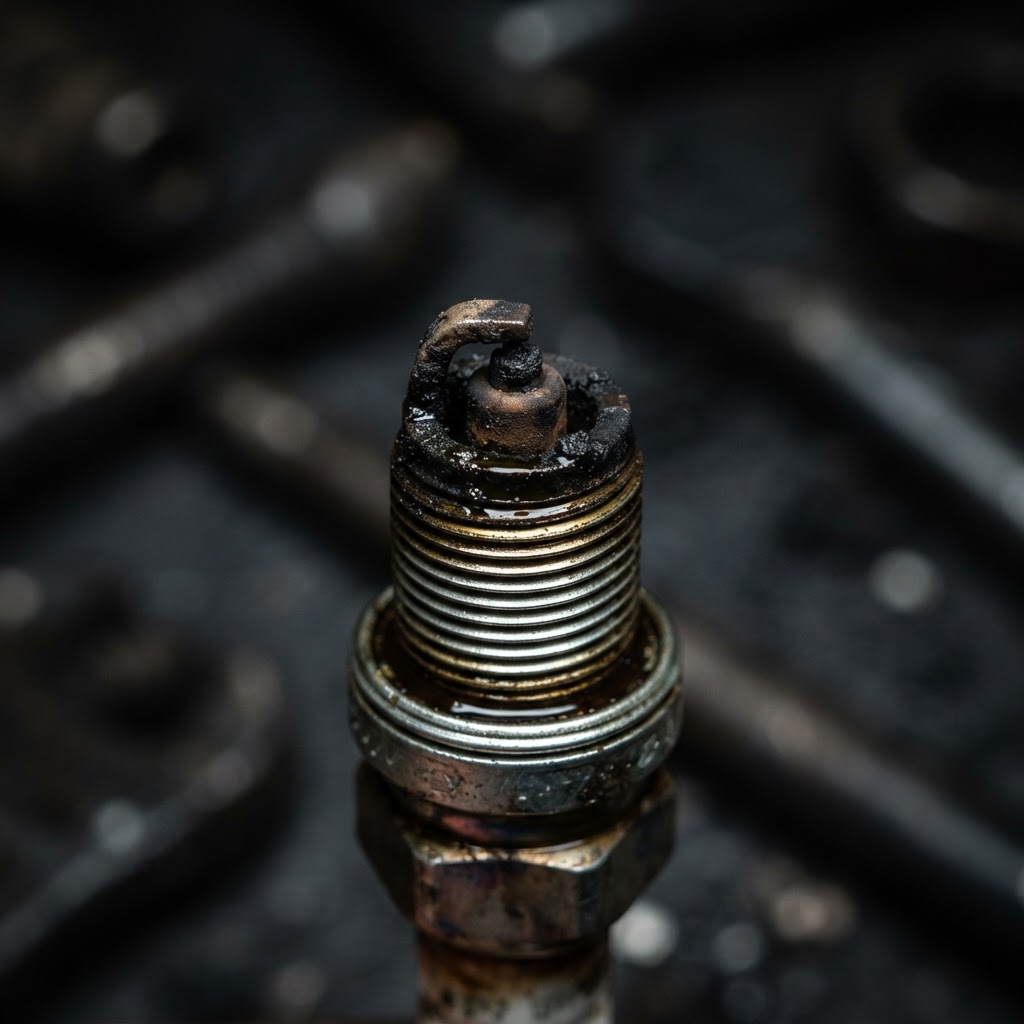
Spark Plug
Essential for testing and replacing a fouled ignition source. Look for the specific heat range recommended in your manual (e.g., F7TC).
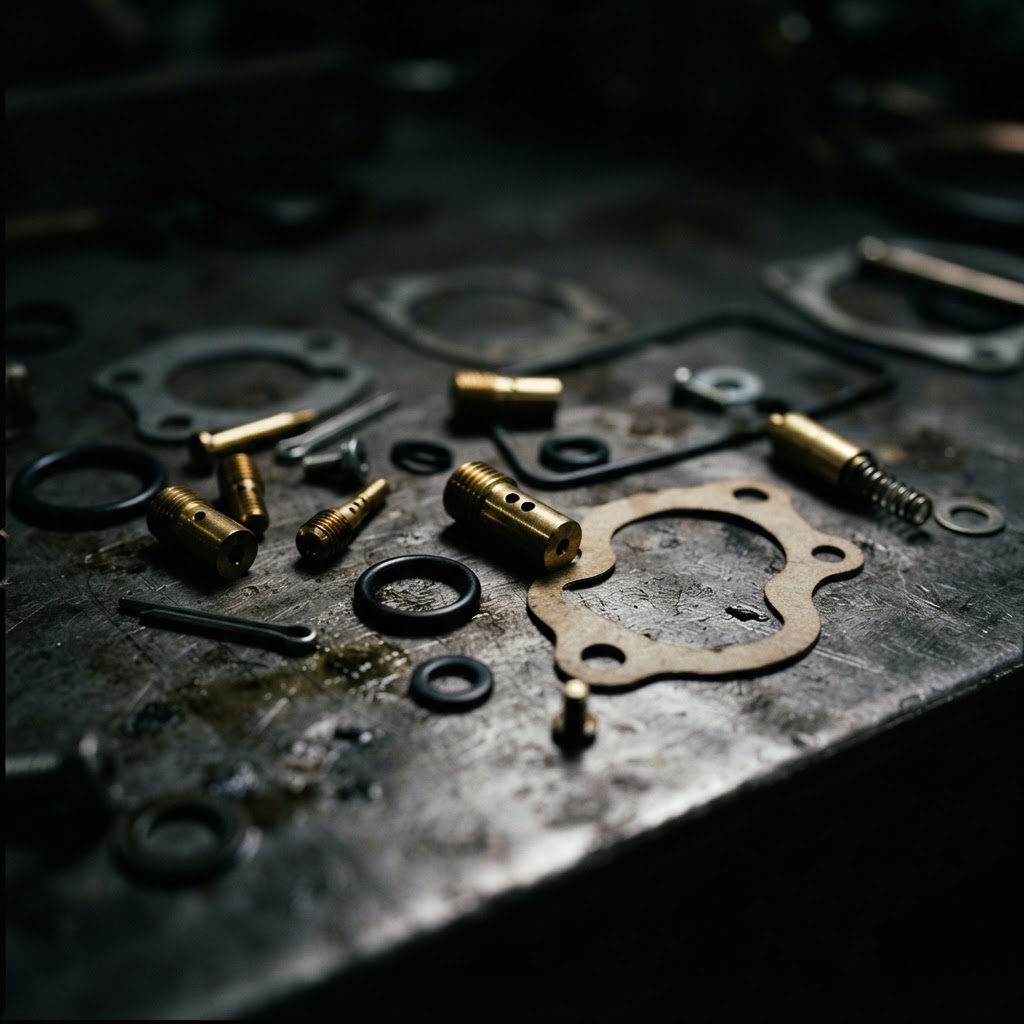
Carburetor Rebuild Kit
Contains new gaskets, needle, and jets necessary for fixing fuel starvation issues. Ensure it matches your specific engine displacement (e.g., 212cc).
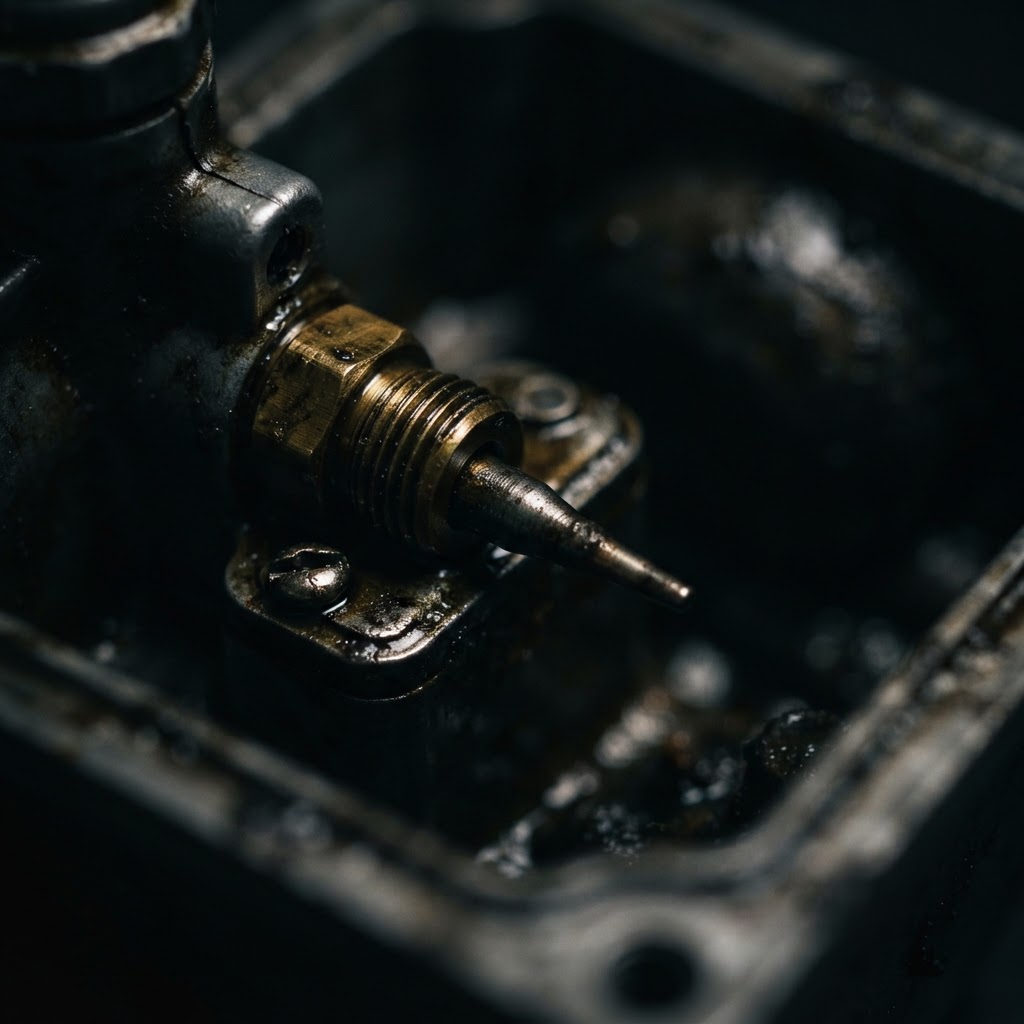
Carburetor Cleaner
Used to dissolve varnish and clear internal passages in the carburetor. Use a spray with a straw attachment for precision cleaning.
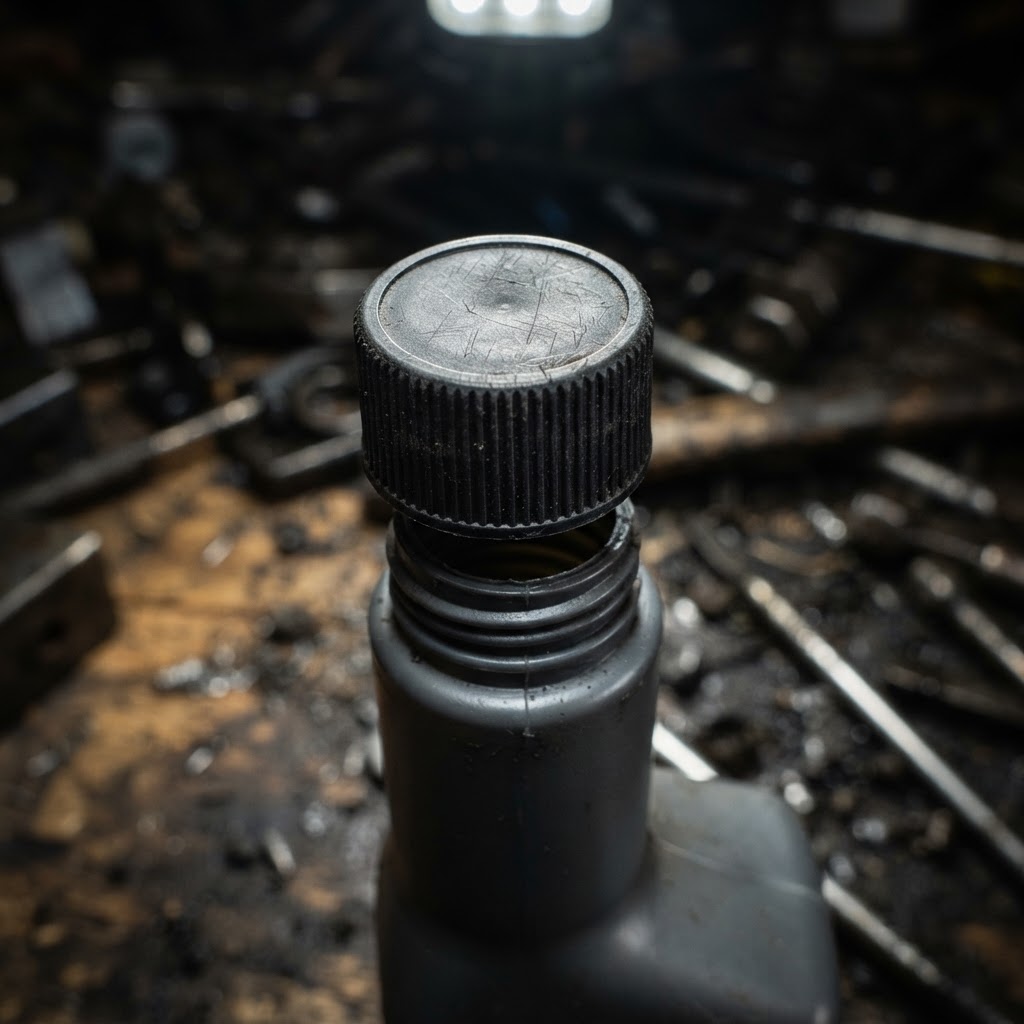
Fuel Stabilizer
Prevents fuel degradation during storage, which is the primary cause of starting issues in generators. Add to every fuel can.
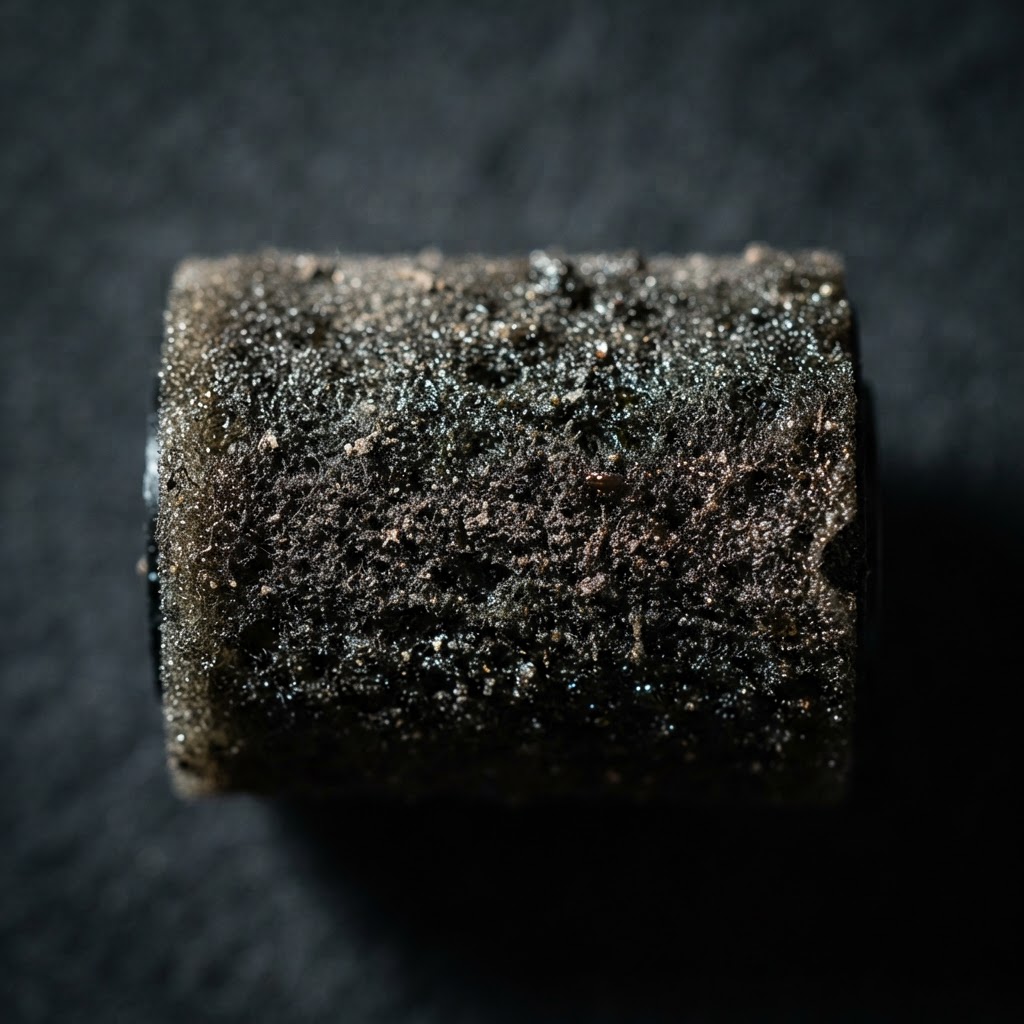
Air Filter
Ensures proper air-to-fuel ratio for reliable starting. Replace annually or if visibly dirty.
Affiliate Disclosure: Lil Engine may earn commissions from qualifying purchases.
Pro Tips from the Community
Real-world fixes from Reddit, YouTube & forums.
"If the engine fires on starting fluid but dies immediately, the pilot jet is 100% the culprit. Don't waste time adjusting the carb; just clean the jet."
TractorByNet Forum"Always drain the carburetor bowl if you aren't going to run the generator for more than two weeks. It saves hours of troubleshooting later."
YouTube comments"Check the oil level sensor wire; sometimes it vibrates loose or gets pinched, causing a no-start condition even with full oil."
DoItYourself.com ForumPrevent This From Coming Back
Add fuel stabilizer to all gasoline stored for more than 30 days.
Run the generator under load for 15 minutes every month to keep the fuel system clear.
Change the engine oil every 25–50 hours of operation.
Clean or replace the air filter at the start of every season.
Prevent This From Happening Again
While you're fixing it, stock up on the maintenance essentials that keep your small engines running right.
Spark Plug
The cheapest, fastest fix for most small engine starting problems.
Get on AmazonCarburetor Cleaner
Cleaning the carb is the #1 fix for surging and stalling engines.
Get on AmazonFuel Stabilizer
Prevents the stale fuel problems that cause most seasonal no-starts.
Get on AmazonAffiliate Disclosure: Lil Engine may earn commissions from qualifying purchases.
Frequently Asked Questions
This is almost always a fuel delivery issue (clogged jet) or an ignition issue (low oil sensor or bad spark plug).
Video Help
Helpful videos showing these repairs in action.
Share Your Repair
Real-world fixes help everyone. Share what worked and your repair becomes part of Lil Engine's community database.
Related Problems
More Small Engines GuidesRelated Maintenance Articles
Related Symptoms
Won’t Start
Carburetor / Fuel Issues
Related Searches
Small Engines Troubleshooting
Did this help?
Your feedback helps improve guides for everyone.