Honda Rancher 420 Cranks But Won't Start — Fuel & Spark Diagnosis
⚡ Quick Answer
On the fuel-injected Honda Rancher 420 (TRX420), first verify if the fuel pump 'primes' with a 2-second hum when the key is turned to ON; if silent, the issue is likely the fuel pump relay or the pump itself. Next, perform a spark test using an NGK BKR5E-11 plug to rule out ignition coil failure. Because these are PGM-FI machines, a common hidden culprit is a tripped Bank Angle Sensor or a clogged fuel injector due to stale ethanol fuel.
What do you want to do?
Most Likely Cause
Fuel Pump Failure or Blockage
The Rancher 420 fuel pump resides inside the tank and is prone to burning out if run dry or clogged with sediment. Use a fuel pressure gauge on the quick-connect fitting to check for 43-50 PSI; if zero, the pump or relay is toast.
Start here — this is the most common reason for this symptom.
Why This Problem Happens
The Honda Rancher 420 utilizes a sophisticated Programmed Fuel Injection (PGM-FI) system that relies on precise sensor feedback to synchronize fuel delivery and spark timing. When the engine cranks but fails to ignite, it indicates a failure in the 'fire triangle'—specifically, the ECU is either failing to trigger the injector, the fuel pump is failing to maintain the required 43-50 PSI, or the ignition system is failing to bridge the gap at the spark plug. Because the 420 is an EFI system, even a slight voltage drop from a weak battery can prevent the ECU from firing the injector pulse width, even if the starter motor has enough current to turn the crankshaft. Furthermore, these machines are sensitive to fuel quality; moisture or phase-separated ethanol sitting in the fuel rail can corrode the delicate filter screens or seize the pintle inside the injector. The diagnostic process focuses on isolating whether the failure is electrical (missing signal to the spark/fuel) or mechanical (low pressure or lack of combustion). By identifying if the fuel pump primes upon turning the key to the 'On' position, you can immediately determine if the ECU is powering the fuel system or if a harness break exists.
Common Symptoms
- Fuel pump fails to hum when the key is turned on
- Spark plug is bone dry after repeated cranking
- Engine backfires sporadically through the intake
- Fuel Injection (FI) malfunction light flashes a code
- Cranking speed is normal but ignition never occurs
Before You Buy Parts
Quick, free inspections — check these first. Most repairs don't actually need replacement parts.
Complete Resource Guide
Complete Small Engines Troubleshooting Guide
Brand Resource Hub
The Ultimate Honda Small Engine Repair & Service Hub
Repair Overview
1–3 hours
$20–$150
First Checks — Start Here
- 1Listen for the 2-second fuel pump 'prime' hum when turning the key to ON
- 2Check the 15A Fuel Pump/Ignition fuse in the main fuse block
- 3Check for blinking FI codes on the digital dash display
- 4Verify battery voltage is at least 12.4V (low voltage can crank but not fire EFI)
- 5Inspect spark plug for fuel fouling or carbon tracking
- 6Ensure the Bank Angle Sensor is securely mounted in its upright position
Safety Warnings
- !Ensure the ATV is in neutral and the parking brake is set before performing any electrical checks.
- !Use insulated pliers to hold the plug to prevent a high-voltage shock.
- !Keep a fire extinguisher nearby; fuel will escape during connection and disconnection.
- !Do not attempt to bypass this sensor permanently, as it is a critical safety feature.
- !Ensure no fuel vapors are present in the immediate area when dealing with spark-producing test tools.
- !Disconnect the battery negative terminal before performing major wiring repairs.
- !Guessing it's the spark plug without testing for injector pulse
- !Using cheap, non-OE fuel pumps that don't maintain the exact 45 PSI specification
- !Spraying starting fluid directly into the throttle body without checking for fuel flow first
Always disconnect the spark plug, work in a well-ventilated area, and consult a professional if unsure.
Most Likely Causes
Ranked by likelihood — tap each to see diagnosis details.
The Rancher 420 fuel pump resides inside the tank and is prone to burning out if run dry or clogged with sediment. Use a fuel pressure gauge on the quick-connect fitting to check for 43-50 PSI; if zero, the pump or relay is toast.
If the ATV was tipped or parked on a steep incline, the Bank Angle Sensor cuts power to the fuel system for safety. Check the sensor mount under the rear fender to ensure it is upright and has not failed internally.
🔧 Step-by-Step Fix Guide
Perform a Prime-Cycle Test
Turn the ignition to 'ON' and listen for the high-pitched whine of the fuel pump for three seconds. If silence prevails, check the fuse box for a blown fuel pump fuse or a faulty PGM-FI relay.
Ensure the ATV is in neutral and the parking brake is set before performing any electrical checks.
Test for Spark
Remove the spark plug, reattach the cap, and ground the threads against the cylinder head while cranking. You must see a crisp, blue arc; a weak yellow spark is insufficient for the high-compression 420 engine.
Use insulated pliers to hold the plug to prevent a high-voltage shock.
Measure Fuel Pressure
Tee a pressure gauge into the fuel line between the pump and the throttle body. A reading below 40 PSI indicates a failing pump or a leaking fuel pressure regulator.
Keep a fire extinguisher nearby; fuel will escape during connection and disconnection.
Verify Bank Angle Sensor State
Locate the sensor and ensure the arrow is pointing up. If it is correctly positioned, use a multimeter to check for continuity across the sensor pins to verify it hasn't failed in an open state.
Do not attempt to bypass this sensor permanently, as it is a critical safety feature.
Check Injector Pulse
Use a 'noid' light connected to the injector harness. If the light flashes while cranking, your ECU and wiring are good, confirming the issue is a physical fuel blockage.
Ensure no fuel vapors are present in the immediate area when dealing with spark-producing test tools.
Inspect the Main Wiring Harness
Look for mouse damage or chaffing near the steering stem and under the seat. Many 'crank no start' issues on 420s are caused by broken wires within the loom.
Disconnect the battery negative terminal before performing major wiring repairs.
What To Test Next
If fuel delivery checks out, the next thing to inspect is spark — remove the spark plug, ground its threads to the engine block, and crank the engine to look for a visible blue spark.
Component Reference

Carburetor & Fuel Intake
The carburetor mixes air and fuel for combustion. A clogged jet or stuck float is the #1 cause of small engine starting and surging problems.

Spark Plug & Ignition System
The spark plug ignites the air-fuel mixture. A fouled plug, wrong gap, or failing ignition coil will prevent the engine from firing.

Oil & Lubrication System
Regular oil changes are critical. Low or dirty oil causes engine wear, overheating, and eventual seizure. Check the dipstick before every season.

Air Filter & Intake
A clogged air filter starves the engine of air, causing rich running, power loss, and hard starting. Inspect and clean or replace it each season.
Photos for educational reference. Actual parts may vary by make and model.
Common Mistakes to Avoid
Guessing it's the spark plug without testing for injector pulse
Ignoring the FI light blink code (this is a literal service manual instruction)
Using cheap, non-OE fuel pumps that don't maintain the exact 45 PSI specification
Spraying starting fluid directly into the throttle body without checking for fuel flow first
If This Didn't Fix It
Still having trouble? These are the next things to check:
Get the Exact Parts for Your Machine
Tell us your equipment's year, make, and model — we'll search for parts that actually fit, not generic ones.
Finding parts for
Honda Rancher 420 cranks but
Required Gear
Matched to your Honda Rancher 420 cranks but — click to find the exact fit on Amazon.
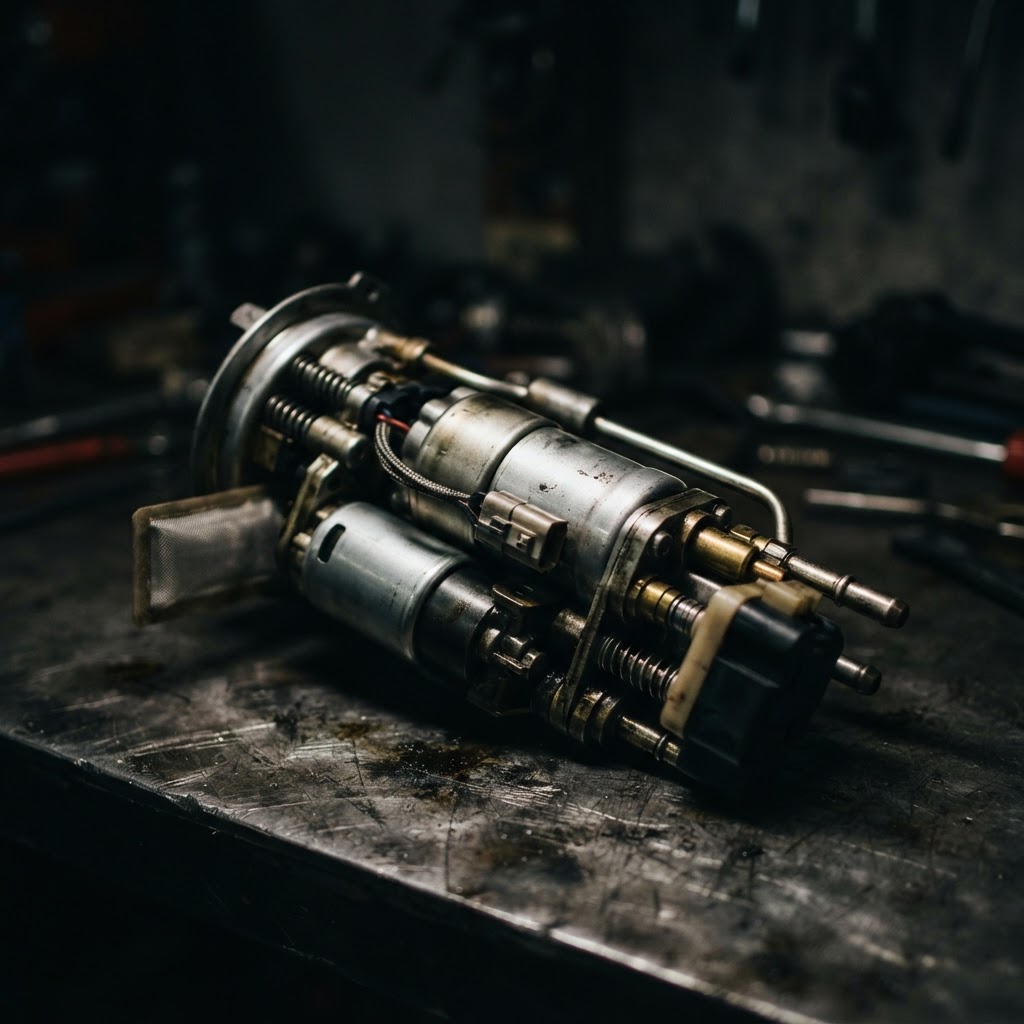
Fuel Pump Assembly
If the prime-cycle test fails or fuel pressure is insufficient, the internal pump motor or check valve has likely failed and requires full unit replacement.
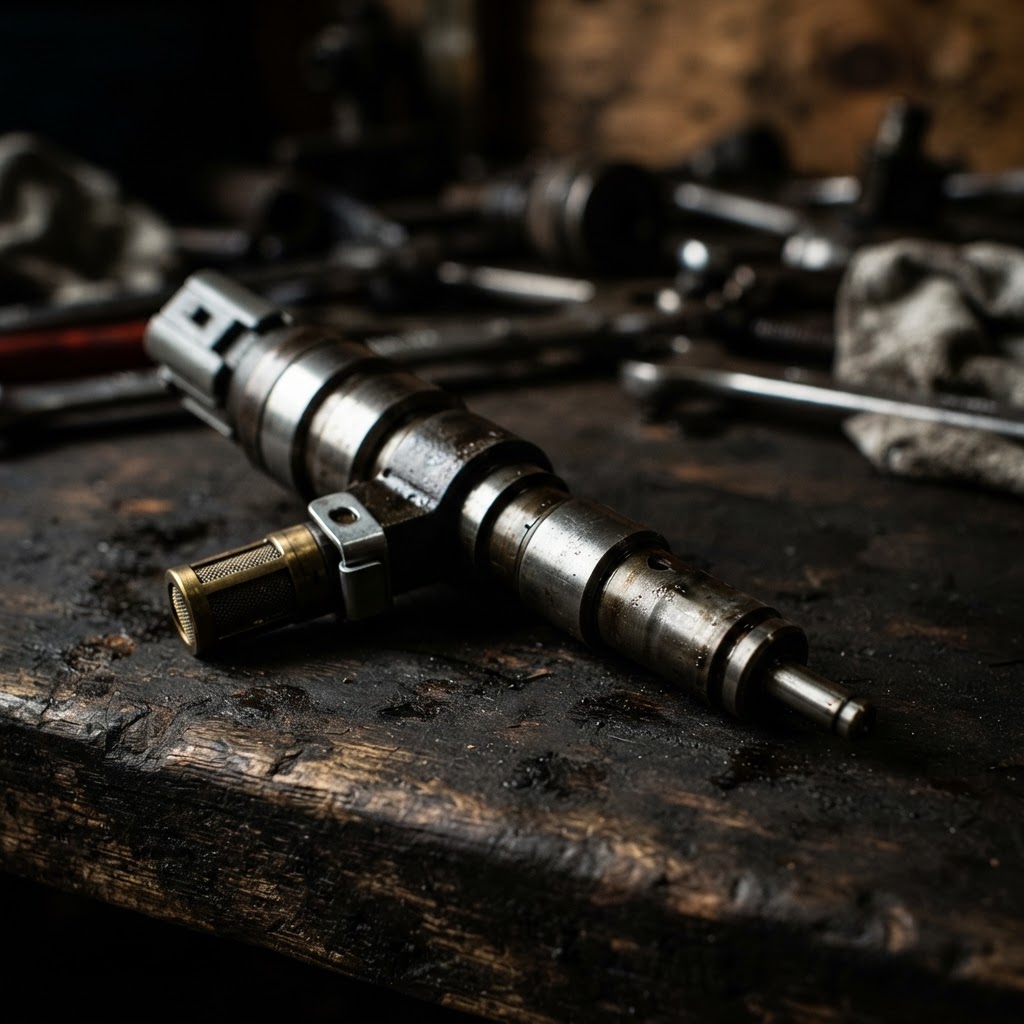
Fuel Injector
If the injector is confirmed to have electrical pulse but remains clogged or stuck, a direct replacement is necessary to restore proper fuel atomization to the combustion chamber.
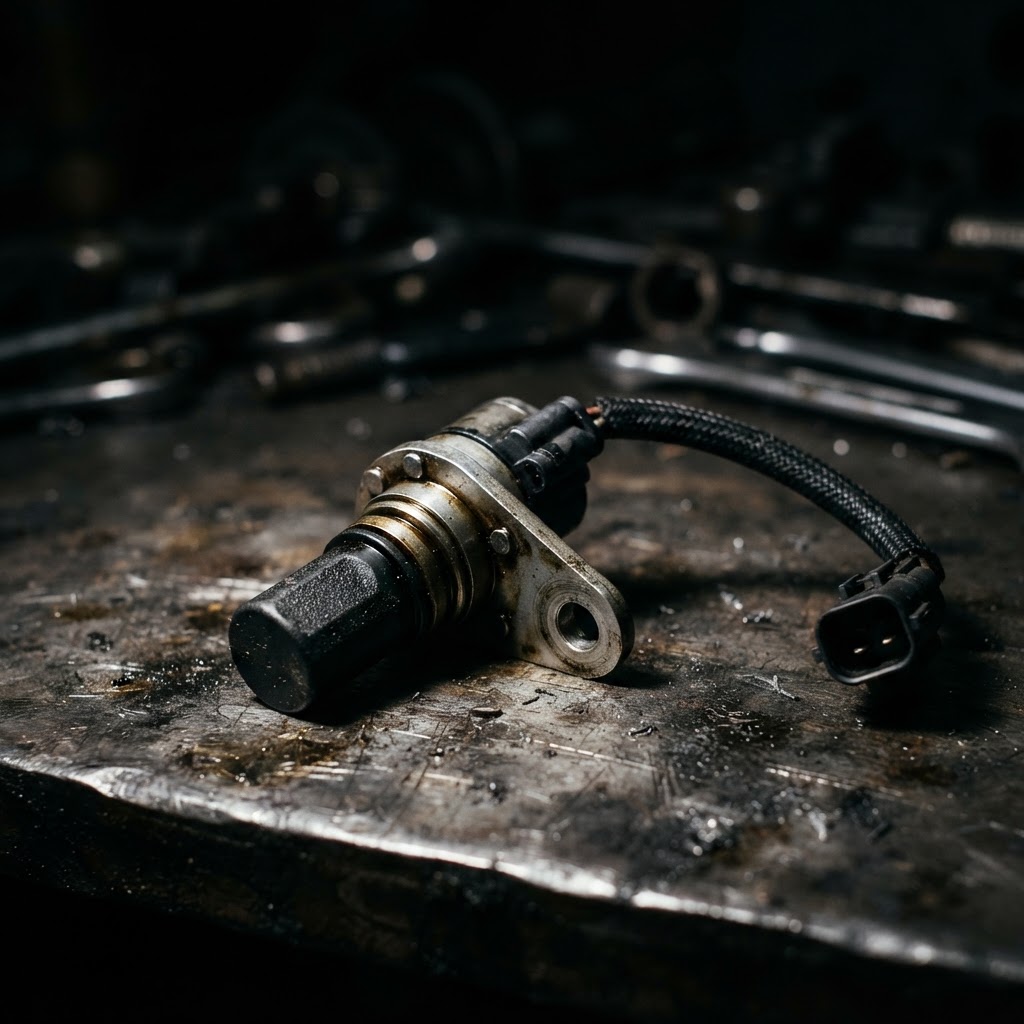
Crankshaft Position Sensor
A faulty CKP sensor prevents the ECU from signaling the ignition system, and replacing it is the definitive fix when there is no spark during the diagnostic test.
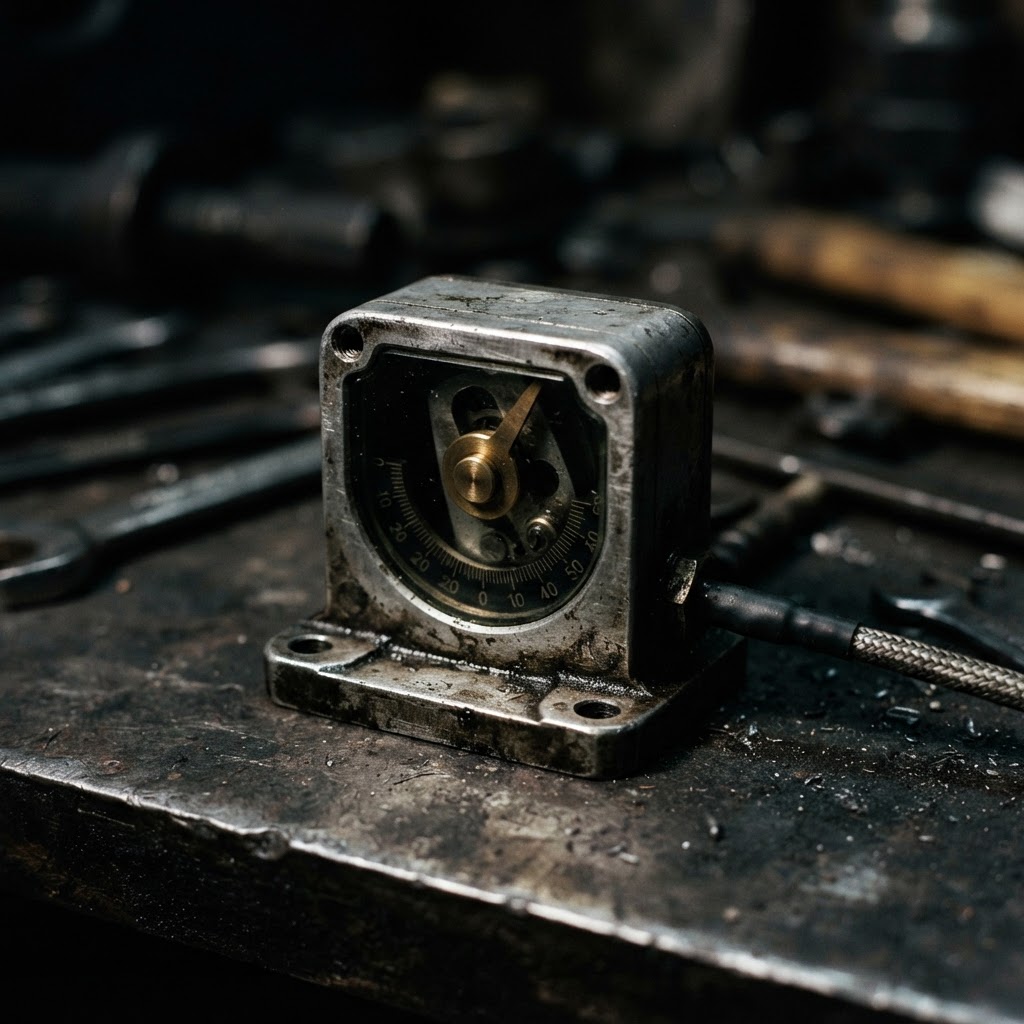
Bank Angle Sensor
If the sensor fails internally and continuously sends a trip signal, it will cut ignition circuit power to the fuel pump and coil, requiring a new sensor to bypass the permanent kill state.
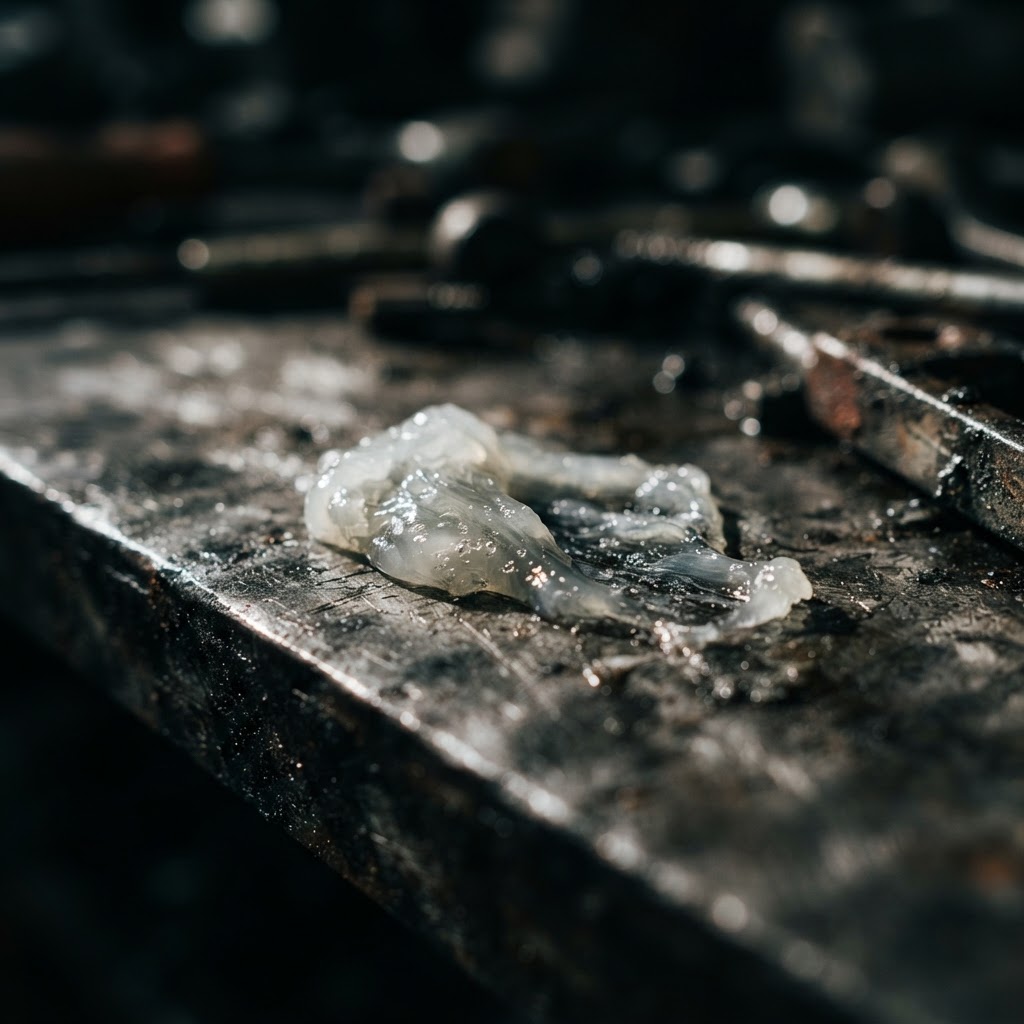
Dielectric Grease
This is a repair-specific consumable needed to protect the connectors of the new wiring harness or the cleaned ECU terminals from the corrosion that originally caused the starting issue.
Affiliate Disclosure: Lil Engine may earn commissions from qualifying purchases.
Pro Tips from the Community
Real-world fixes from Reddit, YouTube & forums.
"The fuel pump on the Rancher 420 is prone to locking up if the quad sits. Sometimes you can 'shock' it back to life by tapping the bottom of the fuel tank with a rubber mallet while someone cycles the key."
HondaForeman.com Forum"Check the wiring harness near the steering stem. Constant turning can rub the insulation off the wires leading to the ignition switch, causing an intermittent short that kills the engine."
Reddit r/ATV"If your battery is just slightly weak (around 12.0V), the starter will spin the engine fast enough to sound normal, but the ECU won't have enough voltage to trigger the fuel injector. Charge the battery overnight before replacing parts."
YouTube commentsPrevent This From Coming Back
Use a high-quality fuel stabilizer during every fill-up to prevent ethanol phase separation
Apply dielectric grease to all electrical harness connectors annually to prevent corrosion
Replace the fuel filter strainer located inside the tank every 2,000 miles
Keep the battery on a maintenance tender to ensure the ECU sees consistent voltage during cranking
Prevent This From Happening Again
While you're fixing it, stock up on the maintenance essentials that keep your small engines running right.
Spark Plug
The cheapest, fastest fix for most small engine starting problems.
Get on AmazonCarburetor Cleaner
Cleaning the carb is the #1 fix for surging and stalling engines.
Get on AmazonFuel Stabilizer
Prevents the stale fuel problems that cause most seasonal no-starts.
Get on AmazonAffiliate Disclosure: Lil Engine may earn commissions from qualifying purchases.
Frequently Asked Questions
Yes. Even if the starter turns, if the voltage drops below 10.5V during the load of cranking, the ECU may shut down the fuel injection sequence.
Video Help
Helpful videos showing these repairs in action.
Share Your Repair
Real-world fixes help everyone. Share what worked and your repair becomes part of Lil Engine's community database.
Related Problems
More Small Engines GuidesRelated Maintenance Articles
Related Symptoms
Won’t Start
Related Searches
Honda small engine Guides
Did this help?
Your feedback helps improve guides for everyone.