Predator 212 Engine Won't Start
⚡ Quick Answer
The most common reasons a Predator 212 engine won't start are stale fuel or a dirty carburetor. Start by checking your fuel level, verifying the ignition switch is on, and ensuring the fuel valve is open.
What do you want to do?
Most Likely Cause
Clogged Pilot Jet
The pilot jet has a very small orifice prone to gumming from ethanol fuel. Remove the carburetor bowl and use a dedicated wire cleaning tool to ensure the passage is perfectly clear.
Start here — this is the most common reason for this symptom.
Why This Problem Happens
The Predator 212cc engine, a clone of the Honda GX200, relies on a delicate balance of stoichiometric air-fuel ratios, precise ignition timing, and sufficient compression. When it fails to start, it is usually because the micro-passages within the Huayi or Ruixing carburetor have become obstructed by ethanol-blended fuel deposits, preventing fuel atomization. This engine is highly sensitive to the pilot jet orifice size; even a microscopic speck of varnish will lean out the mixture, causing a no-start condition or erratic surging.
Simultaneously, the ignition system utilizes a simple magneto-to-coil induction circuit. If the air gap between the flywheel magnet and the ignition coil is not set within the 0.010-0.015 inch tolerance, the induced voltage will not be sufficient to bridge the electrode gap on the spark plug under compression. Compounding this, the Predator 212 uses a splash-lubrication system tied to a low-oil sensor; if the sensor's float is stuck in the open position due to sludge, it will provide a permanent ground to the ignition coil, effectively killing the spark regardless of the switch position.
Common Symptoms
- Dry spark plug after multiple pulls
- Backfiring through the carburetor intake
- Zero resistance when pulling the recoil starter
- Spark plug shows heavy carbon fouling
- Engine fires briefly with starting fluid then dies
Before You Buy Parts
Quick, free inspections — check these first. Most repairs don't actually need replacement parts.
Complete Resource Guide
Complete Small Engines Troubleshooting Guide
Repair Overview
45–90 minutes
$10–$40
First Checks — Start Here
- 1Verify the engine oil level is full
- 2Check that the fuel shut-off valve is in the ON position
- 3Ensure the ignition switch is set to the ON position
- 4Inspect the spark plug wire for a firm connection
- 5Add fresh, high-quality gasoline to the tank
Safety Warnings
- !Hold the spark plug wire with insulated pliers to prevent an electrical shock.
- !Do not operate the engine long-term with this bypassed; verify your oil level manually.
- !Wear safety glasses when using pressurized air and solvent to prevent eye injury.
- !Ensure the engine is completely cold before adjusting valves to get an accurate reading.
- !Use a flywheel puller; never hammer directly on the crankshaft threads to remove the flywheel.
- !Keep the throttle held wide open while cranking for an accurate compression reading.
- !Using wire brushes that leave metal particles in the carburetor jets
- !Installing the spark plug without checking the gap (should be 0.030 inches)
- !Failing to drain the fuel tank before long-term storage
Always disconnect the spark plug, work in a well-ventilated area, and consult a professional if unsure.
Most Likely Causes
Ranked by likelihood — tap each to see diagnosis details.
The pilot jet has a very small orifice prone to gumming from ethanol fuel. Remove the carburetor bowl and use a dedicated wire cleaning tool to ensure the passage is perfectly clear.
If the gap between the flywheel and coil is too wide, the magneto cannot generate enough voltage to spark. Use a feeler gauge to set the gap between 0.010 and 0.015 inches.
🔧 Step-by-Step Fix Guide
Check for Spark
Remove the spark plug, reattach it to the boot, and ground the threads against the engine block. Pull the recoil while observing for a bright blue spark.
Hold the spark plug wire with insulated pliers to prevent an electrical shock.
Bypass the Oil Alert Sensor
Locate the yellow wire leading from the crankcase cover and unplug it. If the engine starts immediately, the internal float switch is faulty and needs replacement.
Do not operate the engine long-term with this bypassed; verify your oil level manually.
Carburetor Deep Clean
Remove the carburetor bowl and unscrew the emulsion tube and main jet. Soak the body in solvent and blow out all passages with compressed air.
Wear safety glasses when using pressurized air and solvent to prevent eye injury.
Verify Valve Lash
Ensure the intake and exhaust valves have 0.004-0.006 inch clearance at Top Dead Center on the compression stroke. Tight valves prevent the engine from building necessary compression.
Ensure the engine is completely cold before adjusting valves to get an accurate reading.
Inspect Flywheel Key
Remove the recoil housing and flywheel nut. Check if the notch in the flywheel is perfectly aligned with the keyway on the crankshaft.
Use a flywheel puller; never hammer directly on the crankshaft threads to remove the flywheel.
Check Compression
Use a compression tester in the spark plug hole. You should see at least 60-80 PSI on these engines due to the automatic decompression mechanism.
Keep the throttle held wide open while cranking for an accurate compression reading.
What To Test Next
If fuel delivery checks out, the next thing to inspect is spark — remove the spark plug, ground its threads to the engine block, and crank the engine to look for a visible blue spark.
Component Reference

Carburetor & Fuel Intake
The carburetor mixes air and fuel for combustion. A clogged jet or stuck float is the #1 cause of small engine starting and surging problems.

Spark Plug & Ignition System
The spark plug ignites the air-fuel mixture. A fouled plug, wrong gap, or failing ignition coil will prevent the engine from firing.

Oil & Lubrication System
Regular oil changes are critical. Low or dirty oil causes engine wear, overheating, and eventual seizure. Check the dipstick before every season.

Fuel System
Stale fuel is the most common cause of seasonal starting failures. Fuel breaks down in 30 days, leaving varnish that clogs carburetor jets and fuel filters.
Photos for educational reference. Actual parts may vary by make and model.
Common Mistakes to Avoid
Using wire brushes that leave metal particles in the carburetor jets
Over-tightening the carburetor mounting nuts, causing insulator cracking
Installing the spark plug without checking the gap (should be 0.030 inches)
Failing to drain the fuel tank before long-term storage
Using starting fluid excessively, which can wash oil off the cylinder walls
If This Didn't Fix It
Still having trouble? These are the next things to check:
Get the Exact Parts for Your Machine
Tell us your equipment's year, make, and model — we'll search for parts that actually fit, not generic ones.
Finding parts for
Predator 212 engine
Required Gear
Matched to your Predator 212 engine — click to find the exact fit on Amazon.
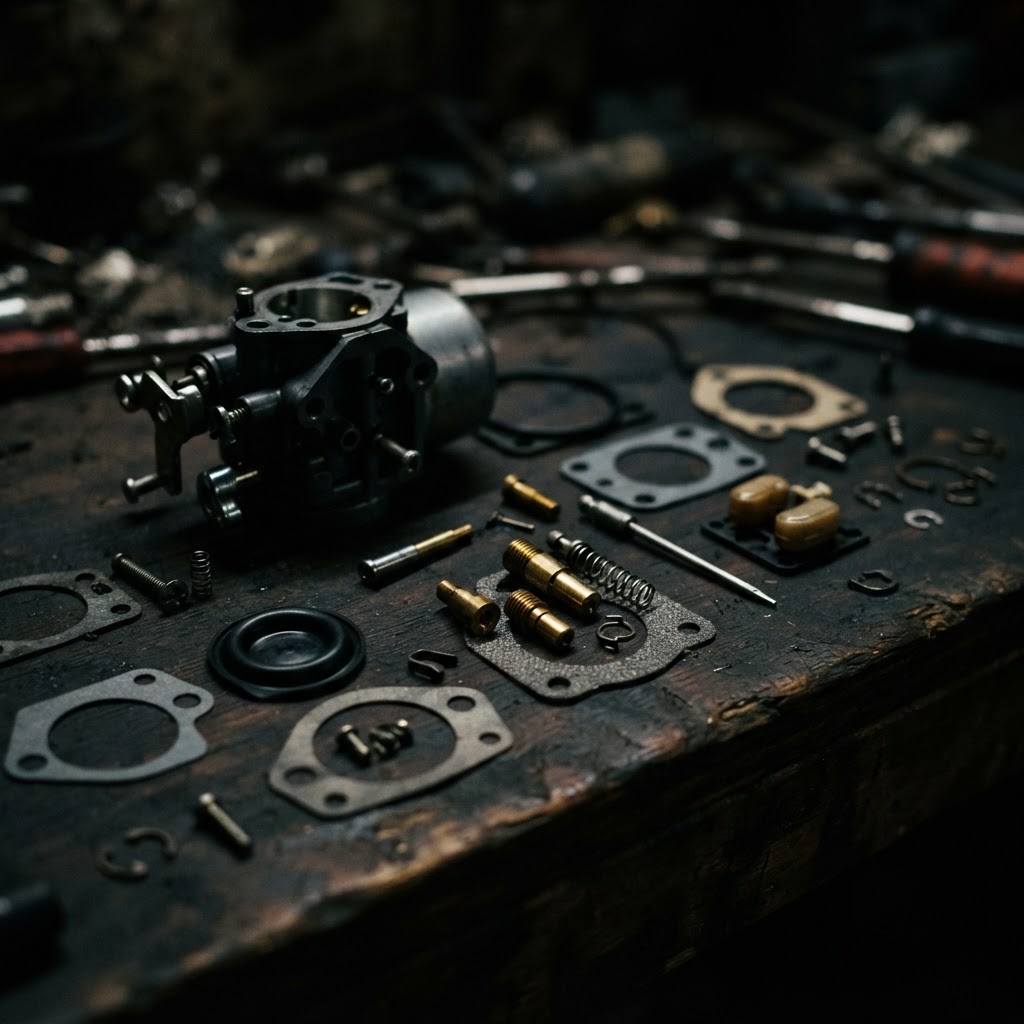
Predator 212cc Carburetor Rebuild Kit
This kit provides the necessary jets and gaskets required to perform the deep carburetor clean needed to resolve a clogged pilot jet.
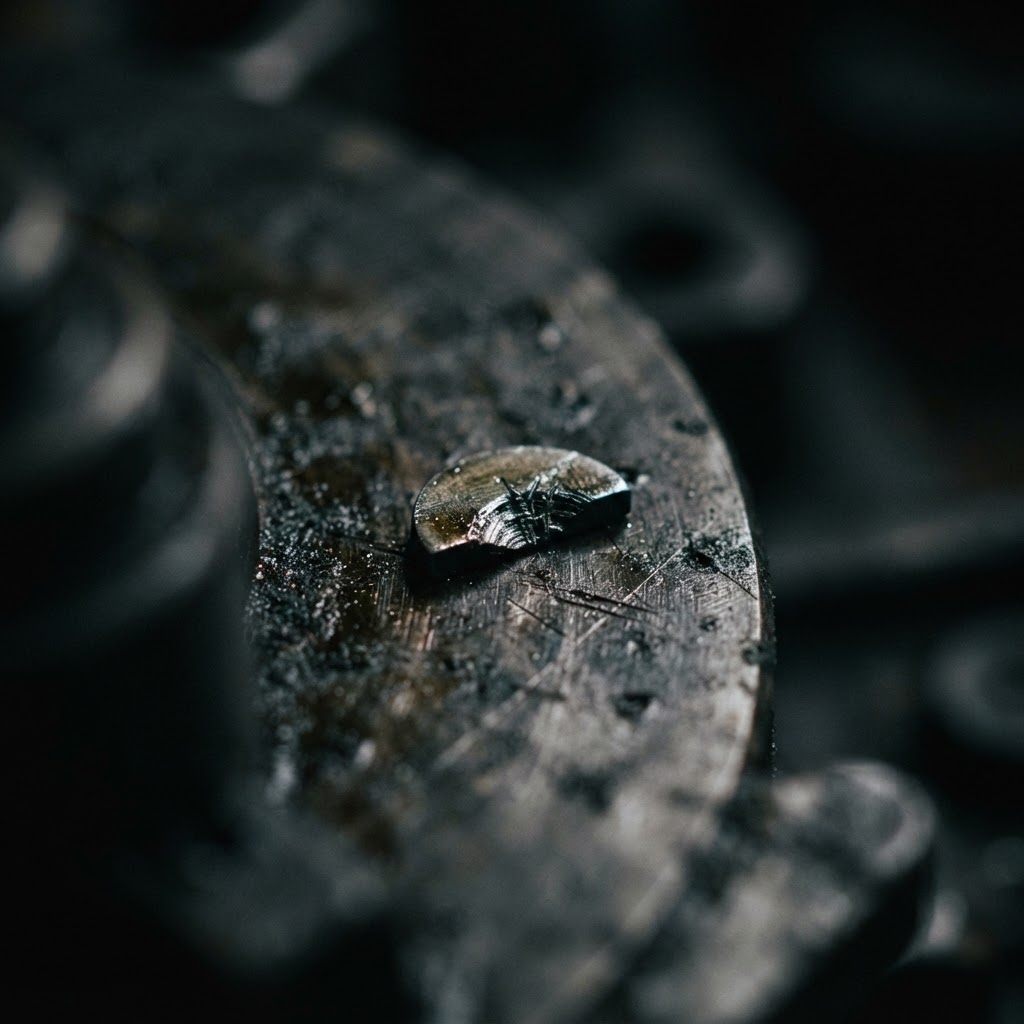
Flywheel Key
A sheared flywheel key prevents correct ignition timing; this part is essential for replacing the damaged component found during the inspection.
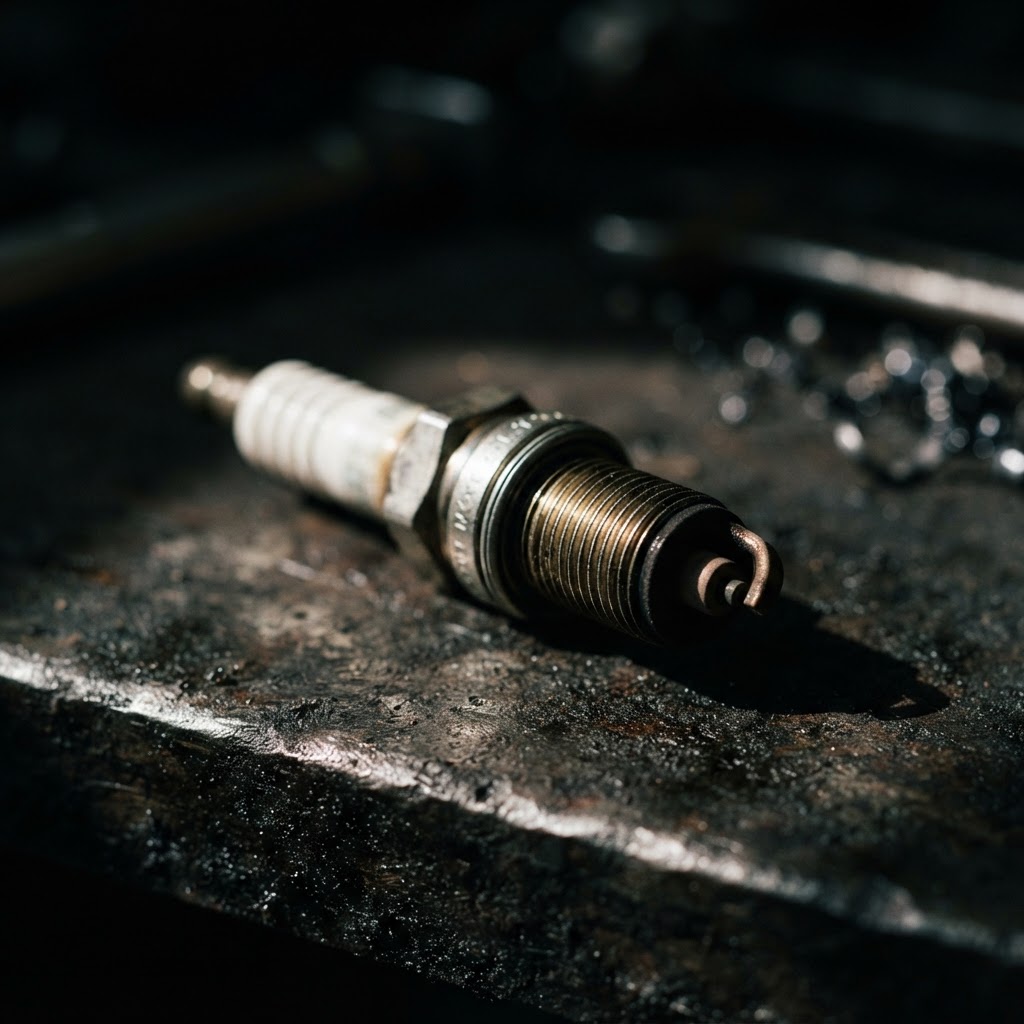
NGK Spark Plug
Often the culprit during a no-spark condition, replacing the plug ensures a consistent ignition source after verifying the coil air gap.
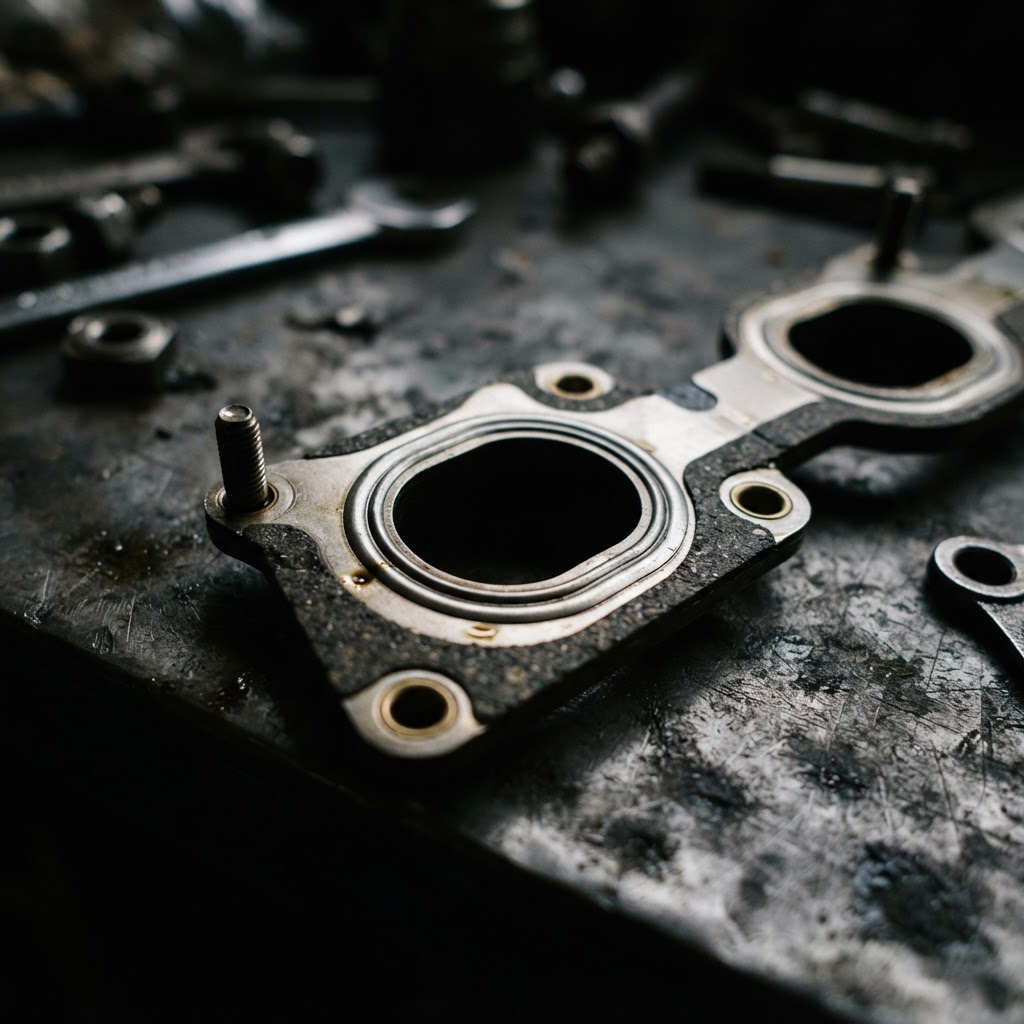
Intake Manifold Gasket Set
If the engine is suffering from air leaks, these gaskets are mandatory to seal the intake path and restore proper fuel-to-air ratios.
Affiliate Disclosure: Lil Engine may earn commissions from qualifying purchases.
Pro Tips from the Community
Real-world fixes from Reddit, YouTube & forums.
"Check the low oil sensor by unplugging the yellow wire coming from the block; if it starts immediately, the sensor is likely faulty or the oil level is too low."
Reddit r/smallengines"If it won't fire, spray a tiny amount of starting fluid directly into the spark plug hole instead of the intake; this bypasses a dirty carb and tells you instantly if you have compression and spark."
YouTube comments"Never trust the factory spark plug; swap it for an NGK BPR6ES immediately because the stock ones are notorious for failing right out of the box."
LawnSite.com Forum"If the engine kicks back during pull-starting, check your flywheel key; even a slight shearing will throw the timing off enough to prevent it from running."
DoItYourself.comPrevent This From Coming Back
Always use non-ethanol fuel with a high-quality fuel stabilizer
Change the oil every 50 hours using 10W-30 synthetic oil
Clean the air filter element every 10 hours of operation
Run the engine until the carburetor is dry before storing for more than 30 days
Prevent This From Happening Again
While you're fixing it, stock up on the maintenance essentials that keep your small engines running right.
Spark Plug
The cheapest, fastest fix for most small engine starting problems.
Get on AmazonCarburetor Cleaner
Cleaning the carb is the #1 fix for surging and stalling engines.
Get on AmazonFuel Stabilizer
Prevents the stale fuel problems that cause most seasonal no-starts.
Get on AmazonAffiliate Disclosure: Lil Engine may earn commissions from qualifying purchases.
Frequently Asked Questions
It is best to use a cross-referenced plug like an NGK BPR6ES. Ensure the heat range matches to prevent engine damage.
Video Help
Helpful videos showing these repairs in action.
Share Your Repair
Real-world fixes help everyone. Share what worked and your repair becomes part of Lil Engine's community database.
Related Problems
More Small Engines GuidesRelated Maintenance Articles
Related Symptoms
Won’t Start
Carburetor / Fuel Issues
Related Searches
Small Engines Troubleshooting
Did this help?
Your feedback helps improve guides for everyone.