Briggs & Stratton 675 Series Cranks But Won't Start — Fuel & Spark Diagnosis
⚡ Quick Answer
On a Briggs & Stratton 675 series engine, first verify the safety brake lever is fully engaged to pull the ground wire away from the ignition coil. Perform a 'dry fire' test by spraying carburetor cleaner into the air intake; if it starts briefly, the main jet (often the carburetor bowl nut) is clogged with ethanol residue. If there is no fire at all, check for a sheared flywheel key, which is a common failure point after hitting a solid object, throwing the ignition timing out of sync.
What do you want to do?
Most Likely Cause
Clogged Main Jet
The emulsion tube and main jet on the 675 series carburetor have micro-sized orifices that clog easily from varnish. If the engine only runs on starter fluid, this indicates a complete blockage of fuel flow into the venturi.
Start here — this is the most common reason for this symptom.
Why This Problem Happens
The Briggs & Stratton 675 series, particularly those equipped with the ReadyStart automatic choke system, often fail to start due to a breakdown in the delicate balance of fuel delivery and ignition timing. These engines rely on a thermo-plunger system to actuate the choke; if the heat-sensitive element fails to expand or the linkage binds, the engine experiences a lean condition during cranking, preventing initial combustion. Furthermore, the modern emissions-compliant carburetor features extremely small passages that are highly susceptible to ethanol-related deposits, which inhibit fuel atomization.
From an electrical standpoint, the flywheel-mounted magnetron ignition system requires a specific gap between the coil armature and the flywheel magnet to induce the high-voltage pulse needed to fire the spark plug. Over time, debris or corrosion on the coil faces can weaken the magnetic induction, leading to a weak or intermittent spark. When you combine this electrical degradation with a restricted carburetor jet, the cylinder never receives a stoichiometric air-fuel mixture, rendering the engine incapable of overcoming internal friction, even if it has sufficient compression.
Common Symptoms
- Engine cranks over briskly but fails to fire
- Spark plug appears dry after repeated starting attempts
- Engine fires briefly with a shot of starting fluid
- Backfiring or sneezing through the intake assembly
- Choke flap remains closed even when the engine is warm
Before You Buy Parts
Quick, free inspections — check these first. Most repairs don't actually need replacement parts.
Complete Resource Guide
Complete Small Engines Troubleshooting Guide
Brand Resource Hub
Briggs & Stratton Engine Repair & Service Guide
Repair Overview
45–90 minutes
$10–$50
First Checks — Start Here
- 1Verify fuel tank is at least 1/4 full with fresh, non-ethanol gasoline.
- 2Ensure the engine stop bale (handlebar lever) is pulled tight to the handle.
- 3Spray starting fluid into the air intake to see if the engine fires for 1-2 seconds.
- 4Inspect the spark plug for carbon fouling or a gap exceeding 0.030 inches.
- 5Check the air filter for oil saturation, which happens if the mower was tilted onto its side.
- 6Remove the carburetor bowl nut (main jet) and verify the tiny side-orifices are clear.
Safety Warnings
- !Ensure the spark plug wire is disconnected while inspecting the flywheel area to prevent accidental starting.
- !Work in a well-ventilated area away from any ignition sources or open flames when handling fuel.
- !Do not lubricate the choke linkage with thick grease, as this will attract dust and cause it to stick again; use a dry graphite lubricant if necessary.
- !Always use a non-magnetic feeler gauge to prevent the coil from snapping prematurely against the magnets during adjustment.
- !Use a flywheel puller; never strike the crankshaft with a hammer to loosen the flywheel, as this will damage the engine's main bearings.
- !Have a container ready to catch fuel; do not spill gasoline on the engine's hot cooling fins.
- !Using metal screwdrivers to clear carburetor jets, which can widen the holes and ruin fuel metering
- !Replacing the spark plug without verifying if the coil is actually producing spark
Always disconnect the spark plug, work in a well-ventilated area, and consult a professional if unsure.
Most Likely Causes
Ranked by likelihood — tap each to see diagnosis details.
The emulsion tube and main jet on the 675 series carburetor have micro-sized orifices that clog easily from varnish. If the engine only runs on starter fluid, this indicates a complete blockage of fuel flow into the venturi.
The heat-sensitive air vane or thermo-plunger system often seizes due to dirt accumulation. If the choke flap does not snap shut during cold starts, the engine will lack the initial enrichment required for the first combustion cycle.
🔧 Step-by-Step Fix Guide
Spark Testing with a Gap Tester
Use a dedicated inline spark tester rather than grounding the plug against the block to verify a strong blue spark. A weak, yellow spark is insufficient to jump the plug gap under compression.
Ensure the spark plug wire is disconnected while inspecting the flywheel area to prevent accidental starting.
Carburetor Bowl Removal and Cleaning
Remove the 10mm bolt at the base of the carburetor bowl to drain fuel and inspect the jet. Clean the emulsion tube using a piece of thin copper wire from a wire brush, ensuring all side holes are clear.
Work in a well-ventilated area away from any ignition sources or open flames when handling fuel.
Verify Choke Linkage Operation
Manually actuate the linkage connected to the air vane assembly on the cylinder head. Ensure it moves freely without resistance, and verify that the choke plate closes fully when the linkage is pushed to the 'cold' position.
Do not lubricate the choke linkage with thick grease, as this will attract dust and cause it to stick again; use a dry graphite lubricant if necessary.
Resetting the Ignition Coil Gap
Loosen the two mounting bolts on the coil, insert a .012-inch plastic business card or feeler gauge between the magnet and the core, and let the magnets pull the coil into position before tightening the bolts.
Always use a non-magnetic feeler gauge to prevent the coil from snapping prematurely against the magnets during adjustment.
Checking Flywheel Key Alignment
Remove the recoil starter housing and the flywheel nut to inspect the keyway alignment. If the slot in the flywheel does not perfectly align with the crankshaft keyway, replace the woodruff key.
Use a flywheel puller; never strike the crankshaft with a hammer to loosen the flywheel, as this will damage the engine's main bearings.
Fuel Supply Verification
Disconnect the fuel line from the carburetor inlet to verify flow from the tank. If flow is intermittent or slow, the fuel cap vent may be blocked or the internal tank filter may be clogged.
Have a container ready to catch fuel; do not spill gasoline on the engine's hot cooling fins.
What To Test Next
If fuel delivery checks out, the next thing to inspect is spark — remove the spark plug, ground its threads to the engine block, and crank the engine to look for a visible blue spark.
Component Reference

Carburetor & Fuel Intake
The carburetor mixes air and fuel for combustion. A clogged jet or stuck float is the #1 cause of small engine starting and surging problems.

Spark Plug & Ignition System
The spark plug ignites the air-fuel mixture. A fouled plug, wrong gap, or failing ignition coil will prevent the engine from firing.

Oil & Lubrication System
Regular oil changes are critical. Low or dirty oil causes engine wear, overheating, and eventual seizure. Check the dipstick before every season.

Air Filter & Intake
A clogged air filter starves the engine of air, causing rich running, power loss, and hard starting. Inspect and clean or replace it each season.
Photos for educational reference. Actual parts may vary by make and model.
Common Mistakes to Avoid
Using metal screwdrivers to clear carburetor jets, which can widen the holes and ruin fuel metering
Replacing the spark plug without verifying if the coil is actually producing spark
Adding starting fluid into the oil fill tube instead of the intake
Over-tightening the plastic carburetor bowl nut, leading to hairline cracks and air leaks
If This Didn't Fix It
Still having trouble? These are the next things to check:
Get the Exact Parts for Your Machine
Tell us your equipment's year, make, and model — we'll search for parts that actually fit, not generic ones.
Finding parts for
Briggs and Stratton 675 series
Required Gear
Matched to your Briggs and Stratton 675 series — click to find the exact fit on Amazon.
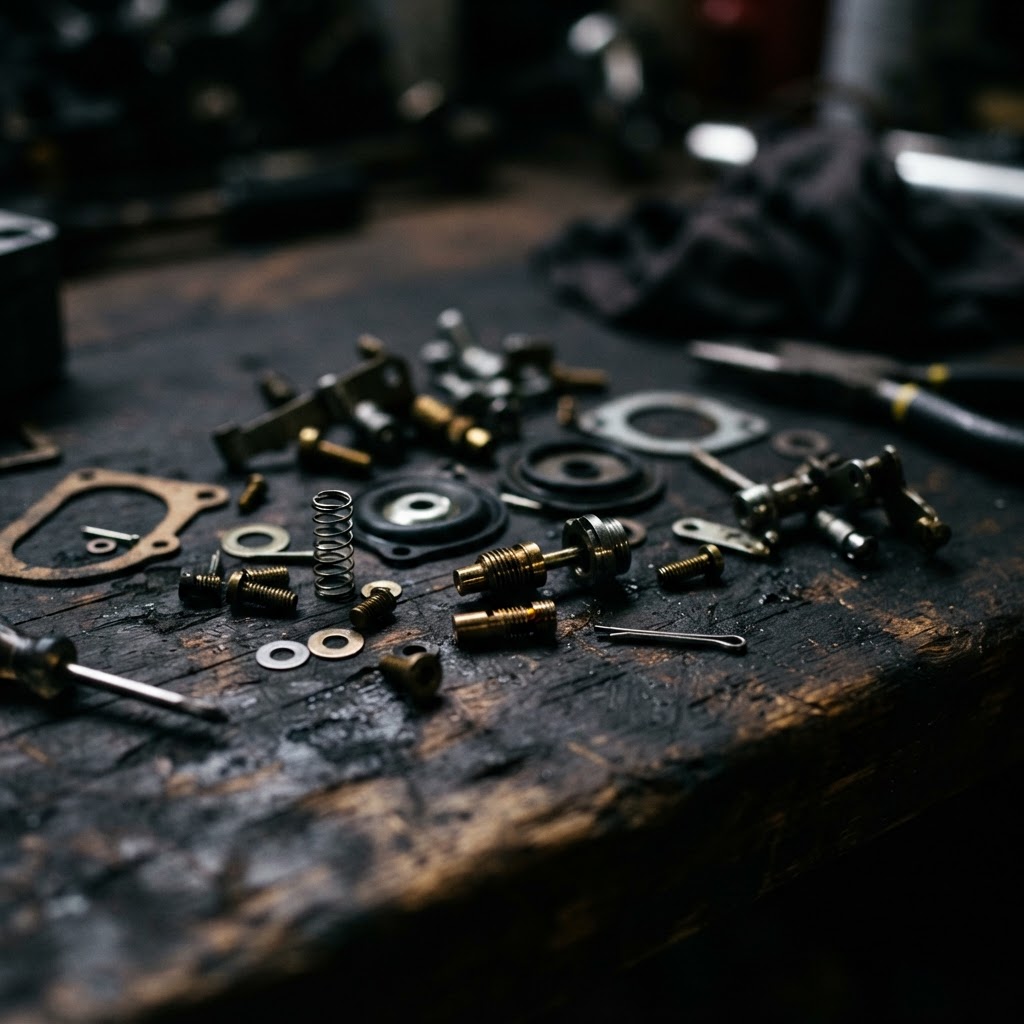
Carburetor Overhaul Kit
This kit replaces the internal gaskets, diaphragms, and main jet, which are essential if the internal passages remain blocked after cleaning the bowl.
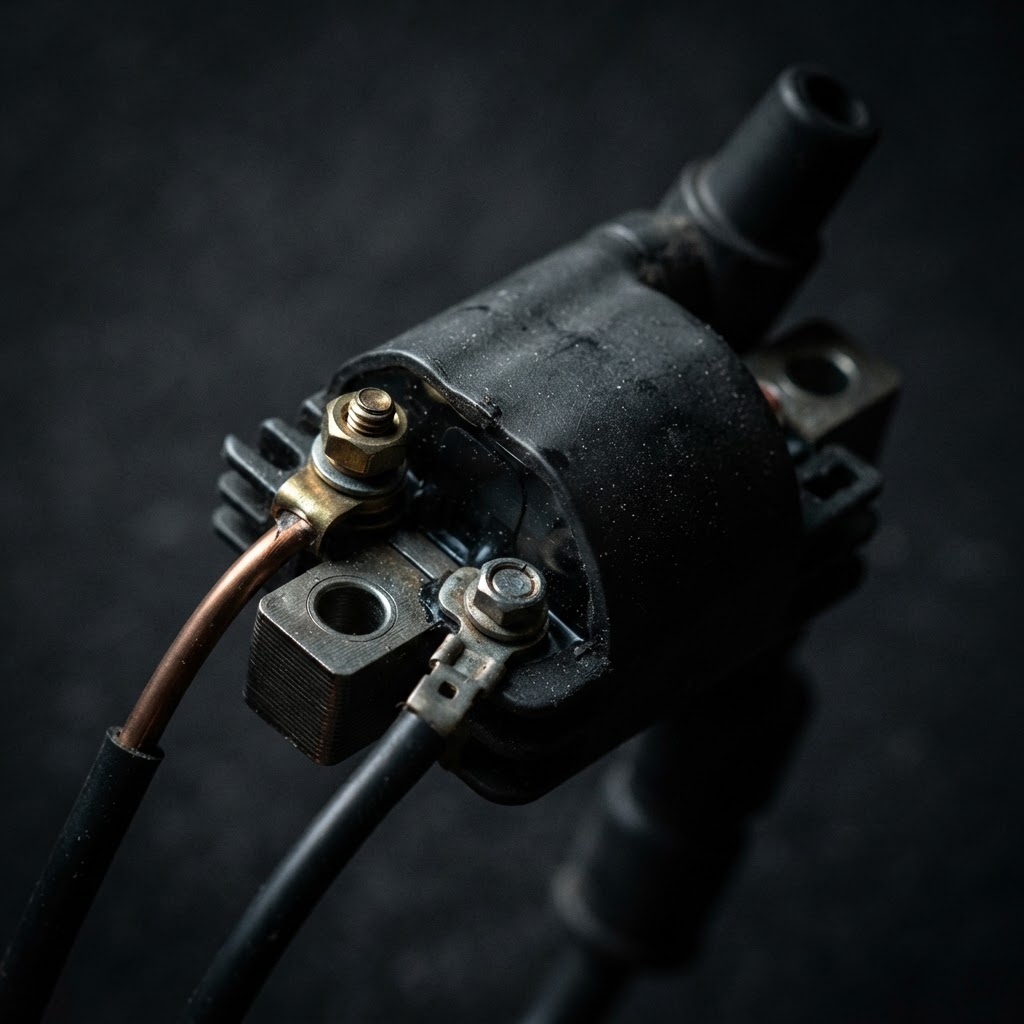
Ignition Coil
If testing reveals a weak or non-existent spark even after resetting the air gap, the coil itself has likely failed and must be replaced to restore ignition.
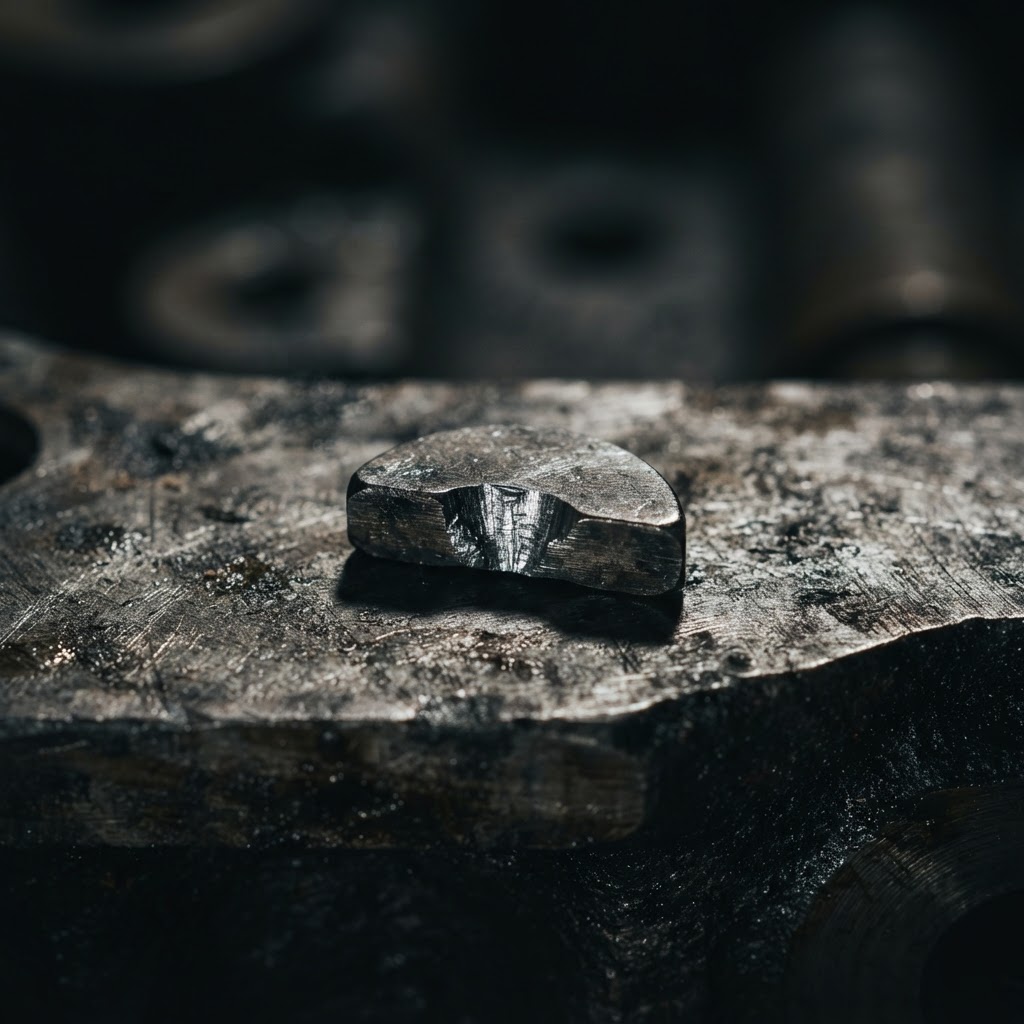
Flywheel Key
If the flywheel key is sheared, it alters the ignition timing, and this inexpensive part is the only fix to realign the crankshaft and magnet for proper firing.
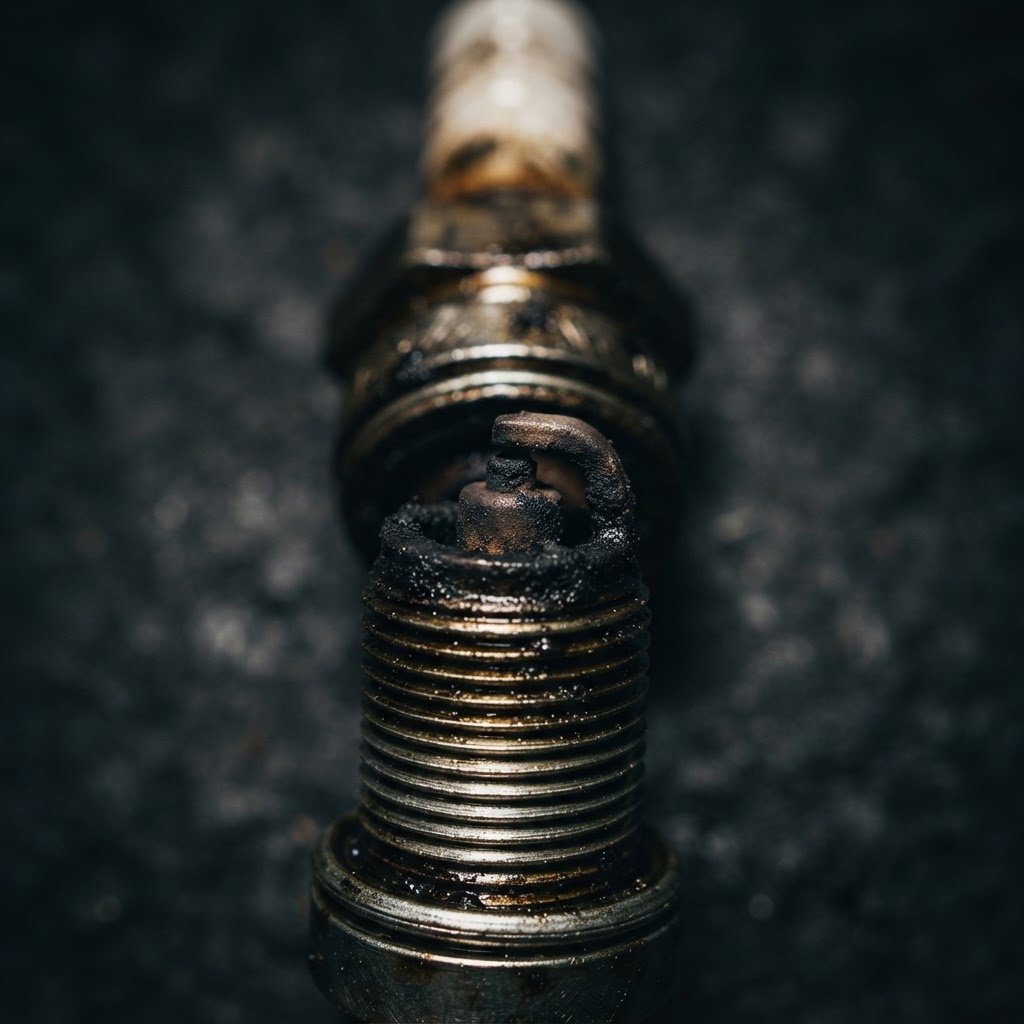
Spark Plug
A fouled or carbon-tracked plug is a common hidden culprit; replacing it ensures a consistent spark path that troubleshooting may otherwise misidentify.
Fuel Stabilizer
Adding this to fresh fuel prevents future degradation of the carburetor components, addressing the root cause of the fuel system gumming identified in the guide.
Affiliate Disclosure: Lil Engine may earn commissions from qualifying purchases.
Pro Tips from the Community
Real-world fixes from Reddit, YouTube & forums.
"On the 675 series plastic carbs, the O-ring on the intake manifold often shrinks. If it fires on spray but won't stay running after a carb clean, replace that $2 O-ring to fix the air leak."
Reddit r/lawnmowers"Check the primer bulb (if equipped). If it's cracked, even slightly, it won't force fuel into the throat for starting. Replacing the bulb is much easier than a full carb tear-down."
YouTube comments"If the engine feels 'hard to pull,' check your blade. A loose or bent blade acts as a failed flywheel, losing the centrifugal momentum needed to carry the piston through the compression stroke."
LawnSite.com ForumPrevent This From Coming Back
Use non-ethanol gasoline to prevent varnish buildup
Always add a fuel stabilizer during seasonal storage
Clean debris from the cylinder cooling fins after every use to prevent the ReadyStart system from overheating
Replace the air filter annually to prevent the carburetor from running excessively rich
Prevent This From Happening Again
While you're fixing it, stock up on the maintenance essentials that keep your small engines running right.
Spark Plug
The cheapest, fastest fix for most small engine starting problems.
Get on AmazonCarburetor Cleaner
Cleaning the carb is the #1 fix for surging and stalling engines.
Get on AmazonFuel Stabilizer
Prevents the stale fuel problems that cause most seasonal no-starts.
Get on AmazonAffiliate Disclosure: Lil Engine may earn commissions from qualifying purchases.
Frequently Asked Questions
While technically possible by adding a manual choke cable, it requires drilling the housing and is not recommended as it complicates the engine's factory emissions calibration.
Video Help
Helpful videos showing these repairs in action.
Share Your Repair
Real-world fixes help everyone. Share what worked and your repair becomes part of Lil Engine's community database.
Related Problems
More Small Engines GuidesRelated Maintenance Articles
Related Symptoms
Won’t Start
Carburetor / Fuel Issues
Related Searches
Briggs & Stratton small engine Guides
Did this help?
Your feedback helps improve guides for everyone.