Troy-Bilt Bronco Cranks But Won't Start — Fuel & Spark Diagnosis
⚡ Quick Answer
If your Troy-Bilt Bronco cranks but won't start, first spray a two-second burst of starting fluid into the air intake; if it fires briefly, you have a fuel delivery issue, likely a stuck fuel solenoid or a clogged carburetor. If it doesn't fire at all, check for a spark using a tester to ensure the ignition coil isn't grounded by a safety switch. Most Broncos use the Briggs & Stratton Intek engine, which is prone to fuel solenoid failures and valve lash issues (needs 0.004" gap) that prevent starting.
What do you want to do?
Most Likely Cause
Gummed Carburetor Jetting
Ethanol-blended fuel evaporates and leaves a varnish residue that clogs the main jet or pilot circuit. Even if fuel reaches the bowl, the engine cannot draw it into the intake tract for combustion.
Start here — this is the most common reason for this symptom.
Why This Problem Happens
When your Troy-Bilt Bronco cranks but fails to fire, it is essentially starving of one of the three necessities for combustion: precise fuel atomization, sufficient spark energy, or compression. In these Briggs & Stratton powered units, the vacuum-pulse fuel pump is often the culprit if the engine sits, as stale fuel gums up internal check valves, preventing the delivery of fuel from the saddle tank to the carburetor bowl. Alternatively, if fuel is present, the issue often migrates to the ignition armature or the safety interlock system. Because the Bronco uses a complex array of seat, brake, and deck engagement switches, even a microscopic degradation in contact surface resistance can trigger an electrical cutoff of the ignition ground wire, effectively killing the spark at the cylinder head while allowing the starter solenoid to remain engaged.
Common Symptoms
- Dry spark plug after repeated cranking
- Black residue or heavy carbon fouling on plug electrode
- Engine backfires or pops through the exhaust
- Presence of varnish or sour odor inside carburetor bowl
- Starter solenoid clicks but no combustion follows
Before You Buy Parts
Quick, free inspections — check these first. Most repairs don't actually need replacement parts.
Complete Resource Guide
Complete Small Engines Troubleshooting Guide
Brand Resource Hub
Troy-Bilt Small Engine Repair & Maintenance Guide
Repair Overview
1–2 hours
$10–$50
First Checks — Start Here
- 1Verify fuel is fresh (less than 30 days old) and the tank is at least half full.
- 2Listen for the fuel solenoid 'click' when the key is turned from Off to On.
- 3Check spark plug for fouling and ensure a 0.030" gap.
- 4Inspect the air filter for heavy oil saturation (indicates a blown head gasket or tipped mower).
- 5Test for spark using an inline tester or by grounding the plug against the engine block.
- 6Ensure the choke plate is closing fully when the lever is in the 'Choke' position.
- 7Check for a blown 20-amp fuse behind the dash or near the battery.
Safety Warnings
- !Disconnect the spark plug wire before reaching near the cooling fan or belts.
- !Ensure the spark plug is grounded to the engine block during testing to prevent coil damage.
- !Keep fuel away from the hot muffler and ignition sources to avoid fire hazards.
- !Use eye protection as residual fuel under pressure may spray out when removing the bowl.
- !Do not bypass safety switches permanently as it creates a serious crush or laceration risk.
- !Ensure the flywheel is free of rust or debris before setting the gap for an accurate measurement.
- !Using generic automotive spark plugs instead of the OEM-specified heat range
- !Bypassing safety switches permanently rather than replacing the failed unit
- !Attempting to clean carburetor jets with wire that increases the orifice diameter
Always disconnect the spark plug, work in a well-ventilated area, and consult a professional if unsure.
Most Likely Causes
Ranked by likelihood — tap each to see diagnosis details.
Ethanol-blended fuel evaporates and leaves a varnish residue that clogs the main jet or pilot circuit. Even if fuel reaches the bowl, the engine cannot draw it into the intake tract for combustion.
The pulse-style pump relies on crankcase pressure fluctuations to actuate a diaphragm. If this diaphragm tears or the impulse line develops a crack, fuel delivery ceases immediately.
🔧 Step-by-Step Fix Guide
Check Fuel Solenoid Activation
Turn the key to the 'Run' position and listen for a distinct 'click' at the base of the carburetor. If you do not hear it, test for 12V at the wire terminal; if power is present, the internal plunger is likely seized.
Disconnect the spark plug wire before reaching near the cooling fan or belts.
Verify Spark at the Plug
Use an inline spark tester connected between the plug wire and the plug. Crank the engine and observe the light; a weak orange or intermittent flash indicates a failing ignition coil or a grounded stop-wire.
Ensure the spark plug is grounded to the engine block during testing to prevent coil damage.
Perform a Vacuum Fuel Pump Flow Test
Disconnect the fuel line at the carburetor inlet and place it into a container. Crank the engine briefly to see if a steady stream of fuel pulses out; if it only trickles, check for a vacuum leak in the impulse line.
Keep fuel away from the hot muffler and ignition sources to avoid fire hazards.
Inspect the Carburetor Bowl
Remove the bowl nut to drain the fuel. Check for debris or white sediment, which indicates phase separation of ethanol fuel, and ensure the float moves freely without catching on the hinge pin.
Use eye protection as residual fuel under pressure may spray out when removing the bowl.
Test Safety Switch Continuity
Use a multimeter set to the continuity/ohms setting to test the seat, brake, and attachment switches. A faulty switch that shows infinite resistance when it should be closed will inhibit the spark.
Do not bypass safety switches permanently as it creates a serious crush or laceration risk.
Reset Ignition Air Gap
Loosen the two bolts holding the ignition coil, insert a business card or feeler gauge between the coil legs and flywheel magnet, and tighten the bolts while the magnet holds the coil in place.
Ensure the flywheel is free of rust or debris before setting the gap for an accurate measurement.
What To Test Next
If fuel delivery checks out, the next thing to inspect is spark — remove the spark plug, ground its threads to the engine block, and crank the engine to look for a visible blue spark.
Component Reference

Carburetor & Fuel Intake
The carburetor mixes air and fuel for combustion. A clogged jet or stuck float is the #1 cause of small engine starting and surging problems.

Spark Plug & Ignition System
The spark plug ignites the air-fuel mixture. A fouled plug, wrong gap, or failing ignition coil will prevent the engine from firing.

Oil & Lubrication System
Regular oil changes are critical. Low or dirty oil causes engine wear, overheating, and eventual seizure. Check the dipstick before every season.

Air Filter & Intake
A clogged air filter starves the engine of air, causing rich running, power loss, and hard starting. Inspect and clean or replace it each season.
Photos for educational reference. Actual parts may vary by make and model.
Common Mistakes to Avoid
Using generic automotive spark plugs instead of the OEM-specified heat range
Bypassing safety switches permanently rather than replacing the failed unit
Over-tightening the carburetor bowl nut, causing the solenoid seal to leak
Attempting to clean carburetor jets with wire that increases the orifice diameter
If This Didn't Fix It
Still having trouble? These are the next things to check:
Get the Exact Parts for Your Machine
Tell us your equipment's year, make, and model — we'll search for parts that actually fit, not generic ones.
Finding parts for
Troy-Bilt Bronco
Required Gear
Matched to your Troy-Bilt Bronco — click to find the exact fit on Amazon.
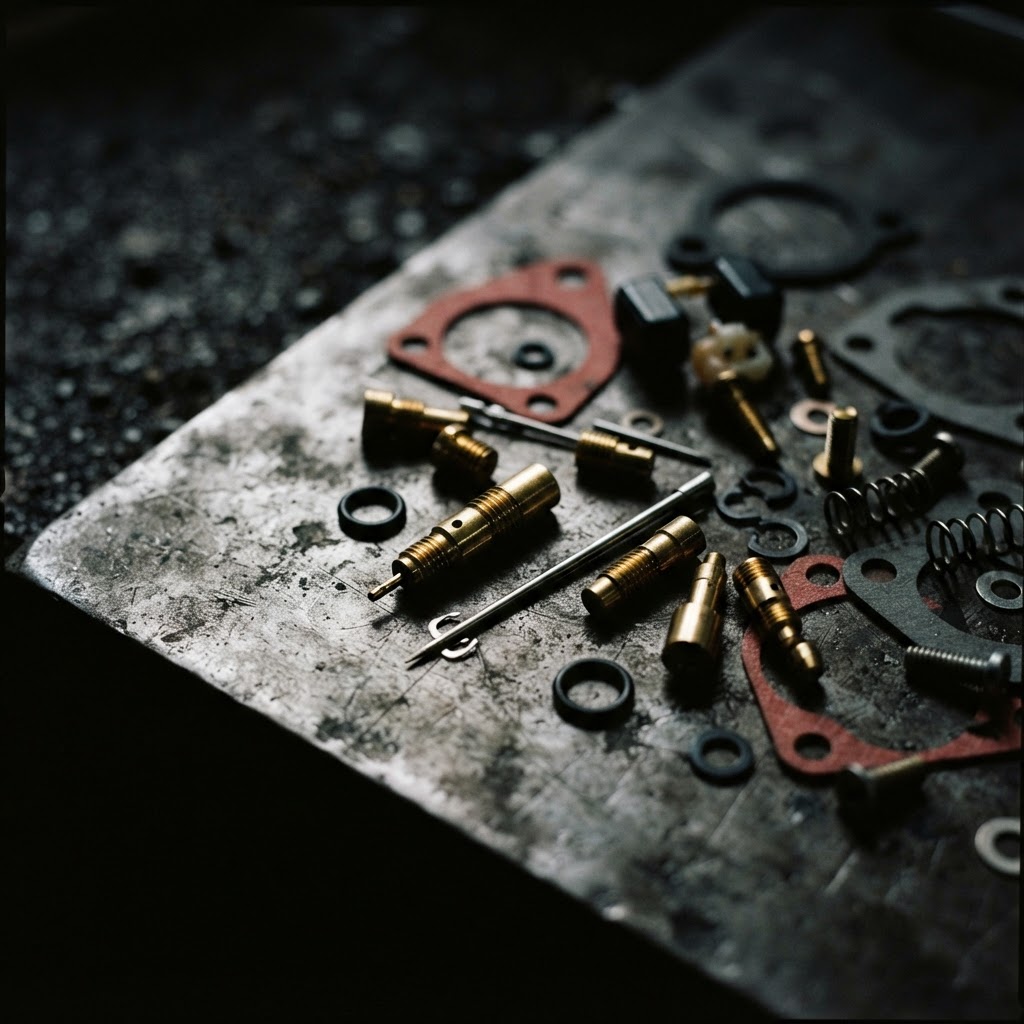
Carburetor Rebuild Kit
Contains new jets, gaskets, and needles required to clear blockages from gummed fuel deposits identified during diagnosis.
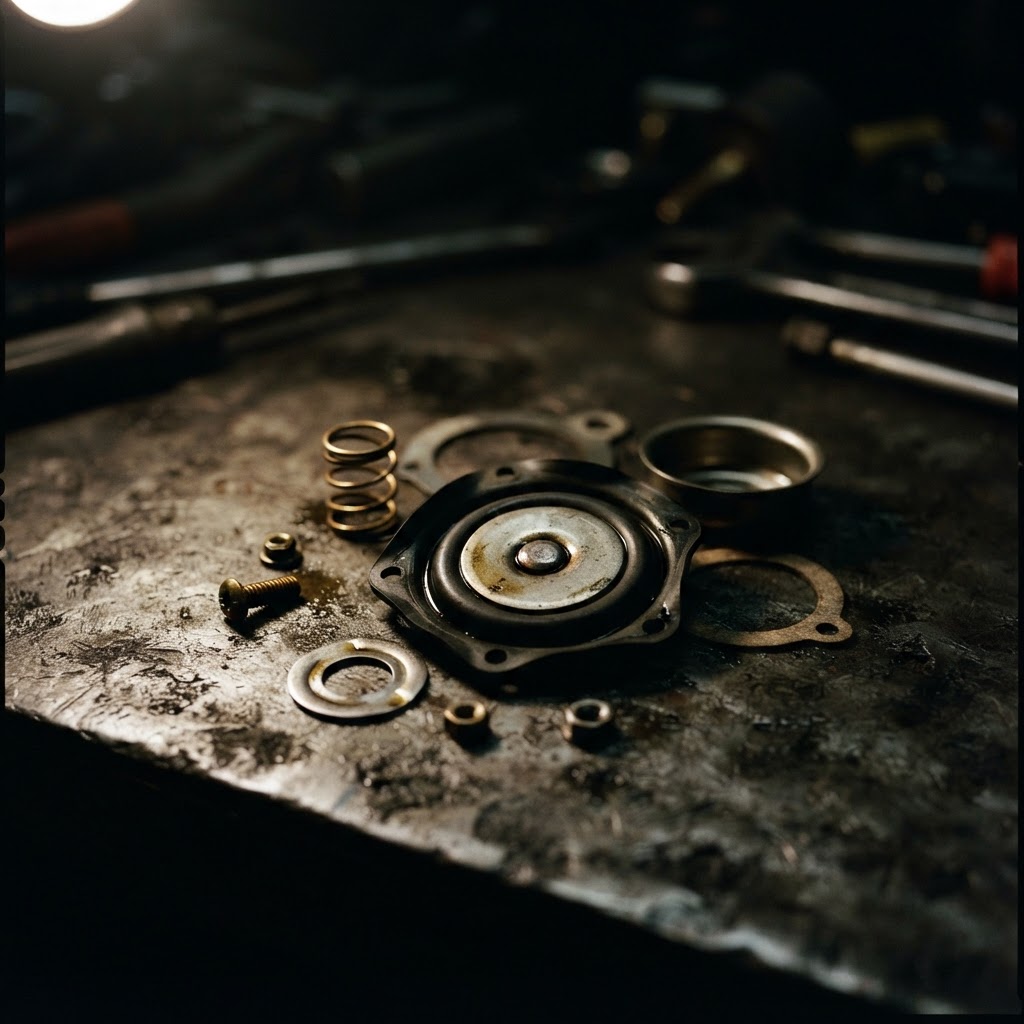
Fuel Pump Diaphragm Kit
Replaces a hardened or ruptured internal membrane that prevents consistent fuel delivery from the tank to the carburetor.
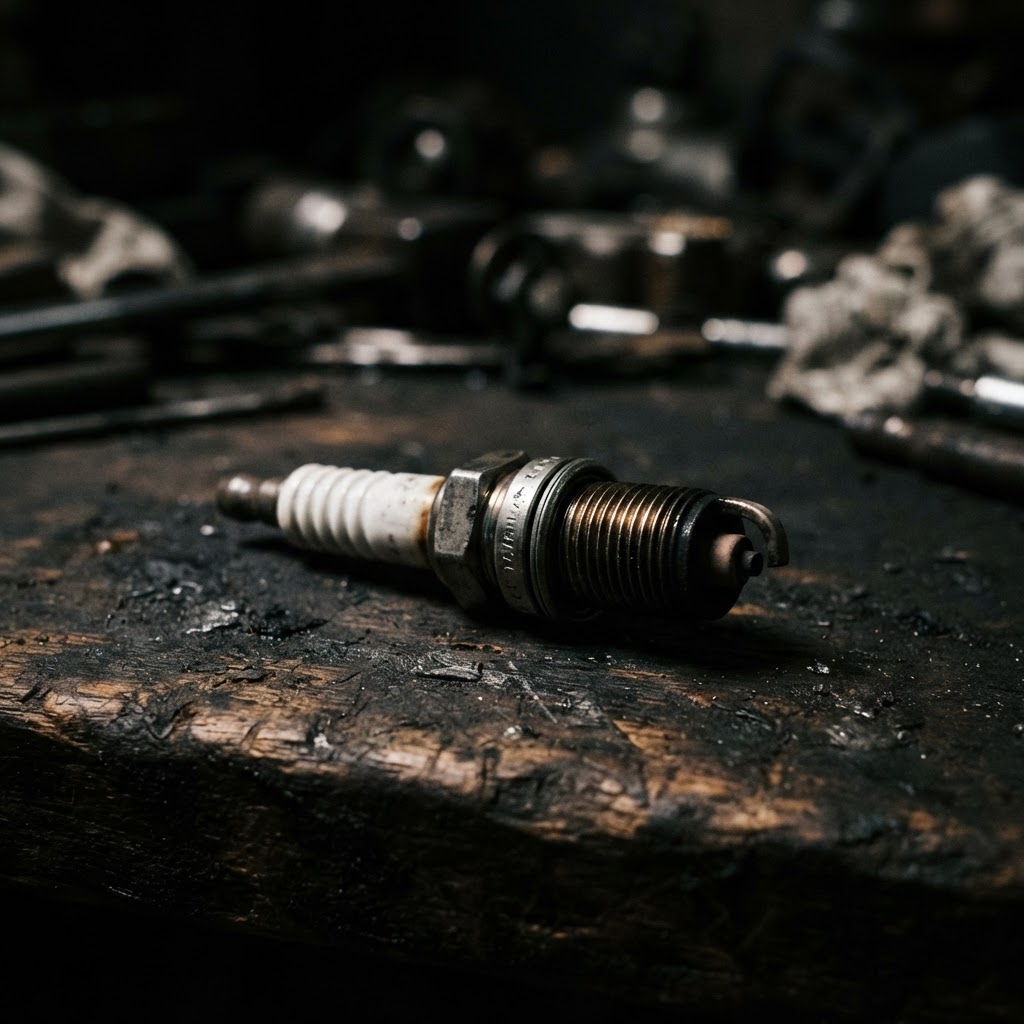
Ignition Spark Plug
Provides a fresh electrode surface to ensure the spark is hot enough to ignite the fuel mixture after troubleshooting confirms a lack of combustion.
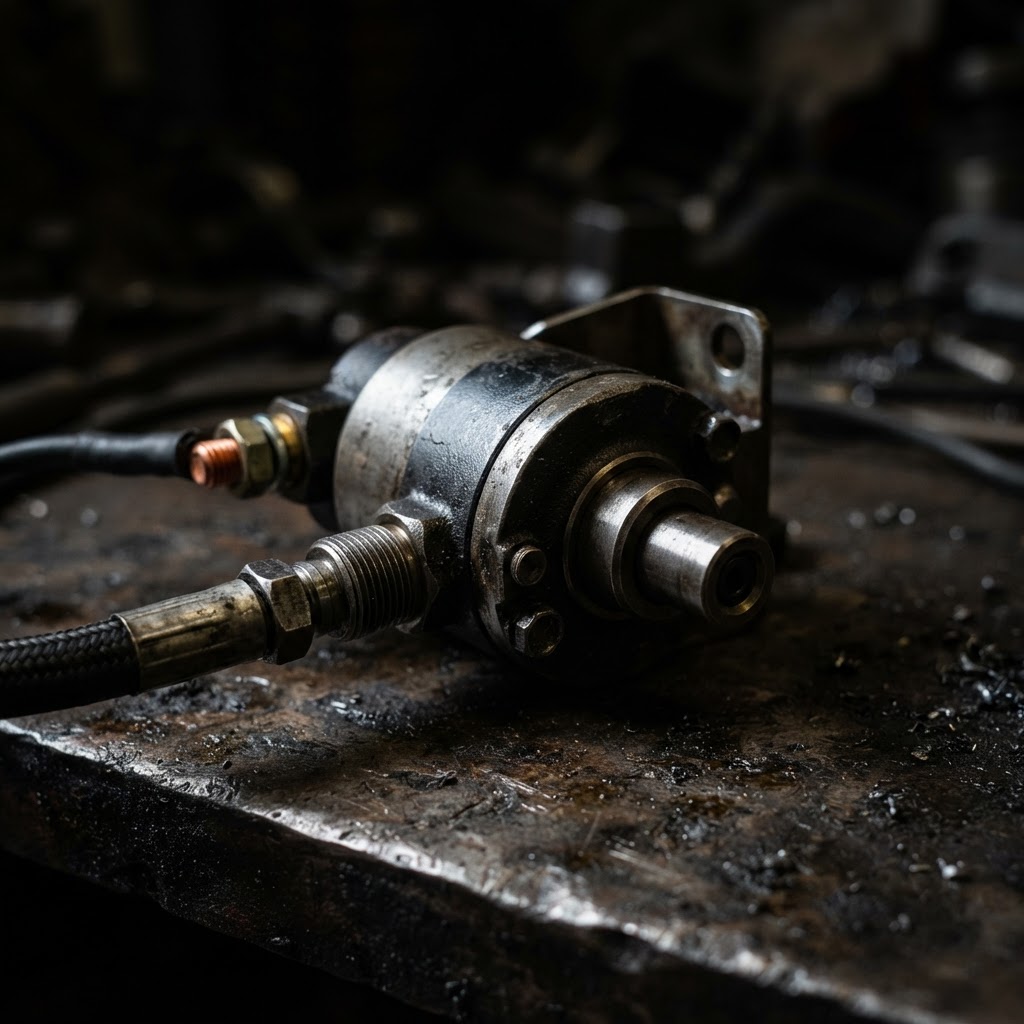
Fuel Shut-off Solenoid
If the solenoid fails to retract due to an electrical or internal plunger fault, it prevents fuel from entering the carburetor, requiring a direct replacement.
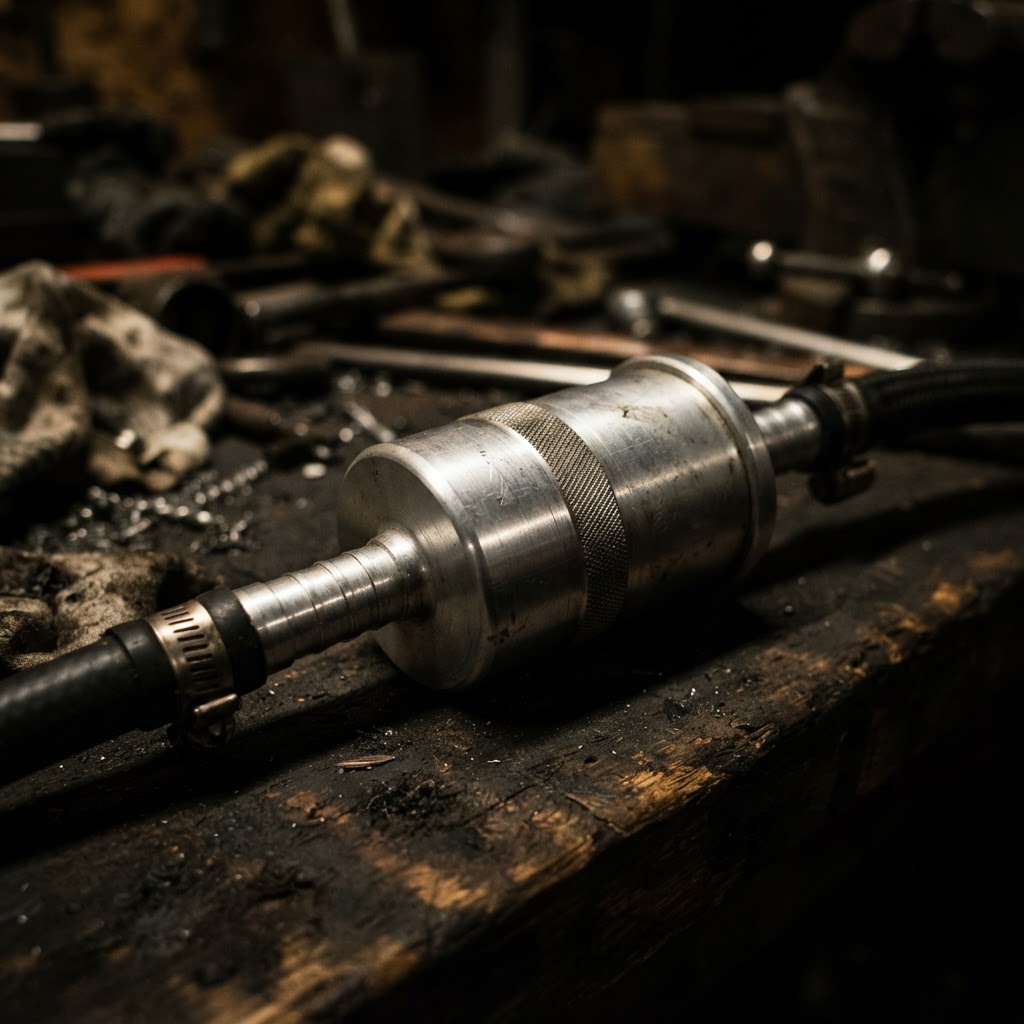
In-line Fuel Filter
Recommended as a preventative consumable to ensure no further debris reaches the freshly cleaned carburetor jets.
Affiliate Disclosure: Lil Engine may earn commissions from qualifying purchases.
Pro Tips from the Community
Real-world fixes from Reddit, YouTube & forums.
"On the Troy-Bilt Bronco, the wire for the fuel solenoid often rubs against the steering shaft. If it shorts out, it will blow the 20A fuse and stop the engine from firing."
Reddit r/lawncare"If the engine turns over slowly or stops at one point, it's usually the valves being out of adjustment, not a weak battery. Setting them to .004 fixes 90% of starting issues on these Inteks."
TractorByNet Forum"Before tearing the carb apart, give the bowl a few sharp raps with the handle of a screwdriver. Sometimes the float or the needle valve just gets stuck from sitting."
YouTube commentsPrevent This From Coming Back
Use a fuel stabilizer in every gallon of gas to prevent ethanol separation
Replace the inline fuel filter every season to protect the carburetor
Remove the cooling shroud once a year to clear grass clippings from the fins and coil
Store the tractor in a dry, covered area to prevent moisture-induced corrosion on switch contacts
Prevent This From Happening Again
While you're fixing it, stock up on the maintenance essentials that keep your small engines running right.
Spark Plug
The cheapest, fastest fix for most small engine starting problems.
Get on AmazonCarburetor Cleaner
Cleaning the carb is the #1 fix for surging and stalling engines.
Get on AmazonFuel Stabilizer
Prevents the stale fuel problems that cause most seasonal no-starts.
Get on AmazonAffiliate Disclosure: Lil Engine may earn commissions from qualifying purchases.
Frequently Asked Questions
Backfiring often occurs when raw fuel enters the muffler due to a stuck float needle or a timing issue caused by a sheared flywheel key. This is a sign of an extremely rich condition or incorrect ignition timing.
Video Help
Helpful videos showing these repairs in action.
Share Your Repair
Real-world fixes help everyone. Share what worked and your repair becomes part of Lil Engine's community database.
Related Problems
More Small Engines GuidesRelated Maintenance Articles
Related Symptoms
Won’t Start
Carburetor / Fuel Issues
Related Searches
Troy-Bilt small engine Guides
Did this help?
Your feedback helps improve guides for everyone.